background image

WH-2400 SERIES 


PATIENT CARE UNITS

  INSTALLATION & OPERATION MANUAL

PAGE

 12

© Rev. 

2/2017

1.800.428.4065  

TOLL FREE 

| www.willoughby-ind.com

CARE AND MAINTENANCE

Summary of Contents for WH-2400 Series

Page 1: ...8 Step 2 Install the Anchors and Backing 8 Step 3 Install the Vacuum Breaker 9 Step 4 Install the WH 2400 Cabinet 9 Step 5 Install the Toilet and Waste Connections 10 Step 6 Install the Solid Surface...

Page 2: ...WH 2400 SERIES PATIENT CARE UNITS INSTALLATION OPERATION MANUAL PAGE 2 Rev 2 2017 1 800 428 4065 TOLL FREE www willoughby ind com PAGE LEFT INTENTIONALLY BLANK...

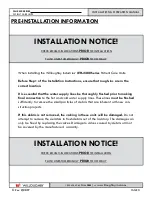
Page 3: ...ines must be ushed suf ciently to remove the small particles of debris that are inherent with new con struction projects If this debris is not removed the valving in these units will be damaged Do not...

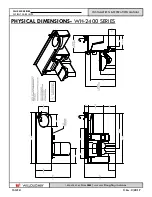
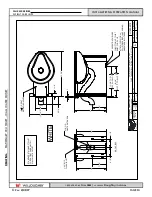
Page 4: ...WH 2400 SERIES PATIENT CARE UNITS INSTALLATION OPERATION MANUAL PAGE 4 Rev 2 2017 1 800 428 4065 TOLL FREE www willoughby ind com PHYSICAL DIMENSIONS WH 2400 SERIES...

Page 5: ...ATIENT CARE UNITS INSTALLATION OPERATION MANUAL PAGE 5 Rev 2 2017 1 800 428 4065 TOLL FREE www willoughby ind com ROUGH IN DIMENSIONS WH 2400 SERIES WH 2400 FLOOR ROUGH IN TEMPLATE WH 2400 BACK WALL R...

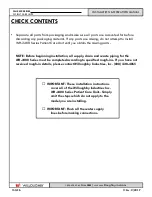
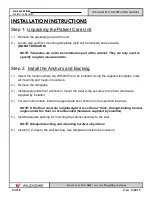
Page 6: ...Unit until you obtain the missing parts NOTE Before beginning installation all supply drain and waste piping for the WH 2400 Series must be completed according to speci ed rough ins If you have not r...

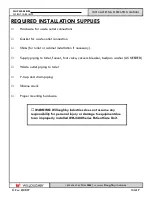
Page 7: ...et or cabinet installation if necessary Supply piping to toilet faucet foot valve vacuum breaker bedpan washer AS NEEDED Waste outlet piping to toilet P trap and drain piping Silicone caulk Proper mou...

Page 8: ...cation where the WH 2400 is to be installed Using the supplied templates mark all mounting and rough in locations 2 Remove the templates 3 Install appropriate oor anchors to mount the toilet Z clip se...

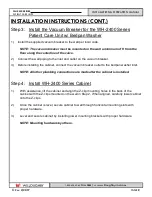
Page 9: ...mounting slots with proper hardware 3 Level and secure cabinet by installing lower mounting brackets with proper hardware NOTE Mounting hardware by others Step 3 Install the Vacuum Breaker for the WH...

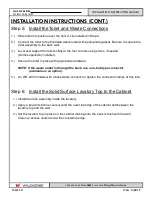
Page 10: ...caulk around the countertop edge Step 5 Install the Toilet and Waste Connections 1 Slide toilet into position over the oor Z clip installed in Step 2 2 Connect the toilet to the oor wall waste outlet...

Page 11: ...he water closet NOTE Tighten all ush valve connections 2 Install the P trap supplied by installer to the sink drain and then connect the P trap to the drain pipe piping supplied by installer 3 After a...

Page 12: ...WH 2400 SERIES PATIENT CARE UNITS INSTALLATION OPERATION MANUAL PAGE 12 Rev 2 2017 1 800 428 4065 TOLL FREE www willoughby ind com CARE AND MAINTENANCE...

Page 13: ...ALE REF MAT L TITLE DESC NOTED SIZE EEF 2 PLCS TOLERANCES A Indianapolis Indiana 1 FRACTIONS EEF 0 03 0 015 1 32 Willoughby Industries Inc STANDARD BACK VIEW STANDARD STAIONARY TOILET FOR PATIENT CARE...

Page 14: ...EF 3 5 15 3 5 15 A 1 OF 1 H1490 0079 1 8 N A 2 PLCS SIZE TOILET ASSEMBLY PATIENT CARE 17 TALL SHEET REV ORIG REVISION SCALE REF MAT L PART A ANGLE PETF 1490 FM BS HC 1 6 DC TITLE DESC FRACTIONS 3 PLCS...

Page 15: ...WH 2400 SERIES PATIENT CARE UNITS INSTALLATION OPERATION MANUAL PAGE 15 Rev 2 2017 1 800 428 4065 TOLL FREE www willoughby ind com WARRANTY...

Reviews: