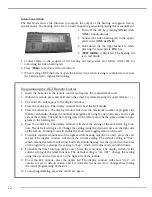
3 . O ve rall gain may be adjusted, in one dB steps for each acoustic listening pro g ram other than the
primary Master Pro g ram and the Audibility Extender, in the [
P ROGRAM GAIN OFFS E T
] mode.
Note: [
PGO
] can only be accessed if additional listening programs have been selected.
a) To access [
PROGRAM GAIN OFFSET
] press
[
PGO
] in the [
PROGRAM OPTIONS
] mode
window (see B).
Note: Audibility Extender is displayed as
[*
AE*
] in this screen to indicate that the
listening program has been selected but no
change to program offset can be made.
b) Press the [
UP ARROW
] under the desired listening program to increase the program
gain offset.
Press the [
DOWN ARROW
] under the desired listening program to decrease the program
gain offset.
c)
Press [
BACK
] (see B) to return to [
P RO-
GRAM OPTIONS
]. An exclamation point
(!) will appear in the mode window next to
[
PGO
] to indicate the adjustment of [
PRO-
GRAM GAIN OFFSET
].
4.
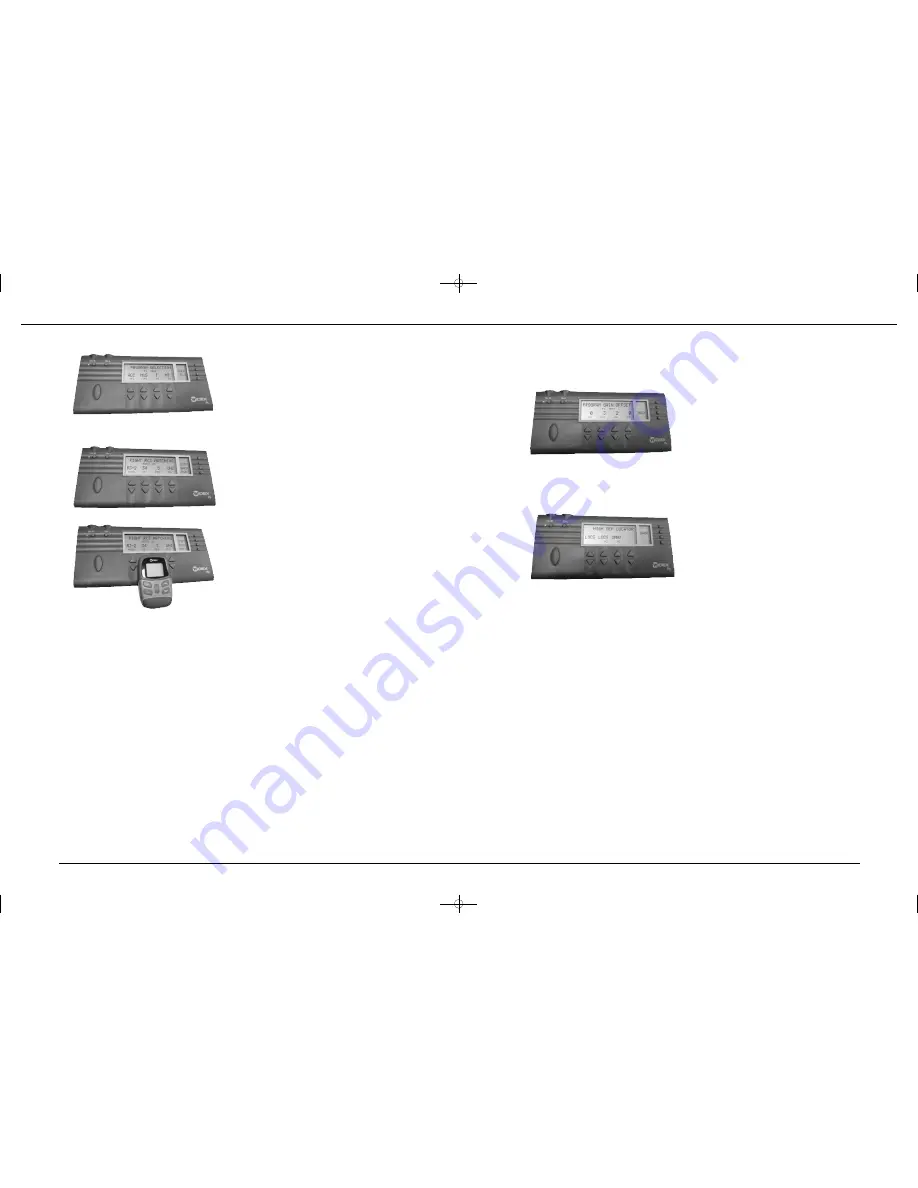
The microphone characteristic setting can
be adjusted for each acoustic listening pro-
gram in the [
HIGH DEF LOCATOR
] mode.
Note: Inteo CIC instruments have only an omnidirectional mode.
a) Press [
= =›
] in the [
PROGRAM OPTIONS
] mode window (see B).
b) Press [
LOC
] in the mode window.
c) The current microphone characteristic setting will be displayed for each program.
d) Press the [
UP ARROW
] or [
DOWN ARROW
] under the desired listening program to adjust
the microphone setting. The available settings are:
• High Definition Locator with Speech Tracer
[
LOCS
]
• High Definition Directional
[
DIR
]
• High Definition Omnidirectional
[
OMNI
]
• High Definition Locator without Speech Tracer
[
LOC
]
e) Press [
BACK
] (see B) to return to [
PROGRAM OPTIONS
]. An exclamation point (!) will
appear in the mode window next to [
LOC
] to indicate the adjustment of the microphone
characteristic setting.
e) Press [
BAC K
] (see B) to return to [
PRO-
GRAM OPTIONS
]. An exclamation point (!)
will appear in the mode window next to
[
PRG
] to indicate the selection of additional
listening programs.
2. Remote Control
RC3
matching can be accomplished in the [
PROGRAM SELECTION
] mode.
a) P ro g ram the RC3 remote control (see
P ro g ramming the RC3 Remote Contro l
instructions).
b) Press [
RC 3
] in the [
PROGRAM SELEC-
TION
] mode window (see B).
c) [
LEFT RC3 MATCHING]
or [
RIGHT RC3
MATCHING
] will be displayed.
d) Press [
STRT
] in the mode window (see B)
while simultaneously holding down the
center key [
(o)
] on the remote control.
e)
MATCH OK
appears beneath [
LEFT RC3
MATCHING]
or [
RIGHT RC3 MATCHING
].
The remote control model, RC3-1 or RC3-2,
is displayed as is the ID number, the number
of program selections and the setting of the
right/left function when using an RC3-2
remote.
Note: The number of programs in the hearing aid and the number of programs in the
remote control must match. The RC3-1 can hold up to three (3) programs and the RC3-2
can hold up to five (5) programs.
f) When RC3 matching is not successful there are several possible errors:
• No RC3 Data-Hearing aid and RC3 are not communicating i.e. RC3 has not been pro-
grammed, the center key of the RC3 has not been held down during the matching
process, RC3 is out of range (more than 1 meter) or RC3 batteries are dead.
• RC3-1 has a different number of programs than the hearing aid.
• RC3-2 has a different number of programs than the hearing aid.
• ID code is invalid.
g ) P ress [
RS E T
] in the mode window to re-set RC3 matching if necessary.
h) Press [
BACK
] in the mode window to return to [
PROGRAM SELECTION
].
i) Press [
BACK
] (see B) in the mode window to return to [
PROGRAM OPTIONS
]. An excla-
mation point (!) will appear in the mode window next to [
RC3
].
Note: When programming both a left and a right hearing aid each aid must be matched to
the RC3 individually.
9
8
B
B
B
B
B
IN_IP5_Manual8.qxd 11/28/06 1:12 PM Page 8


