

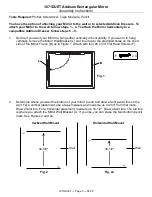


1671DUET Addison Rectangular Mirror
Assembly Instructions
1671DUET
— Page 6 — 08/18
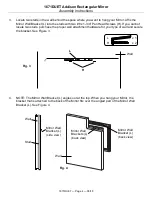
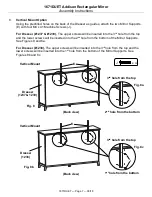
7.
Using the predrilled holes on the back of the Dresser as guides, attach the two Mirror Supports
(E) with four M4 x 41 Machine Screws (J).
For Dresser (#1237 & #1239),
The upper screws will be inserted into the 3
rd
hole from the top
and the lower screws will be inserted into the 2
nd
hole from the bottom of the Mirror Supports.
See Figures 7 and 7a.
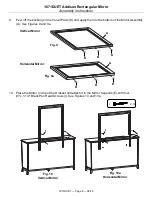
For Dresser (#1238),
The upper screws will be inserted into the 3
rd
hole from the top and the
lower screws will be inserted into the 1
st
hole from the bottom of the Mirror Supports. See
Figures 7b and 7c.
J
x 4
(Back view)
E
J
J
Fig. 7
J
3
rd
hole from the top
2
nd
hole from the bottom
Fig. 7a
Horizontal Mount
Dresser
(1237 & 1239)
(Back view)
E
J
J
Fig. 7b
J
3
rd
hole from the top
1
st
hole from the bottom
Fig. 7c
Horizontal Mount
Dresser
(1238)


