17
EN
FUNCTIONS
Using 6th Sense Precision Dose
1. Open the bulk dispenser lid on the top of the
washing machine.
2. Lift the fill door on the Liquid Detergent dispen-
ser (Dispenser 1). Add liquid detergent up to the
“MAX” line. Do not overfill Close the fi door. It will
click into place.
NOTE:
If Dispenser 1 is empty, you may choose to
add only enough liquid detergent for one load.
3. Lift the fill door on the Liquid Fabric Softener
dispenser (Dispenser 2). Add liquid fabric softener
up to the “MAX” line.
Do not overfill Close the fill door. It will click into
place.
NOTE:
If Dispenser 2 is empty, you may choose to
add only enough liquid fabric softener for one load.
4. Slowly close the bulk dispenser lid. Make sure it is
completely closed.
5. Make sure that the bulk dispenser is active. Use
the Tools button to make sure that both Dispenser
1 and Dispenser 2 are active and that the detergent
concentration is correct. See HOW TO USE THE
APPLIANCE-SETTINGS.
NOTES:
• Dispenser 2 may be used as a second Liquid
Detergent dispenser. Use the Tools button (go to
“6th Sense Precision Dose Dispenser 2”) to change
the content in Dispenser 2 and set the detergent
concentration. Make sure that the other dispenser
is disabled.
• Thoroughly clean the Liquid Detergent dispenser
(Dispenser 1) before switching to a different brand
of detergent.
• Thoroughly clean the Liquid Fabric Softener di
-
spenser (Dispenser 2) before switching from liquid
fabric softener to liquid detergent, before switching
back from liquid detergent to liquid fabric softener,
or before switching to a different brand of deter-
gent.
IMPORTANT:
• Do not use chlorine bleach in this washing machi
-
ne. Chlorine bleach will damage it.
• Do not add a single-dose laundry packet to the
bulk dispenser.
• Do not use powdered detergent in the bulk di
-
spenser.
Wifi Setup (not applicable in Russia)
The 6th Sense Live feature allows to operate the
washing machine remotely by external device. To
enable the appliance to be remotely controlled,
you first have to complete successfully the connec-
tivity set up process. This process is necessary to
register your appliance and connect to your home
network.
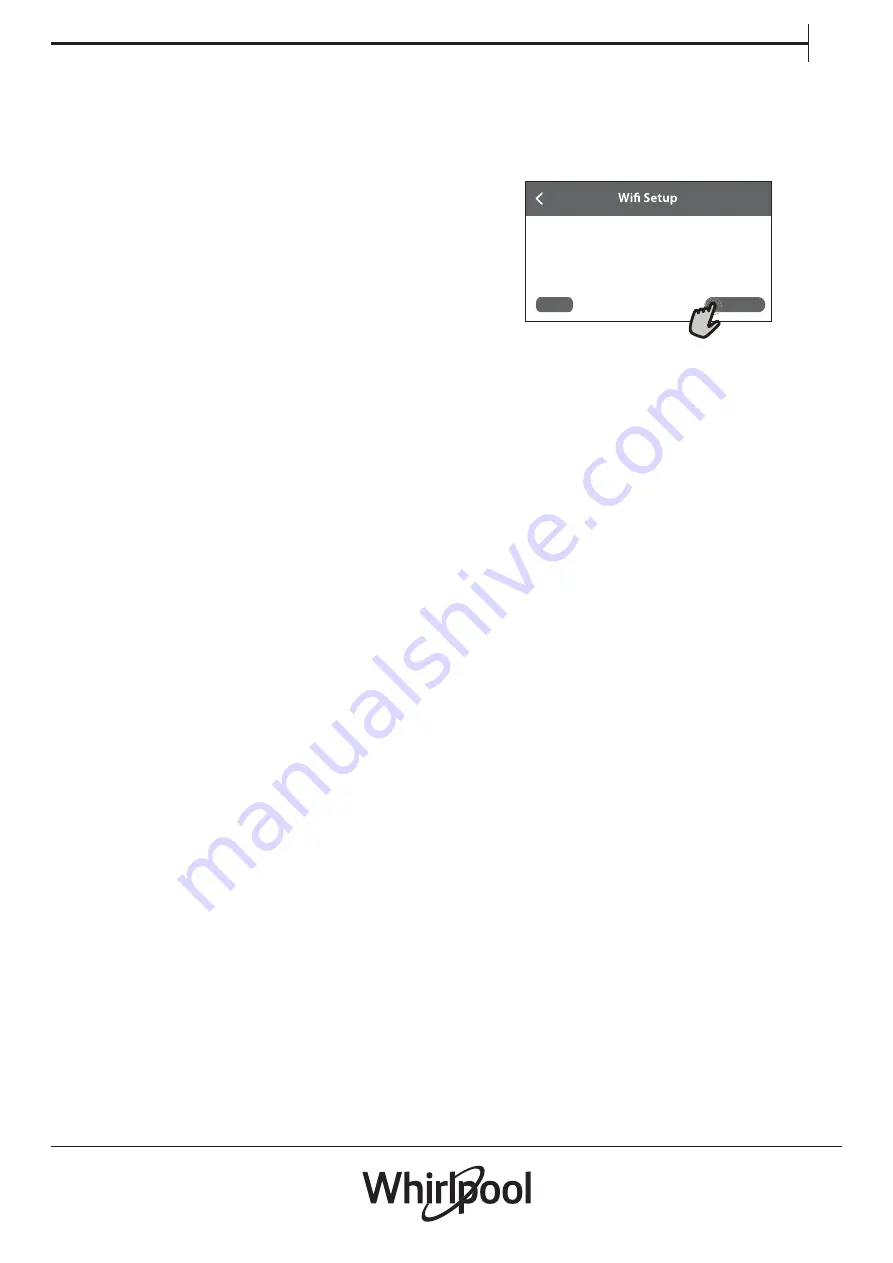
• Tap on “SETUP NOW” to proceed with setup
connection.
Setup WiFi now to automatically set the time,
date, and enable connectivity with your
smartphone.
If you skip, you can find the optional later in
your Tools menu.
SETUP NOW
SKIP
Otherwise, or tap on “SKIP” to connect your product
later.
HOW TO SETUP
To use this feature you need to own: a smart pho-
ne or a tablet and a wireless router connected to
internet. Please verify with your smart device that
the signal strength of your home wireless network
close to the appliance is good.
Minimum requirements.
Smart device: Android with a 1280x720 (or higher)
screen or iOS.
See on App store the App compatibility with Android
or iOS versions.
Wireless router: 2.4Ghz WiFi b/g/n.
1. Download the 6th Sense Live App
The first step to get your appliance connected is
to download the app for your mobile device. The
6th Sense Live app will be your guide and walk
you through all of the steps listed here. You can
download the 6th Sense Live app by visiting either
iTunes or Google Play.
2. Create an Account
If you haven’t done so already, you’ll need to create
an account. This allows to associate your appliances
and give you the ability to view and control them
remotely.
3. Register Your Appliance
Register your appliance by following the App
instructions. For the registration process You will
need the Smart Appliance Identifier (SAID) number.
Its unique code the number following the word
SERVICE on the identification plate attached to the
product.
4. Connect to Wi-Fi
Follow the scan to connect setup procedure. The
app will walk you through the process of connec-
ting your appliance to the wireless network in your
home.
If your router supports WPS 2.0 (or gather), select
“MANUALLY”, then tap on “WPS Setup”: Press on wi
-
reless router the WPS button to establish a connec


