For additional help and information regarding installation, contact Customer Service at 1-844-551-0680, 8am-5pm,CST Monday – Friday
, WESTINGHOUSE, are trademarks of Westinghouse Electric Corporation. Used under license by Sky Rich Star Limited. All Rights Reserved.
REPLACING THE BATTERIES
WARNING:
Do not dispose batteries in municipal waste stream or by fire as batteries may
explode. Do not open, short circuit, or mutilate batteries. Dispose of batteries in accordance
with Local, State, and Federal regulations. Contains no toxic metals. Do not mix old and new
batteries. Do not mix alkaline, standard (Carbon-Zinc), or rechargeable (Nickel Cadmium or
Nickel Hydride) batteries with Lithium batteries.
OPERATION
TROUBLESHOOTING
Before the solar security light can operate to its full capacity, the solar panel needs to be in sunlight for 8-12 hours to fully charge the battery. Turn the light switch
to the “OFF” position. After charge, turn the light switch to “AUTO” or “ON” position.
•Loosen the wing screw to adjust the motion sensor head toward desired detection area.
The side light heads can be adjusted independently in a variety of ways for optimal lighting
coverage.
•
•
Turn the light switch to “AUTO” position, the light will turn on automatically at night when
motion is detected.
•T
urn the light switch to “ON” position, the light can be used as a standard light.
NOTE:
Avoid aiming the control at:
•Objects that change temperature rapidly to prevent false triggering, such as heating vents
and air conditioners.
•Moving objects such as trees and street traffic.
!
PROBLEM
Lights will not come on.
Lights flash on and off.
Lights come on for no
apparent reason.
Lights stay “ON”.
A. Light switch is turned off.
B. Cable connection is loose.
C. Motion sensor head is not aimed correctly.
A. Low battery..
A. Motion sensor maybe sensing moving objects
such as trees, traffic, etc.
A. Light switch set to ON.
A. Turn light switch to ON or AUTO.
B. The solar panel needs to be in sunlight for 8-12 hours
to fully charge the battery.
C. Re-aim the motion sensor to cover the desired area.
A. With light switch set to “OFF”, allow to charge in full
sunlight for 8-12 hours before further use.
A. Reposition motion sensor.
A. Turn light switch to “AUTO”.
POSSIBLE CAUSE
SOLUTION
To set the amount of ON time you want the lights to stay on after the motion is detected,
set the time switch to 30”, 60” or 120”
OPERATION
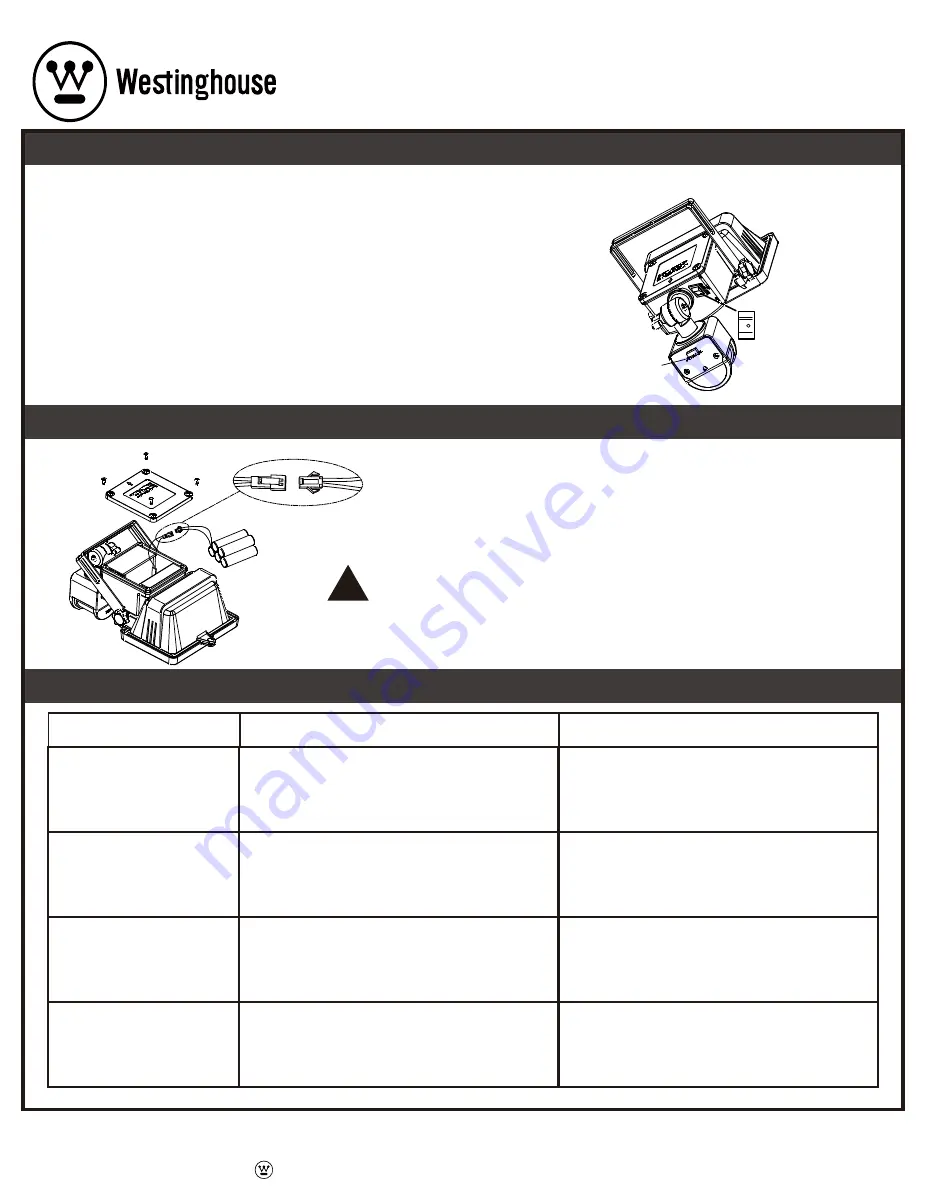
Use a Phillips head screwdriver to remove the 4 screws holding the battery cover in place.
Gently pull battery pack away from the light fixture and disconnect the battery connector.
Replace old battery pack with a new 6V AA Ni-Mh 1000mAh rechargeable battery pack.
Connect the battery connector and insert battery pack into the light fixture. Replace the
battery cover by aligning it properly and replacing the 4 screws removed earlier.
ITEM: Q75AD1423-06
05/09/2017
2/2 E
B. Heat being reflected from other objects may
be turning the motion sensor on and off.
B. Reposition motion sensor.
ON OFF
AU
TO
30” 60” 120”


