Westinghouse LCM-27w4 - Widescreen High Definition HD Grade User Manual Download Page 4


English 


Safety Guidelines 


WARNING: 

This device must be operated with the original power supply. 


CAUTION: 

The power supply outlet should be located near the LCD Display and should be easily accessible. 

Always use the appropriate AC cord that is certified for your specific country. Some examples are listed 
below: 

USA..................UL    

Switzerland .....  SEV 

Canada.............CSA     

Britain .............  BASE/BS 

Germany..........VDE        

Japan ............... Electric Appliance Control Act          


IMPORTANT NOTICE CONCERNING POWER CORD SELECTION 

The specific power cord for this LCD Display is enclosed and has been selected according to the country of 
destination and must be used to prevent electric shock. Use the following guidelines if it is necessary to 
replace the original cord set, or if the cord set is not enclosed. The female receptacle of the cord set must 
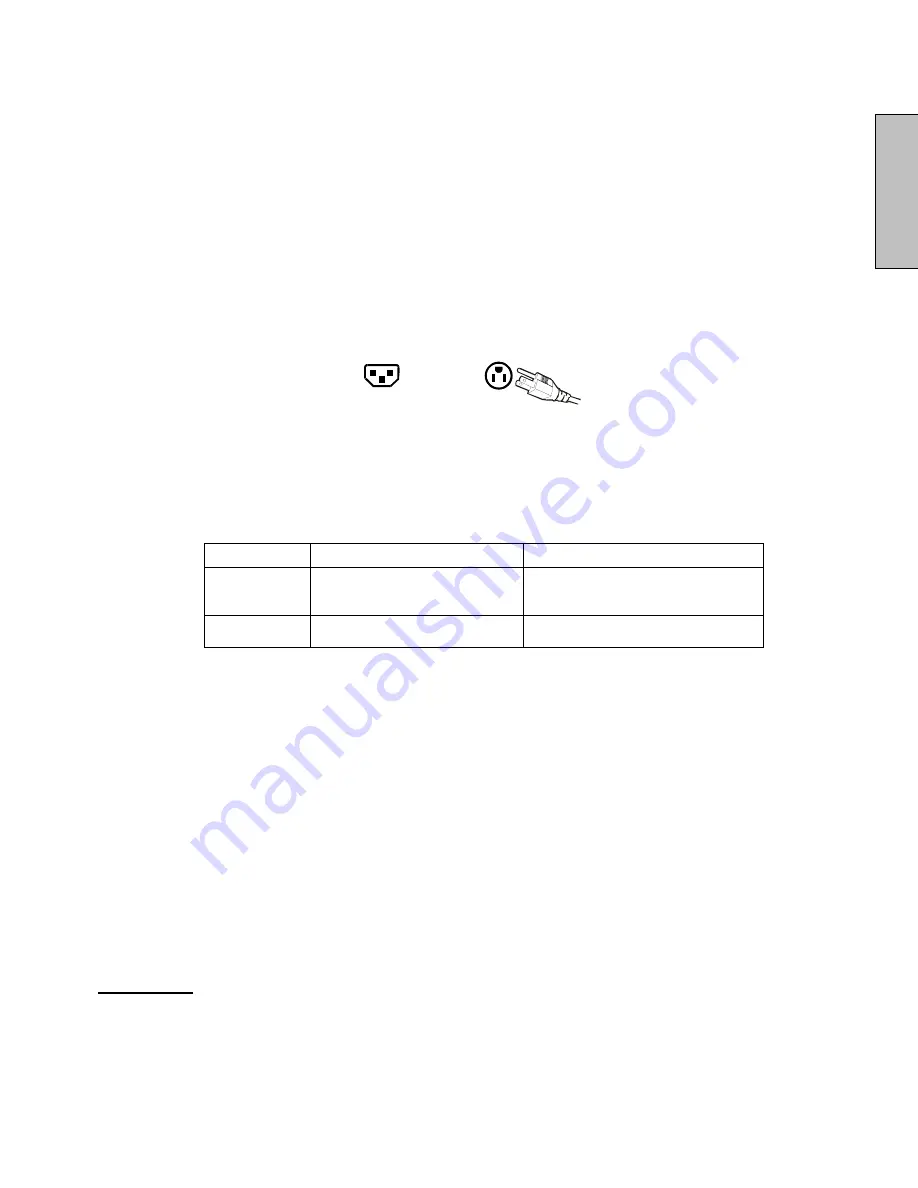
meet IEC-60320 requirements and should look like Figure A1 below: 


Figure  A1

Figure  A2


For the United States and Canada 

In the United States and Canada the male plug is a NEMA5-15 style (Figure A2), UL Listed, and CSA 
Labeled. For LCD Display that are placed on a desk or table, type SVT or SJT cord sets may be used. For 
LCD Display placed directly on the floor, only SJT type cord sets may be used. The cord set must be 
selected according to the current rating for the LCD Display. Please consult the table below for the selection 
criteria for power cords used in the United States and Canada. 


Cord Type


Size of Conductors in Cord


Maximum Current Rating of Unit

SJT


18 AWG 
16 AWG 
14 AWG


10 Amps 
12 Amps 
12 Amps


SVT


18 AWG 
17 AWG


10 Amps 
12 Amps


FCC Compliance Statement 


This equipment has been tested and complies with the limits for a Class B digital device, pursuant to part 15 
of the FCC Rules. These limits are designed to provide reasonable protection against harmful interference in 
a residential installation. This equipment generates, uses, and can radiate radio frequency energy, and may 
cause harmful interference to radio communications if not installed and used in accordance with the 
instructions. However, there is no guarantee that interference will not occur in a particular installation. If this 
equipment does cause harmful interference to radio or television reception, which can be determined by 
turning the equipment off and on, the user is encouraged to try to correct the interference by one or more of 
the following measures: 
 

  Reorient or relocate the receiving antenna. 

  Increase the separation between the LCD Display and receiver. 

  Connect the equipment into an outlet on a circuit different from that to which the receiver is 

connected. 

  Consult the Westinghouse Service Center or an experienced radio/TV technician for assistance. 


FCC Warning 
To assure continued FCC compliance, the user must use a grounded power supply cord and the 
provided shielded video interface cable with bonded ferrite cores. If a BNC cable used, use only a 
shielded BNC (5) cable. Also, any unauthorized changes or modifications not expressly approved by 
Westinghouse Digital will void the user's authority to operate this device.


Summary of Contents for LCM-27w4 - Widescreen High Definition HD Grade

Page 1: ......

Page 2: ...URE PARAMETERS Brightness Contrast Saturation Hue Color Temp Sharpness Aspect Ratio Backlight Reset 10 PC PARAMETERS Auto Adjust Clock Phase Position 11 AUDIO SETTINGS Volume Bass Treble Balance Mute...

Page 3: ...sunlight or high temperatures Avoid exposing the LCD monitor to moisture or high humidity Do not attempt repairs yourself Your warranty does not cover repairs or attempted repairs by anyone not autho...

Page 4: ...rs in Cord Maximum Current Rating of Unit SJT 18 AWG 16 AWG 14 AWG 10 Amps 12 Amps 12 Amps SVT 18 AWG 17 AWG 10 Amps 12 Amps FCC Compliance Statement This equipment has been tested and complies with t...

Page 5: ...t lint free cloth and wipe the screen To clean the case 1 Use a soft dry cloth 2 If it still is not clean apply a small amount of non ammonia non alcohol based mild non abrasive detergent onto a clean...

Page 6: ...Cable Note For information about purchasing a remote control unit for your LCD monitor please log on to our website at www westinghousedigital com Front View of the LCD Monitor Use the buttons on the...

Page 7: ...nu ON OFF 2 Volume Increase Decrease sound volume or adjust a highlighted control while in the OSD Menu 3 OSD Selection Highlight a control while in the OSD Menu 4 Input Select Active source Input or...

Page 8: ...this jack 4 DVI Using a 20 pin DVI cable connect to a computer or other device with a DVI output 5 YPbPr1 Input Connect an external video device with component output to these jacks 6 YPbPr1 Audio 1...

Page 9: ...losed analog VGA cable from your computer VGA OUT port to the LCD monitor VGA IN port DVI CONNECTION Connect a Digital DVI cable from your computer or DVD DVI OUT port to the LCD monitor DVI HDCP port...

Page 10: ...Press the Power ON button on the right side of the LCD monitor 4 Select the input source for the LCD monitor using the OSD menu 5 If connecting to a computer VGA DVI For the best picture quality set...

Page 11: ...D monitor To display the OSD main menu press the MENU key on the right side of front control keys of the LCD monitor Use the keys to highlight the desired OSD sub menu Main Menu To select a sub menu p...

Page 12: ...adjustment Saturation Saturation adjustment Hue Hue adjustment Color Temp Color temperature adjustment Color 1 Color 2 Color 3 Sharpness Sharpness adjustment Sharpness cannot be adjusted in PC mode A...

Page 13: ...enu is only available when the VGA source is selected Function Name Function Auto Automatically adjust the horizontal phase of the image Clock Clock adjustment Phase Phase adjustment Position Adjust t...

Page 14: ...nglish 12 AUDIO SETTINGS Function Name Function Volume Volume adjustment Bass Bass adjustment Treble Treble adjustment Balance Balance adjustment Mute Select Audio OFF or ON Reset Reset audio settings...

Page 15: ...se see PIP PBP POP specification in Table 1 Swap Swap main screen and sub screen source PIP Position Sub screen display horizontal vertical position adjustment PIP Size Sub screen display size adjustm...

Page 16: ...tion adjustment Menu Timeout Set the time to turn off the OSD automatically Language Set the OSD language Transparency Set OSD transparency level DPMS Turn DPMS On or Off LED Turn the LED ON or OFF Sy...

Page 17: ...Voltage 100 240 VAC 50 60 Hz auto switch 1 6A universal Temperature Note A Operating 0 to 35 C Hum 90 Storage 20 to 60o C Hum 35 Operating 20 to 90 non condensing Ta 35 Humidity Relative Note A Storag...

Page 18: ...ss and contrast If you are using a Macintosh computer older than G3 you need a Macintosh adapter Check Source settings Wrong or Abnormal Colors If any colors red green or blue are missing check the co...

Page 19: ......

Reviews: