46
31031 R1
11. Reattach and secure the guard covers.
7.11. Tension the Drive Belts
Æ
When equipped:
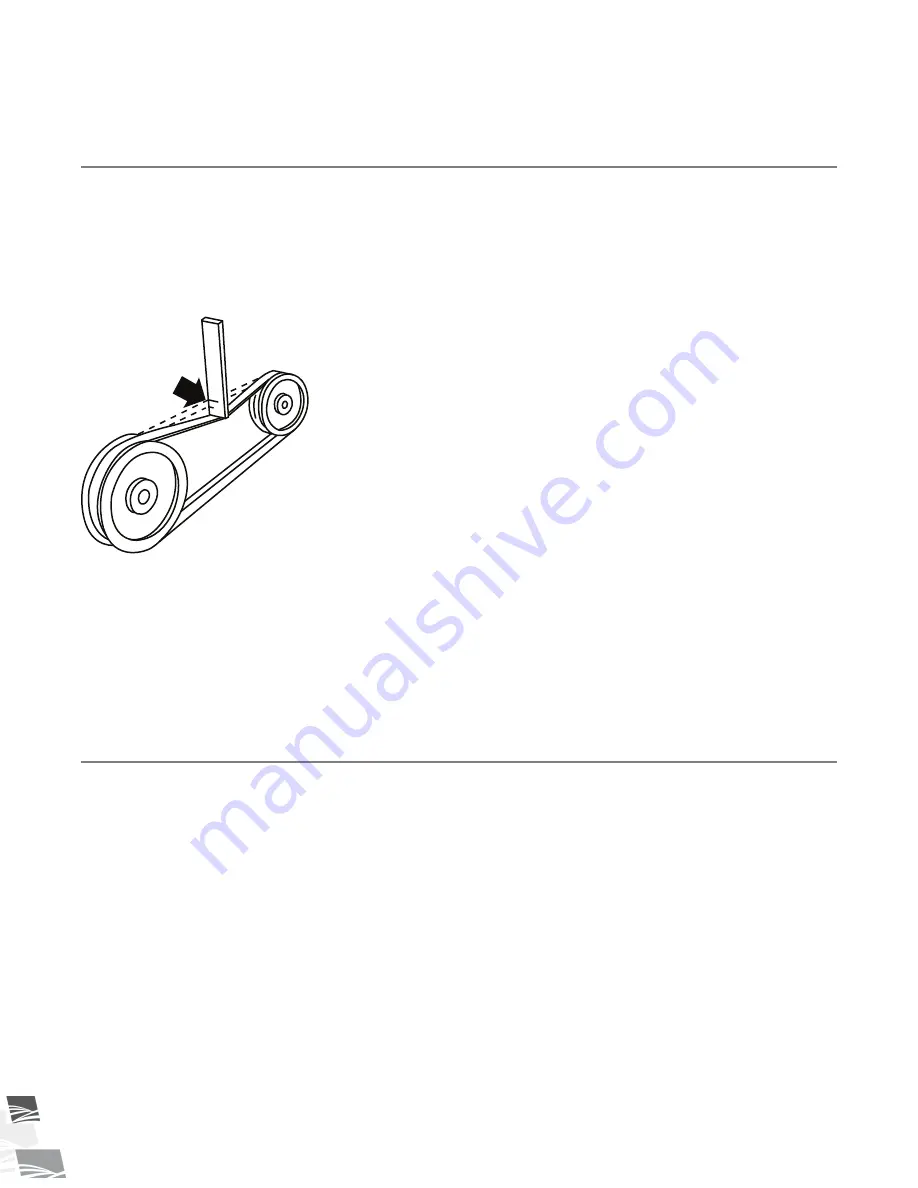
1. Remove belt guard and push on the center of the belt span with a force of approximately 10 lbs.
2. The belts will deflect approximately 2” (51 mm) when properly tensioned.
Figure 21.
Typical Drive Belt Tensioning
2 inches
(51 mm)
3. Tighten or loosen the drive belts (or idler pulley when equipped) to achieve the proper tension.
Important
The drive belt should be just tight enough to not slip on the drive pulley when operating. If the belt
is too loose, it will slip, possibly causing a squeaking sound and slowing the belt down. If the belt is
too tight, it will cause excess wear.
4. Reattach and secure guard. Start system to ensure proper operation.
7.12. Fine Adjustment for Belt Tension
If the proper belt tension cannot be achieved using the holes in the pin series, the handle assembly can be
adjusted by a 1/2 hole increment. This can be accomplished by using the following steps:
1. Loosen the belt tension
2. Remove the bolt, washer and locknut
3. Move the handle assembly to the appropriate hole (see
Figure 22 on page 47
)
4. Re-install the bolt, washer and locknut
7. MAINTENANCE
STX2 SERIES – PORTABLE GRAIN AUGER


