10
Assembling and Operation
Make sure that all filters are inserted correctly, before you switch on the vacuum
cleaner.
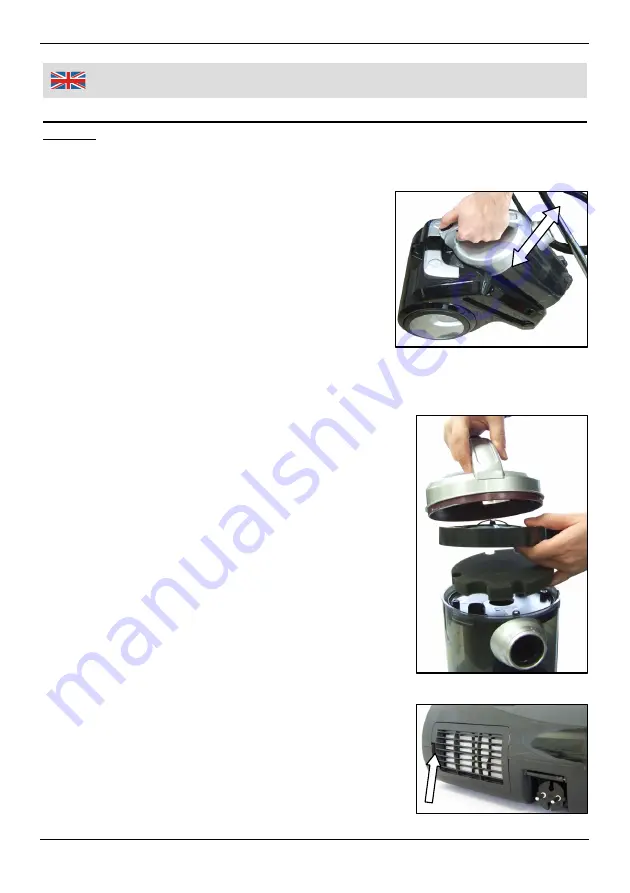
Removing/Inserting the Dust Container
1. Remove the flexible suction hose (1) from the
air intake duct (10). Press the dust container
release button (7) that is located on the top of
the dust container (11) and take out the dust
container.
2. To reinstall the dust container (11), place the
lower part of the dust container into the appro-
priate recess of the housing. Then push down
the upper part of the dust container until the
locking mechanism audibly snaps in.
Dust Filter
1. Remove the dust container (11) from the vacuum
cleaner as described above. Turn the upper
component slightly counter clockwise until the
frame sticks out of the cog. Then pull up the upper
component and remove it from the container.
2. You can clean or replace the filter now. When
inserting pay attention to the proper seat of the
filter and the rubber foam inlay.
3. Reinstall the upper component with the filter in
reverse order on the container and turn the frame
clockwise to lock it.
4. Reinsert the dust container in the vacuum cleaner.
Exhaust Filter
1. Press the locking clip on the back side of the
vacuum cleaner to the right.
2. Remove the filter grille of the exhaust filter.
3. Remove the exhaust filter.
4. You can clean or replace the filter now.


