DATA LIFEGUARD TOOLS
USING DATA LIFEGUARD TOOLS – 6
USER MANUAL
Set Up Your Hard Drive
This section contains instructions for installing your new WD hard drive as a new boot drive
or as an additional storage drive. For instructions on installing hard drives larger than 137
GB, see page 9.
Install a New Boot Drive
1. Select
Set Up Your Hard Drive
from the Data Lifeguard Tools menu. Data Lifeguard
takes several moments to scan for system devices.
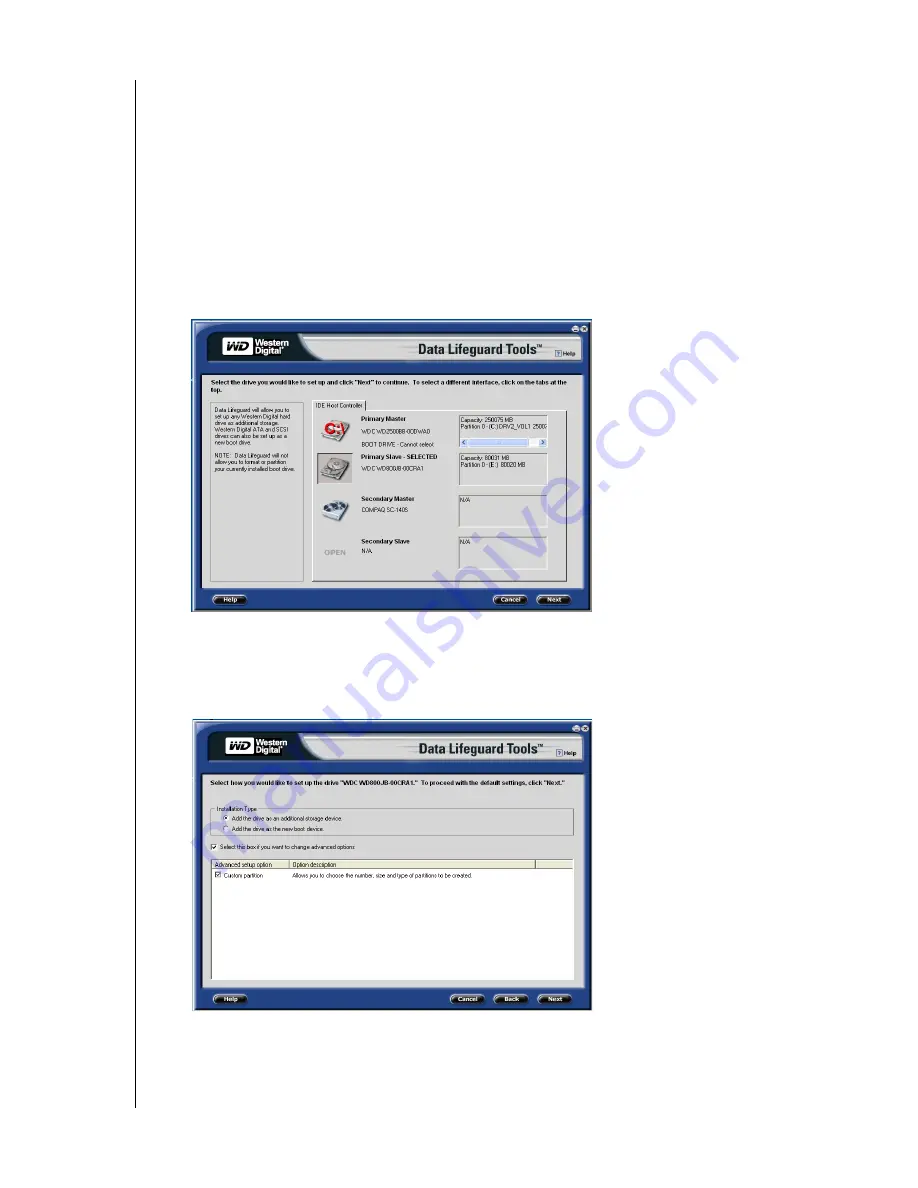
2. After Data Lifeguard Tools detects your installed hard drives, select the new drive that
you want to format or partition as the new boot drive and click
Next
.
Note:
Data Lifeguard does not format or partition a currently installed boot drive (the
drive icon cannot be selected).
3. Select Installation Type as
Add the drive as a boot device
. To create customized
partitions, select the box to change advanced options and check
Custom Partition
.
4. The Custom Partition Setup screen below appears. Your hard drive is automatically
partitioned to the largest capacity based on your operating system limitations. For
instructions on installing hard drives larger than 137 GB, see “Install a Drive Larger than


