background image

MAINTENANCE

AFTER EACH USE

Follow these procedures after each use:

1. Shut off engine and turn off water supply. Release water 

pressure by pointing spray gun in a safe direction and

squeezing the trigger.

2. Disconnect high pressure hose, spray gun, and nozzle. 

Drain water from items and use a rag to wipe down the 

outside of the hose and spray gun.
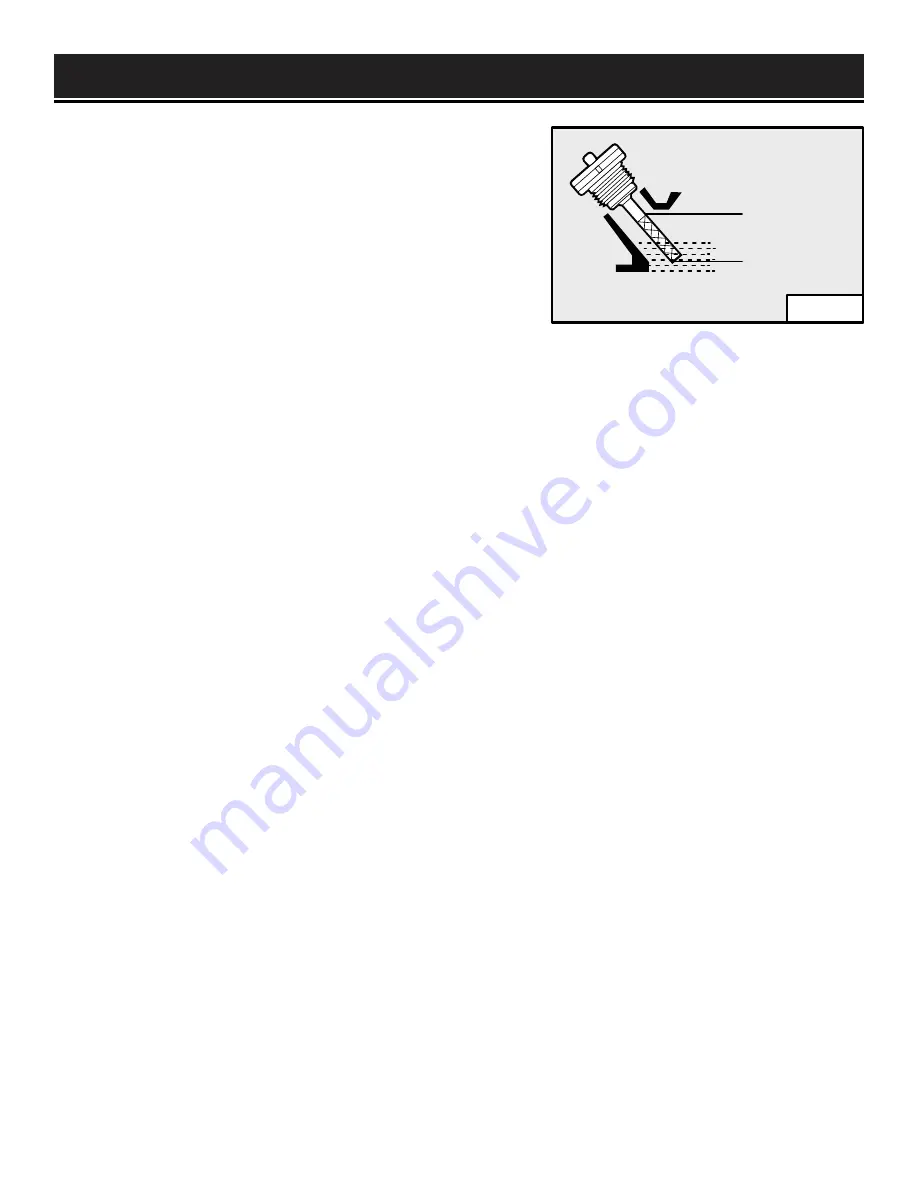
Max Oil Level

Min Oil Level

Fig. 15 

3. Empty the water from the pump by pulling the recoil starter 6 times.

4. Store unit in a clean and dry area after it has had a chance to cool down.

5. Use of a pressure washer pump conditioner is recommended, particularly for winter storage. 

Follow the instructions provided by the manufacturer of the pump conditioner.

CHECKING THE OIL

Check the oil level of the pressure washer according to the Recommended Maintenance Schedule 

on page 17.  The pressure washer should be checked before each use for proper oil level.  This is a 

critical step for proper engine starting.  To check the oil level:

1. Make sure the pressure washer is on a level surface.

2. Clean around oil fill. Remove dipstick and wipe the dipstick with a clean rag. Insert the dipstick 

into the oil fill opening without screwing in. Remove the dipstick to check the oil mark. Add oil if the 

oil mark covers less than one half of the dipstick. (Fig. 15)

3. Slowly add more oil and repeat step 2 until the oil mark reaches to the top of dipstick.  Do not over 

fill the crankcase.

4. Reinstall oil dipstick.

CLEANING THE SPARK ARRESTOR

Clean the spark arrestor with a wire brush every 50 hours or 3 months of use. The spark arrestor is 

the small screen located on the muffler exhaust. 

CAUTION: 

The muffler is very hot after use. Allow the muffler to cool down completely before 

cleaning the spark arrestor.

DRAINING THE CARBURETOR

Drain the carburetor after each use to fight fuel deterioration. If you do not drain the carburetor, 

gasoline will degrade inside the carburetor and clog it, which will make it difficult or impossible to 

start next time you use it. 

1. Prepare an approved gasoline-storage container. Position it underneath the carburetor drain screw.

2. Use a screwdriver to loosen and remove the carburetor drain screw. Allow fuel to flow into the 

container. 

3. Once the carburetor has drained, replace the screw.

18

Summary of Contents for 3200-PSI

Page 1: ...new tool has been engineered and manufactured to WEN s highest standards for dependability ease of operation and operator safety When properly cared for this product will supply you years of rugged t...

Page 2: ...o Lance Connection M22 Threaded Gun to Hose Connection M22 Threaded Lance 20 Stainless Steel Lance to Nozzle Connection Quick Change Pump Axial Cam Detergent Tank Capacity 0 25 Gallon Hose Inner Diame...

Page 3: ...meant to cover all possible conditions and situations that may occur WEN reserves the right to change this product and specifications at any time without prior notice Keep this manual available to al...

Page 4: ...ure washer information when calling Refer to the illustration below for the location of the serial number Record pressure washer information in the spaces provided below DATE OF PURCHASE PURCHASED FRO...

Page 5: ...ed for appropriate conditions will reduce the risk of personal injury 3 Dress properly Do not wear loose clothing or jewelry Keep your hair and clothing away from moving parts Loose clothes jewelry or...

Page 6: ...ildren and do not allow persons unfamiliar with the power tool or these instructions to operate the power tool Power tools are dangerous in the hands of untrained users 5 Maintain power tools Check fo...

Page 7: ...k after the pressure washer has been running move to fresh air RIGHT AWAY See a doctor You may have carbon monoxide poisoning WARNING The exhaust from this product contains chemicals known to the Stat...

Page 8: ...uble check the hose for perforations before starting up the machine and keep it clear of the engine and the muffler Kickback from operation can cause the user to fall down Always operate the pressure...

Page 9: ...d functions of the various components and controls of this pressure washer 30 High Pressure Hose Fuel Tank and Cap Choke Lever Fuel Valve Lever Soap Tank Fill Cap Handle Spray Gun Locking Trigger Reco...

Page 10: ...ual If you have any problems assembling or operating this unit please call 800 232 1195 M F 8 5 CST for customer service WARNING Do not operate this pressure washer if any of the parts are damaged or...

Page 11: ...dle is seated and the two detent pins snap in place ATTACHING UPPER AND LOWER GUN HOOKS FIG 3 1 Attach the upper gun hook Fig 3 1 Align the upper gun hook with the holes Attach using the included nuts...

Page 12: ...ce Tilting the pressure washer to assist in filling will cause oil to flow into the wrong areas of the engine and will cause damage Keep pressure washer level 2 Remove the dipstick Fig 6A 1 from the e...

Page 13: ...Fig 7 1 and set aside NOTE The fuel cap may be tight and hard to unscrew Fig 7 1 2 13 3 Slowly add unleaded gasoline to the fuel tank Fig 7 2 Be careful not to overfill The capacity of the fuel tank i...

Page 14: ...washer exhaust contains carbon monoxide CO This is a poison gas you cannot see or smell If you can smell the pressure washer exhaust you are breathing CO Even if you cannot smell the exhaust you may...

Page 15: ...tarter rapidly can pull your arm towards the engine faster than you can let go which could result in injury Always relieve pressure from spray gun before pulling starter cord including every failed at...

Page 16: ...ck soap nozzle APPLYING DETERGENT 1 Only use the black soap nozzle for detergent 2 Rinse surfaces with cool water before applying cleaner 3 Prepare detergent as required For best results follow deterg...

Page 17: ...eplace x x x x Air cleaner cartridge Check x x Clean x Spark plug Check clean x Change x x Fuel tank Check level x Clean x Spark Arrestor Clean x Clean change more often under dusty conditions or when...

Page 18: ...e 2 Clean around oil fill Remove dipstick and wipe the dipstick with a clean rag Insert the dipstick into the oil fill opening without screwing in Remove the dipstick to check the oil mark Add oil if...

Page 19: ...mpletely drained return the pressure washer to a level position and install the oil drain plug Refill the engine with new oil as instructed earlier in this manual under Adding Checking Oil AIR CLEANER...

Page 20: ...ration A good spark plug should be intact free of deposits and properly gapped Refer to Recommended Maintenance Schedule on page 17 TO INSPECT THE SPARK PLUG FIG 18 19 1 Remove spark plug boot Fig 18...

Page 21: ...dirty or clogged and should be cleaned immediately To clean the nozzle 1 Shut off the engine and turn off the water 2 Remove the nozzle from the spray wand making sure that the nozzle is pointing awa...

Page 22: ...Spark plug is dirty Clean spark plug Spark plug is broken Replace spark plug Generator is not on level surface Move generator to a level surface to prevent low oil shutdown from triggering Oil is low...

Reviews: