background image

9 / 13

© 2016 Spectrum Brands, Inc.

Kevo Support: www.weiserlock.com/kevo/support
USA: 1-800-677-5625 • Canada : 1-800-501-9471

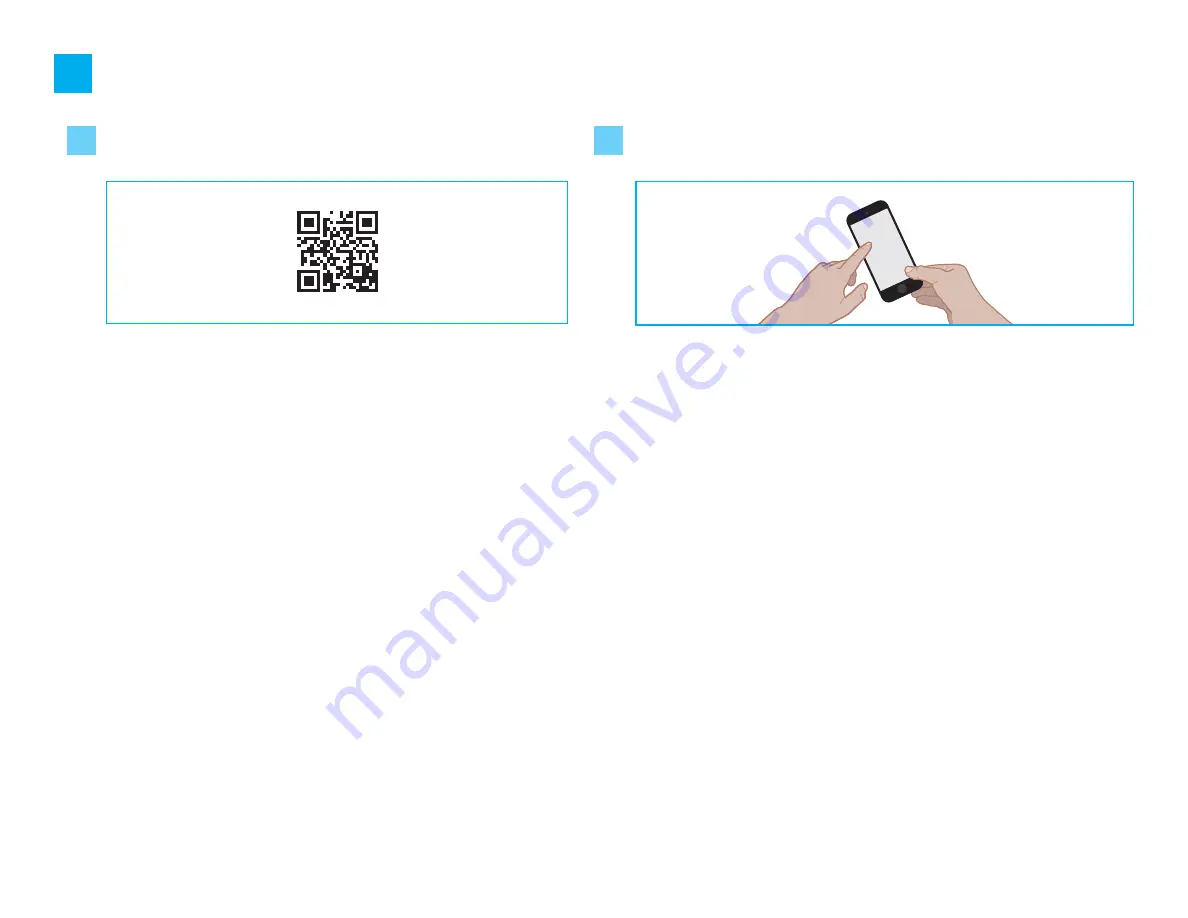
Download the Kevo app and set up your smartphone.

Download the Kevo app at 

weiserlock.com/kevo/app

 or scan the QR code below.

Follow the instructions inside the app to create an account, enroll 
your first smartphone and send eKeys to family and friends.

A

B

8

Summary of Contents for kevo convert 66102/01

Page 1: ...nstallation and User Guide Parts in the box Required tools Ruler Phillips screwdriver Existing key Adapters Mounting plate screws Interior assembly screws Interior assembly screws Interior assembly screws Interior cover screws Interior cover screws Interior cover screws Mounting plate screws Mounting plate screws Kit A Kit B Kit C Mounting plate Adapter Mounting plate Mounting plate Adapters ...

Page 2: ... from the handle below it it is compatible with Kevo Convert Make sure your door is open and extend your latch bolt extended Remove all existing deadbolt hardware from the interior side of your door Keep your deadbolt exterior in place deadbolt exterior A B Not Compatible Rim Lock Mortise Lock Integrated Interior Not Compatible Not Compatible Compatible 1 3 2 Make sure your existing deadbolt is co...

Page 3: ...ertical rectangle Baldwin Estate deadbolts Use kit B for your door You will need the gold adapter and the thinner gold screws thinner screws Slanted rectangle Schlage deadbolts Use kit C for your door You will need the silver adapter Horizontal rectangle Schlage deadbolts Use kit C for your door You will need the gold adapter Look at the hole in your door What shape is your torque blade the part s...

Page 4: ...weiserlock com kevo support USA 1 800 677 5625 Canada 1 800 501 9471 A Place the mounting plate on the door so that the torque blade inserts through the center hole Black Components Only To determine which mounting screws to use test one of the thicker screws first If the thicker screw fits continue installing the thicker screws If the thicker screw doesn t fit install the thinner screws 5 Install...

Page 5: ...ter on the interior assembly B Black adapter a b c d Prepare the interior assembly A Make sure the turnpiece is in the vertical position vertical Remove the interior cover Make sure shaft is oriented as shown If needed rotate the shaft to this position Stripe should be vertical Remove the battery pack Do not install batteries yet 6 Install the interior assembly Silver adapter Tab is on bottom Blac...

Page 6: ... 1 800 501 9471 Right Left SCHLAGE DEADBOLTS ONLY Switch 2 On your interior assembly flip switch 2 to the top position Look at your mounting plate Is your latch bolt to the left or right of your mounting plate No adjustment is required Proceed to the next page 6 Install the interior assembly continued ...

Page 7: ... 1 800 501 9471 C Install the interior assembly onto the mounting plate a b Align the adapter with the torque blade Secure with two 2 interior assembly screws bottom hole 6 Install the interior assembly continued Schlage deadbolts only You may need to rotate the adapter to align with the torque blade ...

Page 8: ...er door handing make sure the batteries are installed correctly and the lock interior is correctly installed Perform steps B D again The Status LED will turn green or red Green Door handing successful Continue to step 8 Red See Red Status LED below If the bolt does not move make sure the batteries are installed correctly and perform steps B D again This step will teach the lock the orientation of ...

Page 9: ...677 5625 Canada 1 800 501 9471 Download the Kevo app and set up your smartphone Download the Kevo app at weiserlock com kevo app or scan the QR code below Follow the instructions inside the app to create an account enroll your first smartphone and send eKeys to family and friends A B 8 ...

Page 10: ... b b c Important information about the interior cover If you want to keep the window locked If you want to unlock the window If the window is unlocked it can slide up for more convenient access to programming buttons while the cover is installed Note The interior cover and screws must be removed for battery pack access The interior cover will be secured by three screws to prevent someone from remo...

Page 11: ...l single cylinder deadbolts Entrance Adirondack Handleset Chesapeake Handleset Columbus Handleset Cottonwood Handleset Del Mar Handleset Elizabeth Handleset Elkhorn Handleset Fairbanks Handleset Kodiak Handleset La Jolla Handleset Longview Handleset Miami Handleset Napa Handleset New Hampshire Handleset Santa Cruz Handleset Seattle Handleset Westcliff Handleset Baldwin Estate Deadbolts 8011 8031 8...

Page 12: ...witches Status LED Notifications Switch 1 Status LED Door lock status LED blinks every 6 seconds ON position is factory default Switch 2 Invert Only used for right handed doors that have installed silver components See page 6 for details on off 1 Reset button 2 Back panel 3 Program button 4 Turnpiece shaft 5 Switches 6 Status LED System Reset If you wish to perform a system reset press andhold the...

Page 13: ... 3 Remind all family members of safety precautions 4 Always have access to your lock s standard key 5 If using the Auto Lock feature make sure to have your smartphone or standard key with you to prevent locking yourself out 6 Replace low batteries immediately Preventing Inadvertent Unlocking of Your Door WARNING Failure to follow these safeguards could result in your lock opening inadvertently 1 R...

Reviews: