14
ENABLE THE QCL INSTRUMENT
Press the
Enable
button on the front panel. The button will
glow blue only when current is delivered to the load. There is
a standard 2-second delay before the button illuminates and
current flows.
VI SCAN
1. On the Control screen, press to access the VI
scan screen.
2. Press the
Current Start
value to select the current at
which to start the scan. Turn the
Adjustment
knob to
change it.
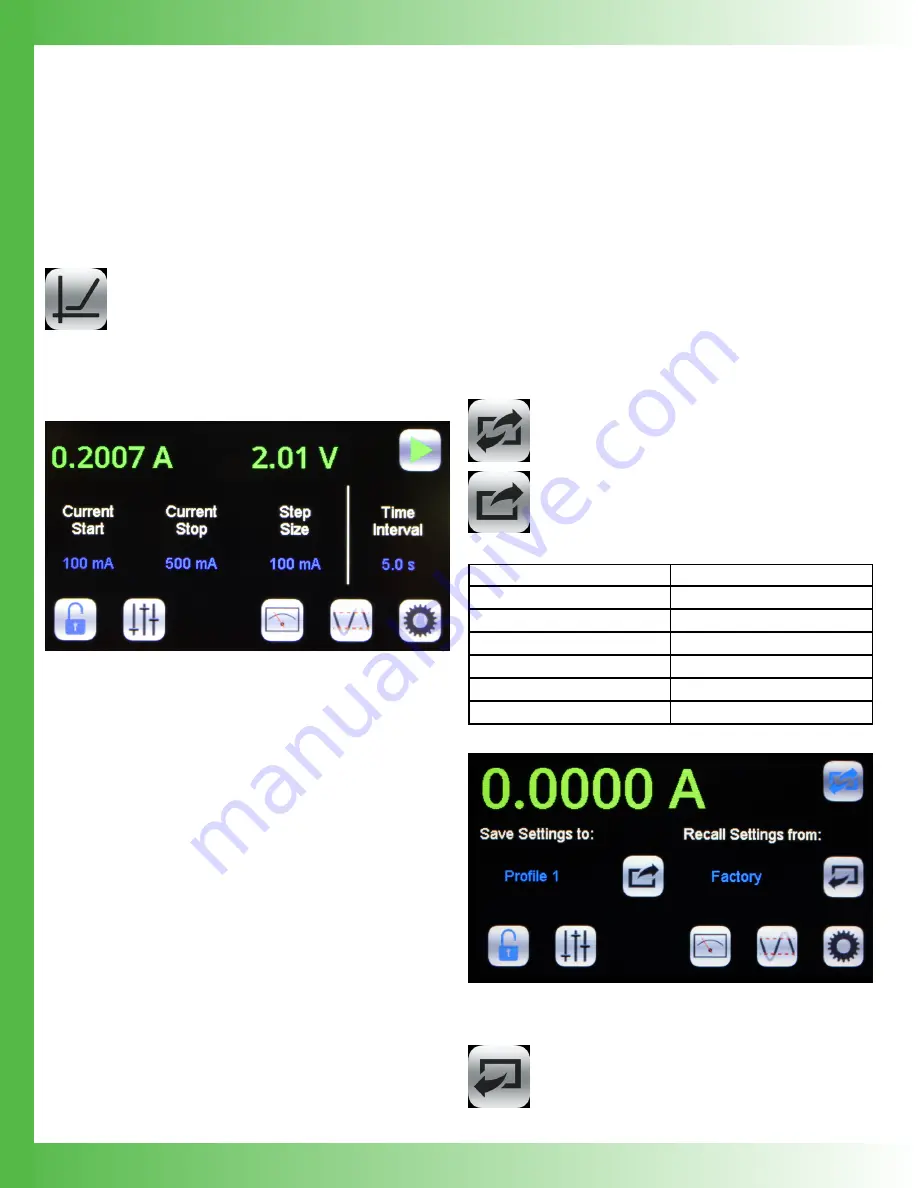
Figure 19. Scan Screen
3. Press the
Current Stop
value to select the current at
which to stop the scan.
4. Press the
Step Size
value to select the current interval at
which to take a measurement. The maximum interval is
10% of full scale. Minimum step is 1% of full scale.
5. Press the
Time Interval
value to select the amount of time
to allow the current to settle. For the best data accuracy,
use a Time Interval of 2 seconds or more. The minimum
time interval is 0.1 seconds.
6.
Insert the USB flash drive in the USB slot on the front
panel.
7. Press the green
Run
button to start the scan. When
finished, data is saved to the USB flash drive with
the filename
viscanxx.txt
, where xx starts at 00 and
increments.
8. To stop mid-scan, press the red
Stop
button to abort the
scan. Any data collected during the aborted scan is saved
to the USB flash drive.
NOTES:
•
The step interval time is approximate. In the scan files,
time intervals are slightly more than the step interval
indicated on the instrument. Each interval builds on the
previous one.
•
Should the Step Size interval not finish at the Stop Current,
the reading is still taken and recorded. For example,
if the Start Current is 250 mA and the Stop Current is
1.04 A with a Current Step of 250 mA, a reading is taken
at 1000 mA (1 A) and 1040 mA (1. 04 A) but not at 1250
mA (1.25 A).
• After a VI scan is completed, the output is disabled and
the setpoint is zeroed.
SAVE OR RECALL SETTINGS
Press to access the Save/Recall Screen.
Under
Save Settings to
, press the blue text
to toggle through the Profile options, select
one, and then press the
Save
icon.
The following variables are saved:
OPERATION SETTINGS
VI SCAN SETTINGS
Setpoint
VI Start Current
Current Limit
VI Stop Current
Max Supply Voltage
VI Step Size
Cable Resistance
VI Time Interval
Display Brightness
Beeper Status
Figure 20. Save / Recall Screen
Under
Recall Settings from
, press the
blue text to toggle through the saved Profile
options, and then press the
Recall
icon to
recall the saved settings. Select
Factory
to
restore the settings to the factory defaults.


