SPEEDLAN TM
42
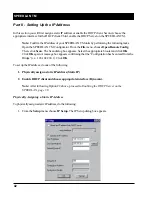
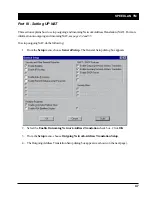
Part II - Setting Up the IP Address
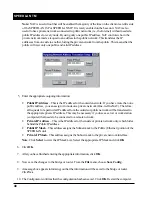
In this section you will first assign a static IP address or enable the DHCP client. Second, choose the
appropriate interface for the DHCP client. Third, enable the DHCP Server on the SPEEDLAN TM.
Note:
Confirm the IP address of your SPEEDLAN TM units by performing the following tasks.
Open the SPEEDLAN TM Configurator. From the
File
menu, choose
Open Remote Config
.
Then, click
Scan
. The Scan dialog box appears. Select the appropriate brouter and click
OK
.
Click
OK
again. A message box appears confirming that the “Configuration has been read from the
Bridge” (i.e., 128.104.224.1). Click
OK
.
To set up the IP address, do one of the following:
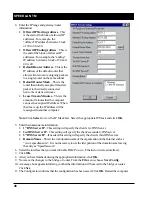
1. Physically assign a static IP address (Static IP)
2. Enable DHCP client and choose appropriate interface (Dynamic).
Note:
After following Option #2 above, proceed to
Enabling the DHCP Server on the
SPEEDLAN, page 59
.
Physically Assigning a Static IP Address
To physically assign a static IP address, do the following:
1. From the
Setup
menu, choose
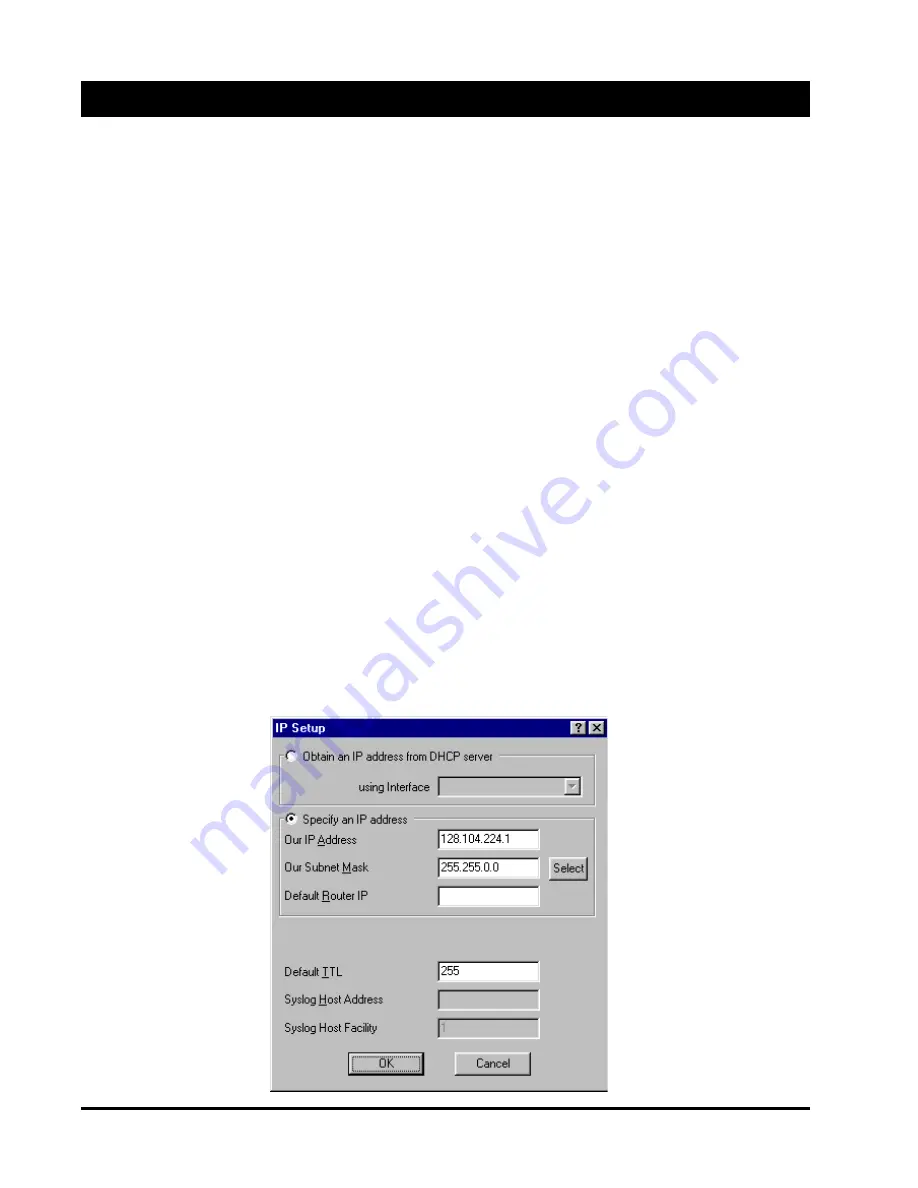
IP Setup
. The IP Setup dialog box appears.
Summary of Contents for SPEEDLAN TM 6000
Page 2: ......
Page 6: ......
Page 7: ...SPEEDLAN TM INTRODUCTION...
Page 8: ......
Page 11: ...SPEEDLAN TM 11 USING CONFIGURATOR...
Page 12: ......
Page 15: ...SPEEDLAN TM 15 CONFIGURING SPEEDLAN TM...
Page 16: ......
Page 25: ...SPEEDLAN TM BRIDGING SETUP...
Page 26: ......
Page 32: ...SPEEDLAN TM 32...
Page 33: ...SPEEDLAN TM 33 Setting Up the IP Addresses IP Host Setup...

