AccUView LED (1/2020)
Rev 2
19
Alarm 1 Set Point:
This prompt is used to select the set point for this alarm; this is
indicated by “S/P” shown on the lower row of the display. Select the desired alarm level
by using the
and
buttons. Once the desired set point has been set, press the
↵
button
to accept it.
Alarm 1 Delay Times:
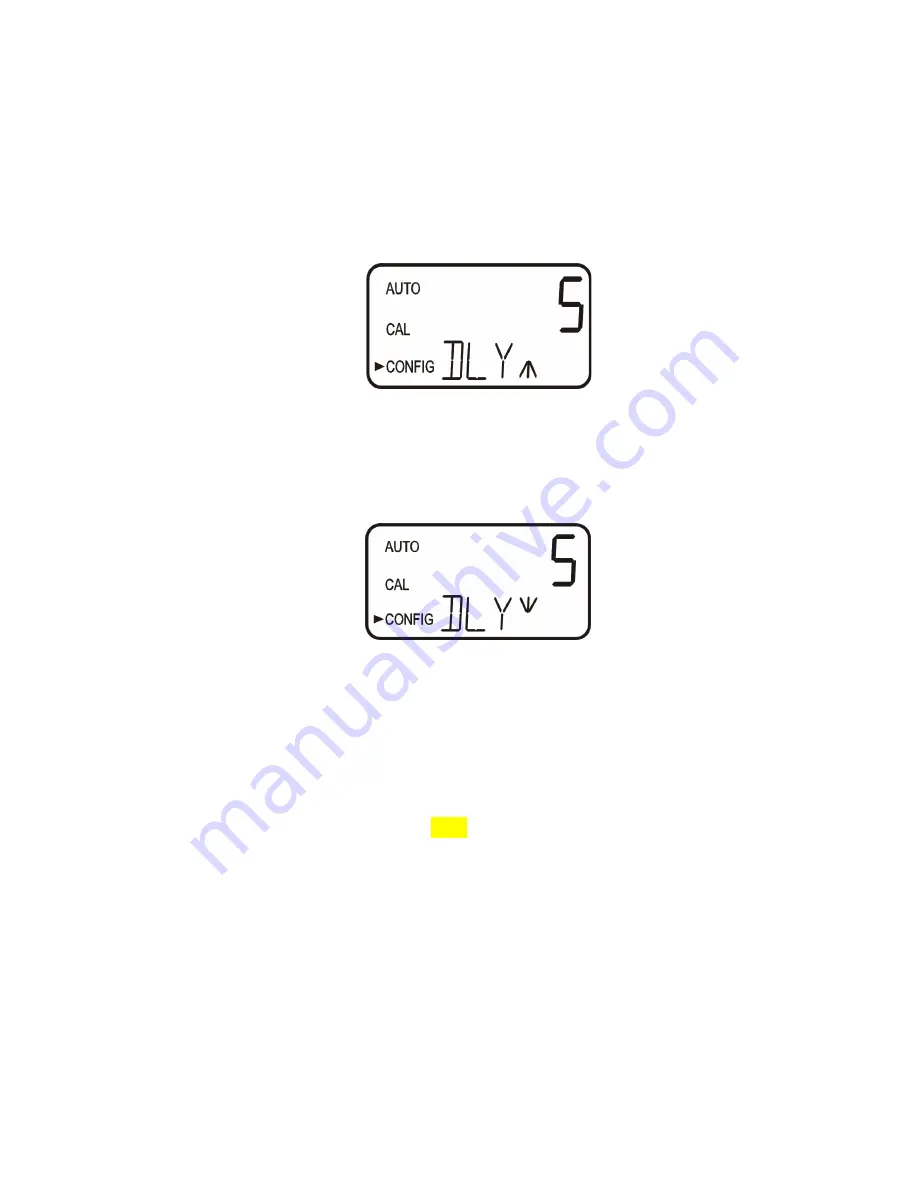
Delay On
: The following display will appear to allow to select
the number of seconds currently set for the “delay on” time.
The current selected number of seconds will be shown. Select the desired number of
seconds for the “delay on” time for this alarm using the
and
buttons. Once the
desired delay time has been set, press the
↵
button to accept it.
Delay Off
: Next, the following display will appear to select the number of seconds
currently set for the “delay off” time.
The current selected number of seconds will be shown. Select the desired delay off time
for this alarm using the
and
buttons. Once the desired delay time has been set, press
the
↵
button to accept it. After the settings for alarm 1 have been completed, prompts will
allow for the set up of the information on alarm #2.
7.4.2 Alarm 2
Repeat the procedure listed in section 7.4.1 to set up the parameters for alarm 2. If one of
the other functionalities is selected, a prompt to set the delay times and the set point, as
with Alarm #1, will be displayed.


