


Document #10-32813 Rev A; June 07, 2019
Page
20
of 69
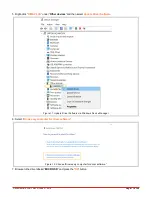
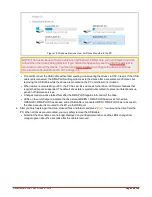
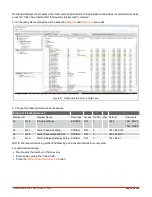
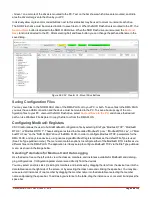
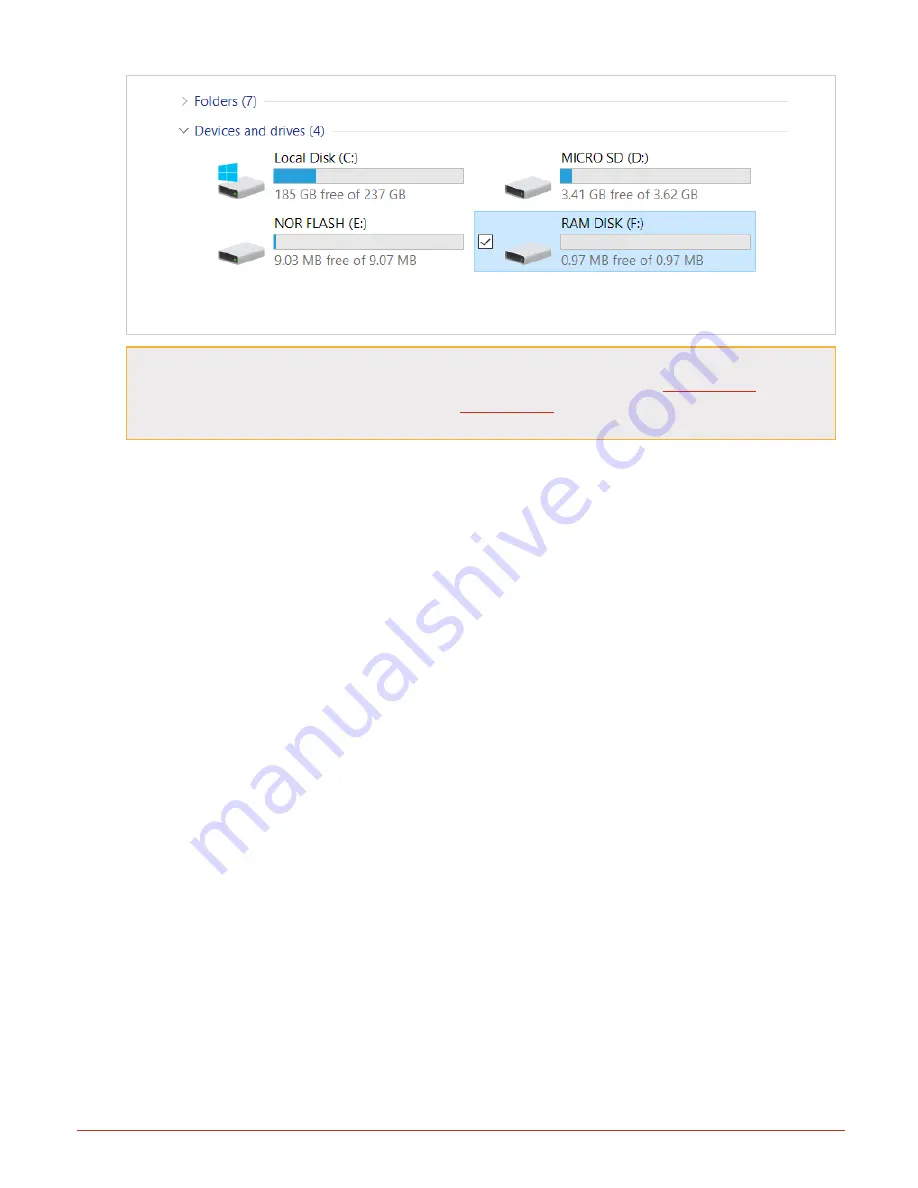
Figure 16: Windows Devices View: All Drives Mounted to the PC
NOTE: There is an issue with some versions of Windows 10 OS where you cannot eject one drive
without the other drives being affected. If you notice this happening, use the
tool to
mount and unmount the drives. You'll be using
to configure the drives, and it has
mount/unmount buttons for each of the drives in it.
l
Do not disconnect the USB cable without first ejecting or unmounting the drives via CSV Creator. If the USB
cable is disconnected, the RMA PLUS will regain access to the drives after a several second timeout, but
removing the USB cable while the drives are mounted on the PC could result in corruption.
l
When a drive is mounted to your PC, the PC has exclusive access to that drive. All firmware features that
require the drive are suspended. The default drive state is ejected (unmounted) to prevent unintentional sus-
pension of firmware services.
l
Changes made to a drive take effect after the RMA PLUS regains full control of the drive.
l
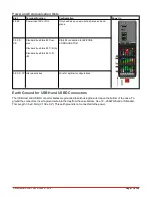
LEDs on the unit change to indicate the drive state. GREEN = RMA PLUS has access to the drive.
ORANGE = RMA PLUS has access, and a USB cable is connected. RED = RMA PLUS has no access to
the drive because it is mounted to the PC via the USB port.
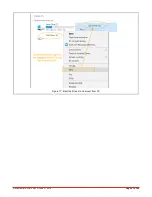
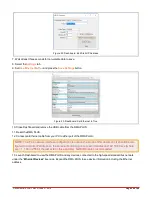
4. After you finish working with a drive, close all files and folders and press “
Eject
” to unmount the drive from the
PC. When all drives are unmounted, you may safely remove the USB cable.
l
Note that the drive names are no longer displayed on your Explorer window, and the LEDs change from
orange to green about five seconds after the cable is removed.


