Setting Up the Management Station
Install the Management Software.
3
4
Cabling the Firebox
®
X Peak
™
Trusted Interface
Management Station
Information
ormation
Over Local Area Network
With Crossover Cable
1.
Insert the WatchGuard System Manager CD-ROM.
If the installation wizard does not appear auto-
matically, double-click the install.exe in the root
directory of the CD-ROM.
2.
Click Download the Latest Software on the “Firebox X
Installation” screen. This launches your Web browser
and connects you to the WatchGuard Web site. If you
do not have an Internet connection, you can install
directly from the CD-ROM; however, your Firebox will
not function until you activate LiveSecurity
Service. You must have your Firebox feature key from
LiveSecurity to continue.
3.
Download the WatchGuard System Manager
software. Download time will vary depending
on your connection speed.
NOTE: Make sure you write down the name and
path of the file as you save it to your hard drive.
4.
Execute the self-extracting file, and follow the
screens until the “WatchGuard Firebox X Set-up:
Set-up Complete” screen.
5.
By default, the Quick Setup Wizard launches
at the end of the software installation. You
must cable the Firebox before you continue
with the Quick Setup Wizard.
6.
Plug the power cord into the Firebox power input
and into a power source. Leave the power
switch “off” until the Quick Setup Wizard requests
that you turn it “on.”
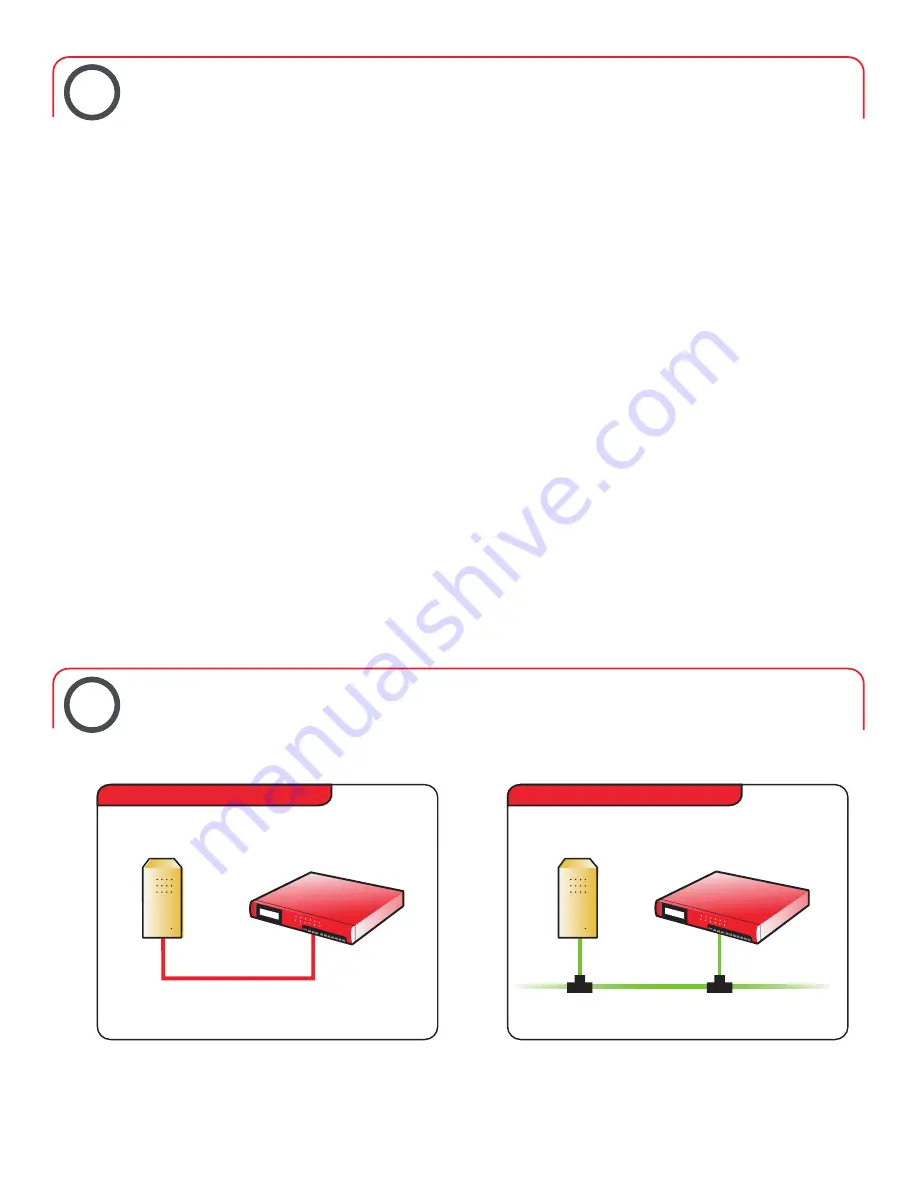
Cross-over Ethernet Cable
Ethernet Cable
Trusted Interface
Management Station
Figure 3
Figure 4
Cable the Firebox X to your management station as follows. (Refer to figures 3 and 4 below.)
You can administer the Firebox X Peak from any computer on which you install the
WatchGuard System Manager software. Minimum system requirements:
Microsoft®Windows®2000/XP with Intel®Pentium®III 1 GHz or higher, and 512 MB RAM
is required. A hard disk with 25 MB of free disk space is required to install WatchGuard
modules, plus 15 MB minimum for log files.
4
Summary of Contents for Firebox X Peak Series
Page 1: ......
Page 7: ...Benutzername Kennwort 7 ...


