7
Recording Modes
The DVR offers three recording modes,
MANUAL RECORD, EVENT RECORD
and
TIMER RECORD
.
MANUAL RECORDING (continuous recording):
The DVR will begin recording when the cameras are properly connected and a HDD is installed. It is set to
this mode by factory default.
EVENT RECORDING (triggered by motion and external alarm):
When this function is activated, the recording is triggered by motion or external alarms, indicated by the
sign " " (motion) or " " (external alarm) on the screen.
TIMER RECORDING (scheduled time):
Recording is scheduled by Timer, indicated by a yellow clock icon in the on-screen status bar.
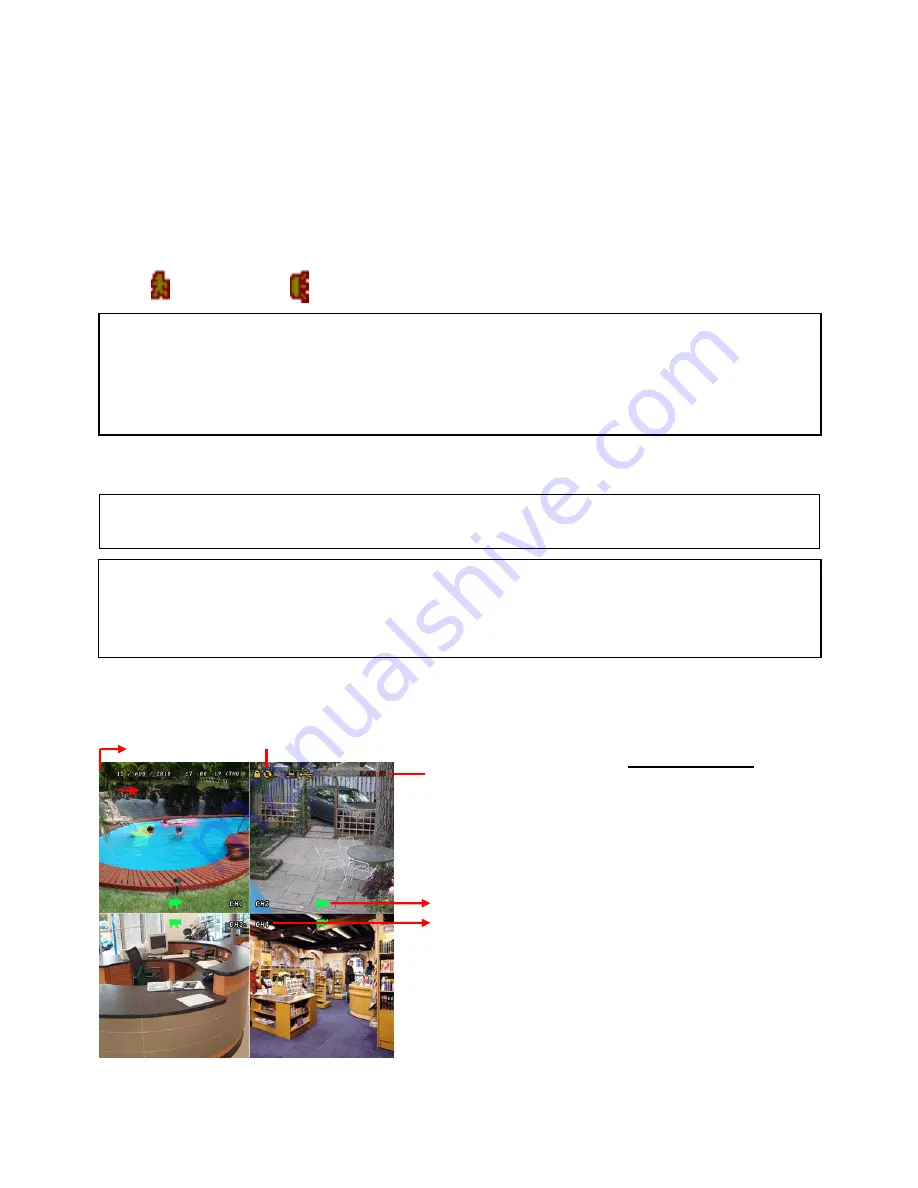
Typical Viewing Screen
The image below shows a typical screen shot from an installation
●
●
IMPORTANT NOTE:
If power is switched off accidentally or in the case of a black out, recorded video files will
still be stored in the HDD. The DVR will return to the original recording status after power is turned on again.
**
Overwriting View
When the HDD is full under
“Overwriting” recording mode, the
previously recorded data may be
overwritten without further warning
notice. Your DVR will clear 8GB from
the oldest data for overwriting.
Unit is set to Overwrite by factory
default
.
Under Recording
Channel Title
HDD Overwrite Mode
Remaining Available
Capacity of Internal HDD
System Time
How to enable motion recording:
- Enter menu, go to “ADVANCED CONFIG”
- Under “DETECTION”, enable
“DET”
for each camera
- Go to “ALERT” and set “MOTION BUZZER” to
“OFF”
- Go to “RECORD” and set “MANUAL RECORD ENABLE” to
“OFF”
and “EVENT RECORD ENABLE” to
“ON”
How to enable scheduled recording:
- Enter menu, go to “ADVANCED CONFIG”
- Under “RECORD” set “MANUAL RECORD ENABLE” to
“OFF”
and “TIMER RECORD ENABLE” to
“ON”
- You can then select “SCHEDULE SETTING” from the main menu to set the record schedule


