background image

Summary of Contents for HSS-ZA

Page 1: ...Trimmer HSS ZA Combination Trimmer with additional Polishing Spindle left USER MANUAL...

Page 2: ...vent accidents as well as the precautions given in this user manual We are not liable for any damages which occur due to inappropriate usage or faulty operation of this device Make sure that anyone us...

Page 3: ...nstalling the Brush Spindle 11 9 Supports 11 10 Operation 12 10 1 General Operating Instructions 12 10 2 Water Regulation 12 10 3 Brush Spindle 12 11 Troubleshooting 13 12 Care and Maintenance 14 12 1...

Page 4: ...bench with longitudinal slots and side openings no water spills possible powerful disc and internal rinsing easy to open using rear handle splash protected as per IP 54 2 Safety Symbols used in this M...

Page 5: ...gerous high voltage rotating parts Incorrect usage or inadequate maintenance could endanger personnel and equipment Any work on the motor should be carried out only by qualified service personnel Allo...

Page 6: ...ual Wassermann Dental Maschinen GmbH is not responsible for damage arising from the nonobservance of these instructions Warranty and responsibility provisions contained in the sales and supply conditi...

Page 7: ...from the power socket Make sure that it is packed correctly in order to avoid accidental damage Be sure to check for any transport damage when unpacking the goods Note down any damage if found 6 2 St...

Page 8: ...e recommend you install it close to a tap The best place is right next to a washbasin The device has to stand horizontally on a steady and even surface Do not install the unit outdoors or in places wi...

Page 9: ...underneath the motor Use the clamps already mounted on the hose and tighten them firmly The tap must have a cut off valve so that the feeder hose does not remain under constant pressure when the unit...

Page 10: ...lowing instructions Ensure that the mount is placed correctly in position It should be installed in accordance with the following diagram When installing the angled mount ensure that positions 1 and 2...

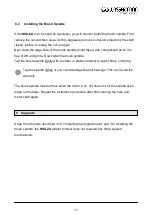
Page 11: ...ush spindle Tap the brush spindle lightly with a rubber or plastic hammer to seat it firmly on the tip Tap the spindle lightly or you could damage the ball bearings This could void the warranty The br...

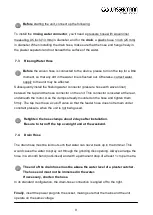
Page 12: ...sc remains more or less its original colour during grinding Grinding requires only light pressure and slight left and right movement of the cast It goes without saying that only completely set plaster...

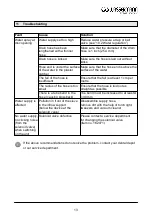
Page 13: ...is at least 1 cm per metre The radius of the hose is too small Ensure that the hose is laid out as straight as possible There is a tube bend in the hose causing blow back The bend must be increased to...

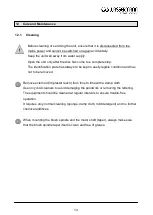
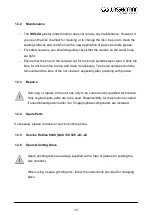
Page 14: ...sily legible condition and has not to be removed Remove external dirt plaster leach from time to time with a damp cloth Use only cold cleaners to avoid damaging the paintwork or removing the lettering...

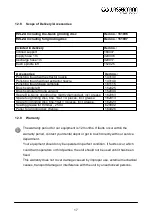
Page 15: ...he brush spindle should be removed and the bore of the nut cleaned especially after polishing with pumice 12 3 Repairs Servicing or repairs to the unit has only to be carried out by qualified technici...

Page 16: ...7 Foil Grinding Discs These discs can be turned around and remounted after one side has been used up thus allowing you to continue working This increases disc life considerably Loosen the star handles...

Page 17: ...grease 162063 Spare foil grinding disc fine 1Set 4 pieces incl grease 162013 Spare foil grinding disc fine 1Set 4 pieces incl grease 162023 Sealing grease for trimmer 25 ml 629002 Puller for grinding...

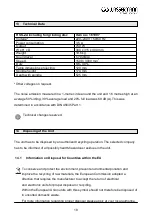
Page 18: ...Technical changes reserved 14 Disposing of the Unit The unit has to be disposed by an authorized recycling operation The selected company has to be informed of all possibly health hazardous residues...

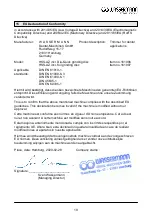
Page 19: ...hne unsere Zustimmung ver ndert wird This is to confirm that the above mentioned machine complies with the described EU guidelines This declaration becomes invalid if the machine is modified without o...

Page 20: ......

Reviews: