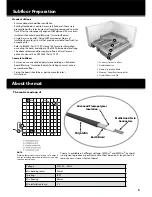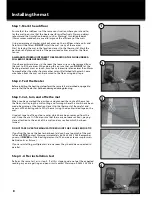
Installing the mat
Step 1 - Mark the subfloor
Ensure that the subfloor is of the same construction where you intend to
lay the mat to ensure that the heater performs effectively. Warmup always
recommend that insulation boards, such as Warmup® Insulation Boards
(10mm recommended), are used to improve the efficiency of the mats.
Using a permanent marker, mark out areas on the subfloor where units and
fixtures will be fitted. DO NOT install the mat in any of these areas.
Start by laying the mat in the location closest to the thermostat. Mark the
positions and planned route of the power lead cables as well as the floor
sensor.
ALL MANUFACTURED JOINTS NEED TO BE PLACED ON THE FLOOR UNDER A
FULL BED OF ADHESIVE AND TILES.
If you have awkward areas in the room the loose wire can be removed from
the mat to fit these areas. When doing this ensure that you DO NOT let the
heating element cross or touch. Ensure any loose wires are no closer than 50mm
from each other, the wall or from any other wires still attached to the mesh. Loose
wire taken from the mat can be secured to the floor using duct tape.
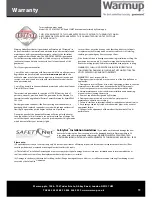
Step 2 - Test the Heater
Before installing the heating mat perform the same test as described on page 6 to
ensure that the heater has not been damaged during planning.
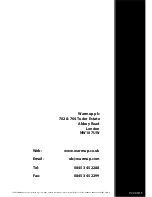
Step 3 - Cut, turn and affix the mat
When you have marked the positions and planned the route of the mat on
the floor, start laying the mat cutting and turning where the marks have been
made, beginning at the location closest to the thermostat. Be careful and
never cut the heating cable. Affix the mat using the double sided tape on the
mat.
Use duct tape to affix any loose wires which have been removed from the
mat. Once the mat is fitted, ensure that there are no loose sections, paying
close attention to the ends of the mats and any section which has been
turned.
DO NOT TAPE OVER THE MANUFACTURED JOINTS OR FLOOR SENSOR TIP.
If you find that once the heater has been laid you have too much of the mat
left over STOP, contact Warmup immediately on 0845 345 2288. Remember
you must NEVER cut the heating element to fit an area or leave surplus mats
behind units or fixtures.
If you are installing multiple mats in one room they should be connected in
parallel.
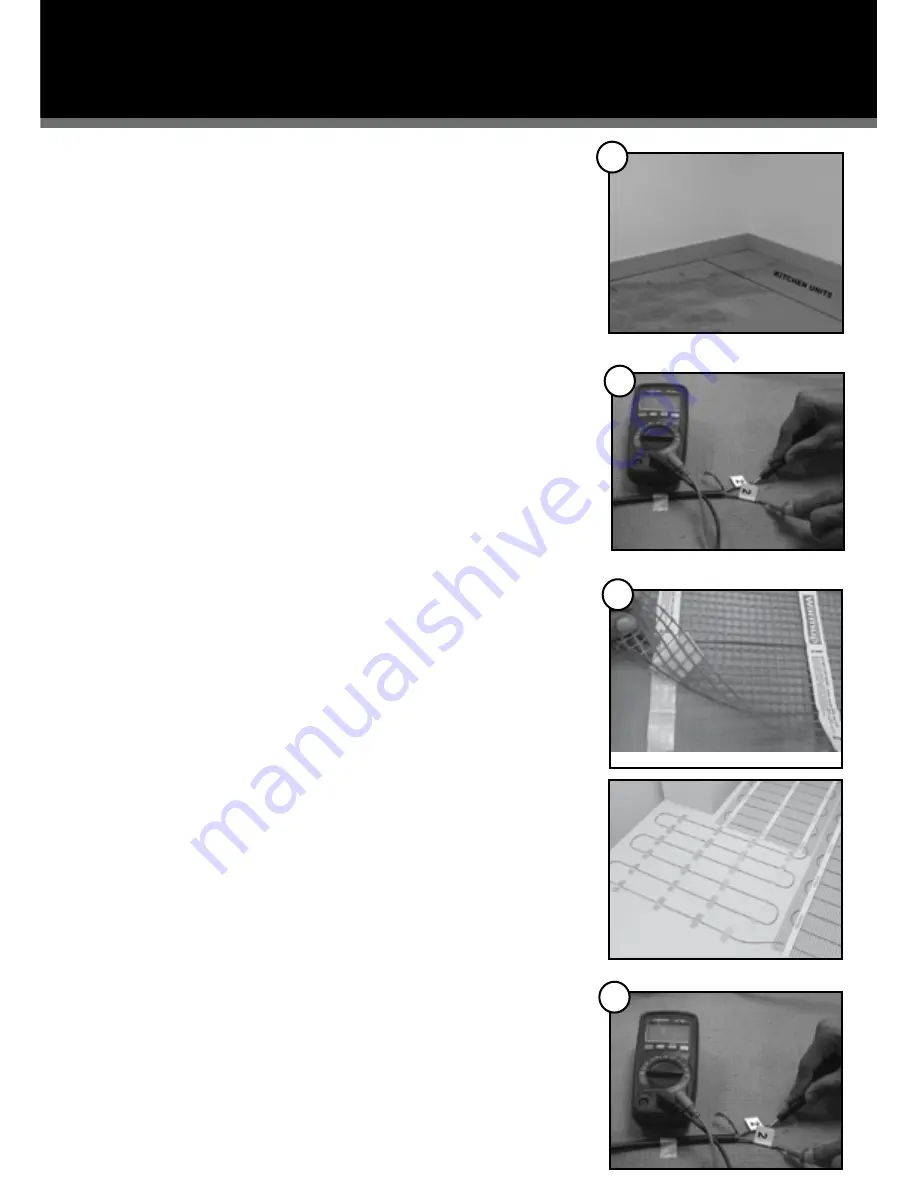
Step 4 - After installation test
Perform the same test as in step 2. If at this stage you do not get the expected
reading or you are getting an open circuit contact Warmup on 0845 345 2288.
2
3
8
1
4


