This is quite acceptable providing that:
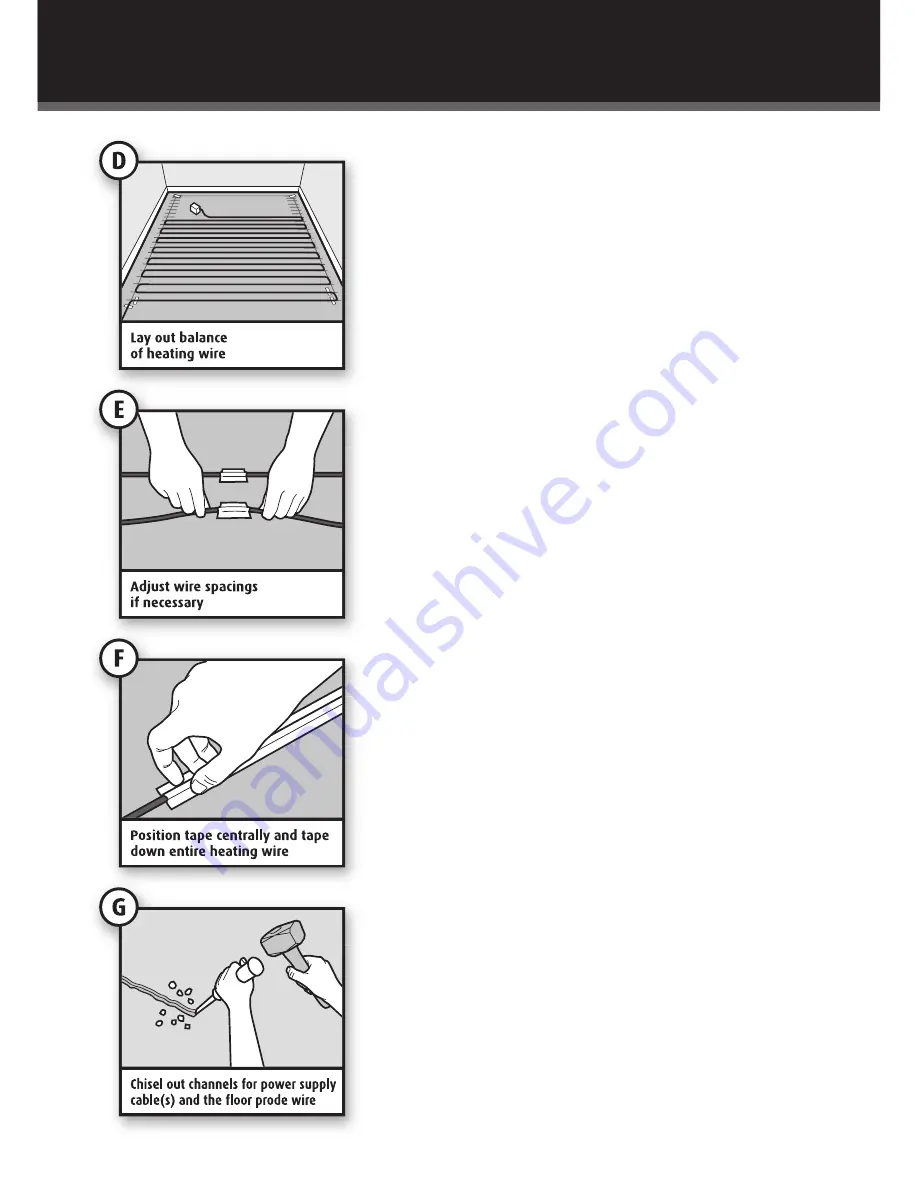
The heating wires are spaced at least 50mm
apart at all times.
The heating wires never cross.
Once the heating wire layout has been completed, the
entire length of the heating wire should be taped to
the floor.
Ensure the greatest possible adhesion, with the minimum
of trapped air space beneath the taped wire. As you
apply the tape, gently tighten the heating wire from the
ends to ensure it is straight.
The wire should be located in the centre of the tape
to provide maximum protection from the tiler’s trowel.
If the tape is not completely covering the wire at any
point, apply another layer of tape to provide
additional protection.
After applying a length of tape, run your forefinger and
thumb along the length of the wire, gently squeezing
the wire to remove any air space between the wire
and the tape.
Depending on the requirements of the tiler, it may be
necessary to chisel out or "chase" short channels in the
subfloor to minimise the increased height presented by
the power cable, the end joint and the floor probe wire.
Before chiselling the area, ensure that the heating wire
and power supply cable are out of the way. Fit the power
supply cable into the channels and secure with fixing tape.
Remove all debris and chippings from the floor. Unless
the floor is being tiled immediately, cover the floor with
hardboard or cardboard to protect the heating wire.
Note:
the main joint and end cap must be covered by adhesive and tile.
Do not tape over these joints as air pockets can occur and cause the joint
to fail due to overheating.
13
Summary of Contents for DWS300
Page 16: ...Notes 16 ...
Page 17: ......


