


25
Step3:
Step3:
Step3:
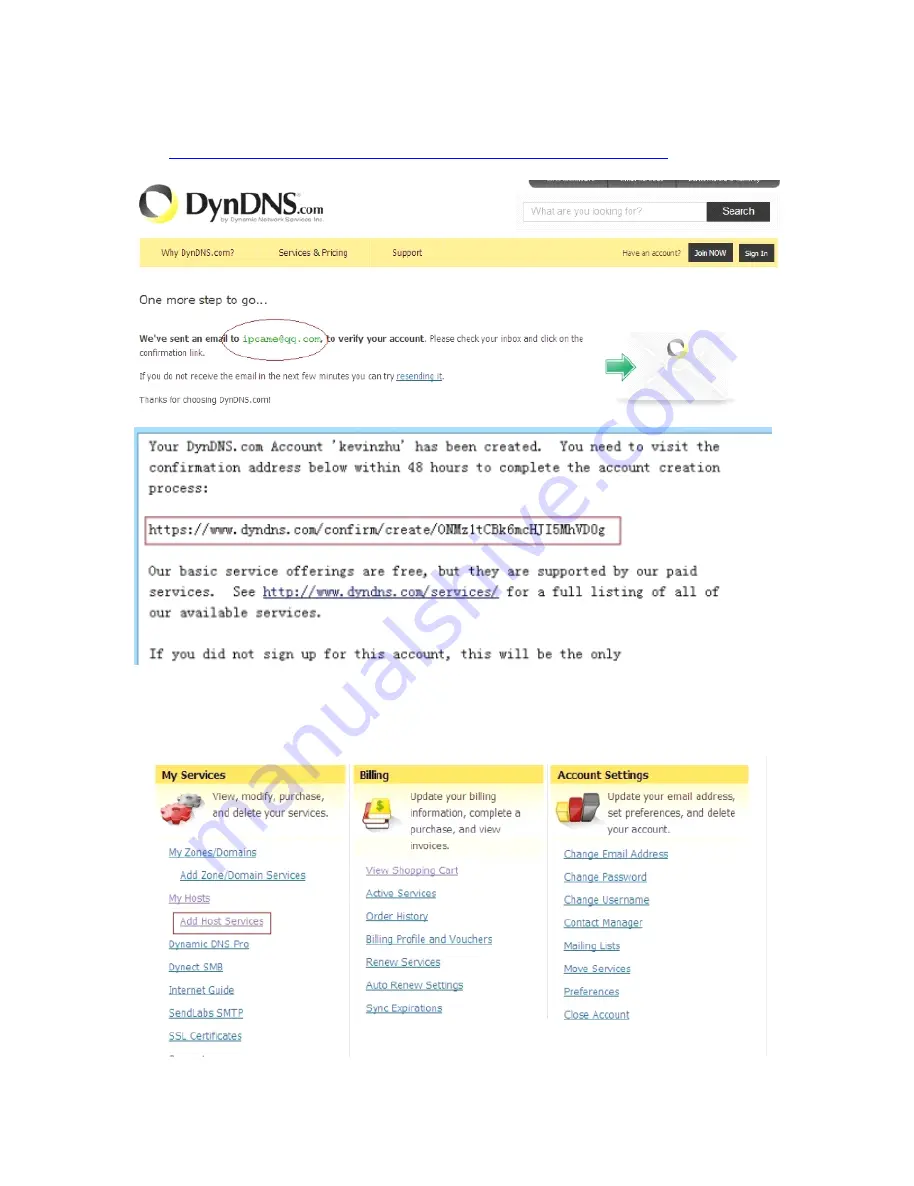
Step3: After
After
After
After a
a
a
a minute,
minute,
minute,
minute, you
you
you
you will
will
will
will receive
receive
receive
receive a
a
a
a E-mail
E-mail from
from
from
from DynDNS
DynDNS
DynDNS
DynDNS Support
Support
Support
Support and
and
and
and it
it
it
it will
will
will
will give
give
give
give you
you
you
you a
a
a
a
confirmation
confirmation
confirmation
confirmation address
address
address
address
(e.g.
(e.g.
(e.g.
(e.g.
https://www.dyndns.com/confirm/create/ONMzltcCBk6mcHJI5MhVD0g
https://www.dyndns.com/confirm/create/ONMzltcCBk6mcHJI5MhVD0g
https://www.dyndns.com/confirm/create/ONMzltcCBk6mcHJI5MhVD0g
https://www.dyndns.com/confirm/create/ONMzltcCBk6mcHJI5MhVD0g
))))
Figure
Figure
Figure
Figure 3.23
3.23
3.23
3.23
Figure
Figure
Figure
Figure 3.24
3.24
3.24
3.24
Step4:
Step4:
Step4:
Step4: When
When
When
When the
the
the
the Account
Account
Account
Account Confirmed,
Confirmed,
Confirmed,
Confirmed, login
login
login
login and
and
and
and start
start
start
start using
using
using
using your
your
your
your account.
account.
account.
account. Choose
Choose
Choose
Choose Add
Add
Add
Add
Host
Host
Host
Host Services(Figure
Services(Figure
Services(Figure
Services(Figure 3.
3.
3.
3.25
25
25
25)))) and
and
and
and enter
enter
enter
enter Add
Add
Add
Add New
New
New
New Hostname
Hostname
Hostname
Hostname (Figure
(Figure
(Figure
(Figure 3.
3.
3.
3.26
26
26
26)page.
)page.
)page.
)page.
All manuals and user guides at all-guides.com
all-guides.com


