background image

12

Basic Features

Menu System

Viewing the Main Menu

• Press the 

MENU

 button to view main menu. 

• You can move between menus by using the navigation 

(   /   /   /  ) buttons on the remote control.

• You can enter, select or confirm a menu option by 

using 

OK 

button.

• In some sub-menus, you can use

 BACK

 button to 

return to a previous menu screen. 

• To exit from a menu screen, you can press 

MENU

 button.

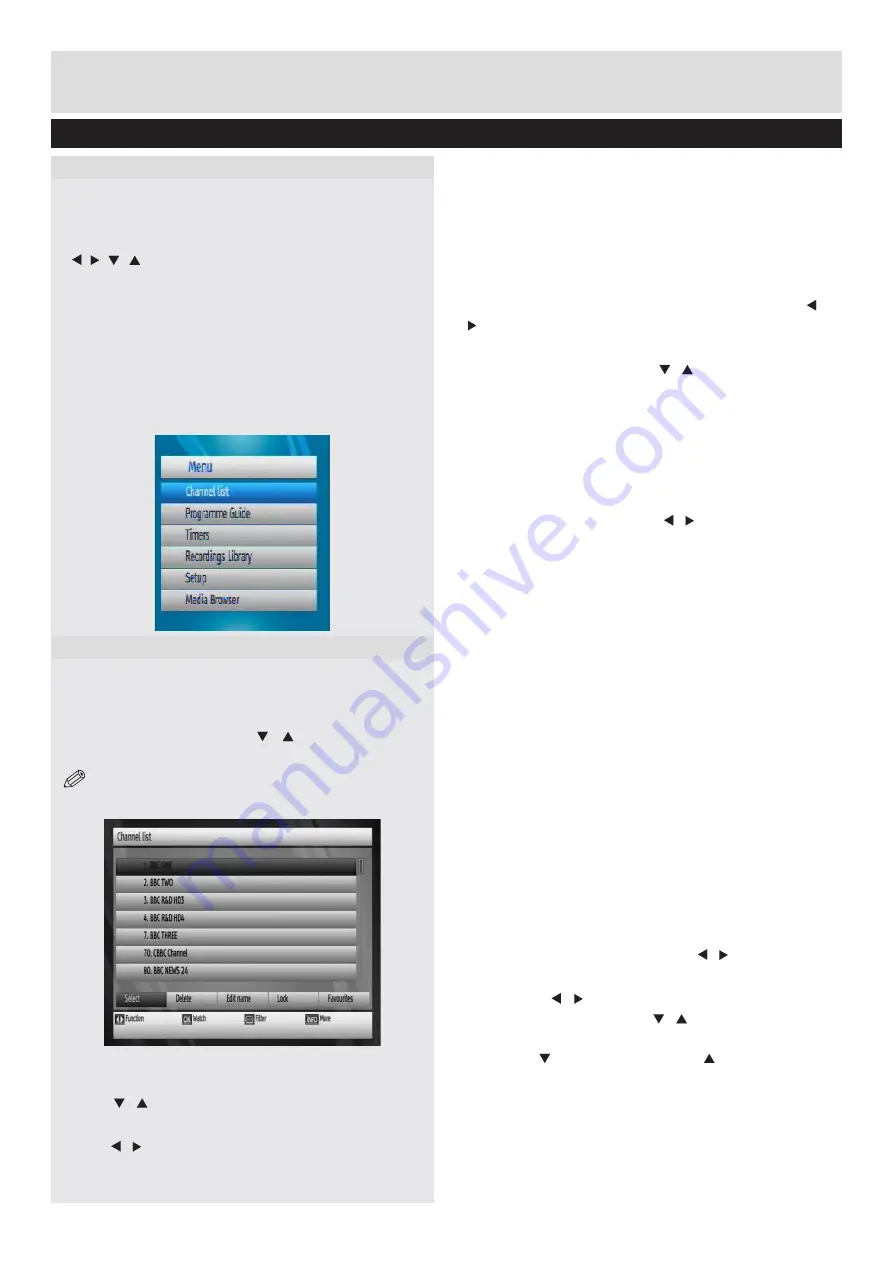
• The following items are located in the main menu 

screen:

Managing Stations: Channel List

• The set top box keeps all stored stations in the 

Channel List.

• Press 

MENU

 button to view main menu. Select 

Channel List item by using “ ”/“  button. Press 

OK


to view menu contents.

NOTE:

 You can direclty press OK button to view 

channel list.

Operating the Channel List

• Press “

”/“ ” button to select the channel that will 

be processed. 

• Press “

”/“ ” button to select a function on Channel 

List menu.

• Use 

P+/P-

 buttons to move page up or down.

• Press 

BLUE

 button to view filtering options.

• Press 

YELLOW

 button to tag/untag a channel.

• Press 

GREEN

 button to tag/untag all.

• Press 

MENU

 button to exit.

• Use 

INFO

 button to view more information.

Selecting a Specific Channel
• 

Select

 option should be highlighted by using “ ”/“

” button.  

• To watch a specific channel, you should highlight  

the desired channel using “ ”/“ ” button and press 

OK 

button. Selected channel will be displayed. 

• If the selected channel is password protected, the 

parental lock password will be required to watch 

the selected channel.

Deleting Channels 

•  Select  the  channel  that  you  want  to  delete  and 

select Delete option using “ ”/“ ” button . Press 

OK


button to continue.

• A  message  will  be  displayed  to  confirm  your 

decision.  Select 

YES

 to delete the selected 

channel, select 

NO

 to cancel. Press OK to confirm 

your selection.” 

Deleting Multiple Channels:

• Select Delete and highlight the channel you want 

to delete. 

• Press 

YELLOW

 key. The channel will be marked. 

Move to the next channel you want to delete. Press 

YELLOW

 key. 

• Mark the other channels you want to delete like 

the same way and press

 OK

You will see a confirmation menu. Select YES in 

the menu. The selected channels will be deleted.
To mark all the channels in the channel list at once 

you can use 

GREEN

 key.

Renaming Channels 

• Select the channel that you want to rename and 

select 

Edit Name

 option using  “ ”/“ ” button. Press 

OK

 button to continue.

•  Pressing  “

”/“ ” button moves to the previous/

next character. Pressing “ ”/“ ”  button toggles the 

current character, i.e., ‘b’ character becomes ‘a’ by 

pressing “ ” and ‘c’ by pressing “ ”. 

• Pressing the numeric buttons ‘

0...9

’ replaces the 

highlighted character with the characters printed 

above the button one by one as the button is 

pressed.

• Press 

MENU

 to cancel editing.

Menu System, Channel List

Summary of Contents for WP6500TTR

Page 1: ...USER MANUAL WP6500TTR...

Page 2: ...amme Guide EPG 13 Event Options 14 Select Channel 14 Record Programme Delete Timer 14 Record Series Delete Series 14 Electronic Programme Guide continued 14 Recordings Library 15 Play Options 15 Elect...

Page 3: ...y to be stepped on A damaged power cord can cause fire or give you an electrical shock Check the power cord once in a while When you find it damaged ask closest service agent for help When the AC powe...

Page 4: ...d optimally Batteries Warning Incorrect installation of batteries may cause battery leakage and corrosion resulting in damage to the remote control Do not mix old and new batteries or batteries of dif...

Page 5: ...unequal batteries old and new Alkaline and carbon etc simultaneously If you will not use the device for a long time remove the batteries and store the device in a dry and dust free place Improper use...

Page 6: ...arch Backward Pause Timeshift Stop Search Forward Library of Recordings StandBy Numeric buttons Media Browser Switch between TV or Radio broadcasts Favourite List Mute No function No function Volume U...

Page 7: ...l audio to an external device See your audio system instruction book for further information 7 SCART OUT If your TV has a scart connector you can connect the box to your TV using a scart cable 8 POWER...

Page 8: ...er responds to the remote control it is probable that the batteries are exhausted If so you can still use the local buttons of the receiver You can replace batteries after they are exhausted Note Remo...

Page 9: ...e standby button before the low power mode is activated the unit will be initialized in a couple of seconds Active standby mode Although it is not recommended for enviromental reasons you may disable...

Page 10: ...margin in the amount of remaining space There is an option in the Recordings Configuration menu to discard recordings You can choose between three options NOTE The recording of High Definition HD pro...

Page 11: ...t will start to search available stations The progress bar will move along the line You should allow the HD PVR to complete the search to store all available stations Note You can press MENU button to...

Page 12: ...be displayed Select Yes by using or OK buttons to cancel instant recording NOTE Whilst the Instant Recording Menu is open following programmes can be added using the Record Button Time Shifting Pause...

Page 13: ...hannel using buttonandpressOK button Selected channel will be displayed If the selected channel is password protected the parental lock password will be required to watch the selected channel Deleting...

Page 14: ...elect a channel by using button Press OK button to add selected channel to the favourites list Star icon indicates that the selected channel is added to the favourites list You can press OK button aga...

Page 15: ...llowing episodes for the series even if broadcast times are not yet known In the Timers Menu a series Recording is denoted by an S icon An Hourglass icon appears next to Recordings awaiting more infor...

Page 16: ...Type Displays recording type Defaults to Time for manual timers Date Starting date is entered via the Left Right or the numeric buttons Start Starting time is entered via the Left Right or the numeri...

Page 17: ...om the time which is entered Manage chapters It will display any marked chapters To set chapter marks press the Menu button during playback and enter the Chapter Options menu and begin with playback f...

Page 18: ...if there is more than one chapter available Back to Start Of Chapter Goes to the beginning of the current chapter This is the last played chapter Back to Previous Chapter Goes back to the previous ch...

Page 19: ...ific types of broadcast you should use Active channel list setting Select Active Channels by using button You can select a broadcast type option from the list by using button Available modes are TV On...

Page 20: ...using the USB upgrade option Parental Settings To display parental lock menu options PIN number should be entered Factory default PIN number is 0000 After coding the correct PIN number parental settin...

Page 21: ...The description narrator talks through the presentation describing what is happening on the screen during the natural pauses in the audio and sometimes during dialogue if deemed necessary You can use...

Page 22: ...uages in the current programme You can select the language using the v buttons Subtitle Language Pressing OK with this selected will show all available subtitle languages in the current programme You...

Page 23: ...button The following message will be displayed Highlight No by using or button to cancel installation Highlight Yes by using or button and press OK button to start first time installation After you se...

Page 24: ...Video files automatically The play options at the bottom of the menu will change depending on the file type Playing Music files Files are detected as Music Picture or Video files automatically The pl...

Page 25: ...buttons Play This OK button Opens Play Options menu Select from the option s below and press OK Play from start Resume Note Resume is indicated for certain Video file types only File Operation You can...

Page 26: ...deo connections scart HDMI The settings you have done in the menus have not been changed The digital set top box was unplugged without first going to standby Before unplugging your digital set top box...

Page 27: ...quency Band UHF DEMODULATION COFDM with 2K 8K FFT mode FEC for all DVB Modes Automatically found QPSK 16QAM 64QAM with 1k 2k 4k 8k 16k 32k FFT mode VIDEO ALL MPEG 2 MP ML Video Decoder Aspect Ratio 4...

Page 28: ...ear USB option Current Limit Front or Rear Side 500mA Rear Front option Current Limit Rear side USB max 500mA Front side USB max 100mA FRONT PANEL Display 7 Segment Display Front Panel Buttons Stby PR...

Page 29: ...Executive House Red Cow Naas Road Dublin 22 Rebuplic of Ireland WALKER 50232677...

Reviews: