18
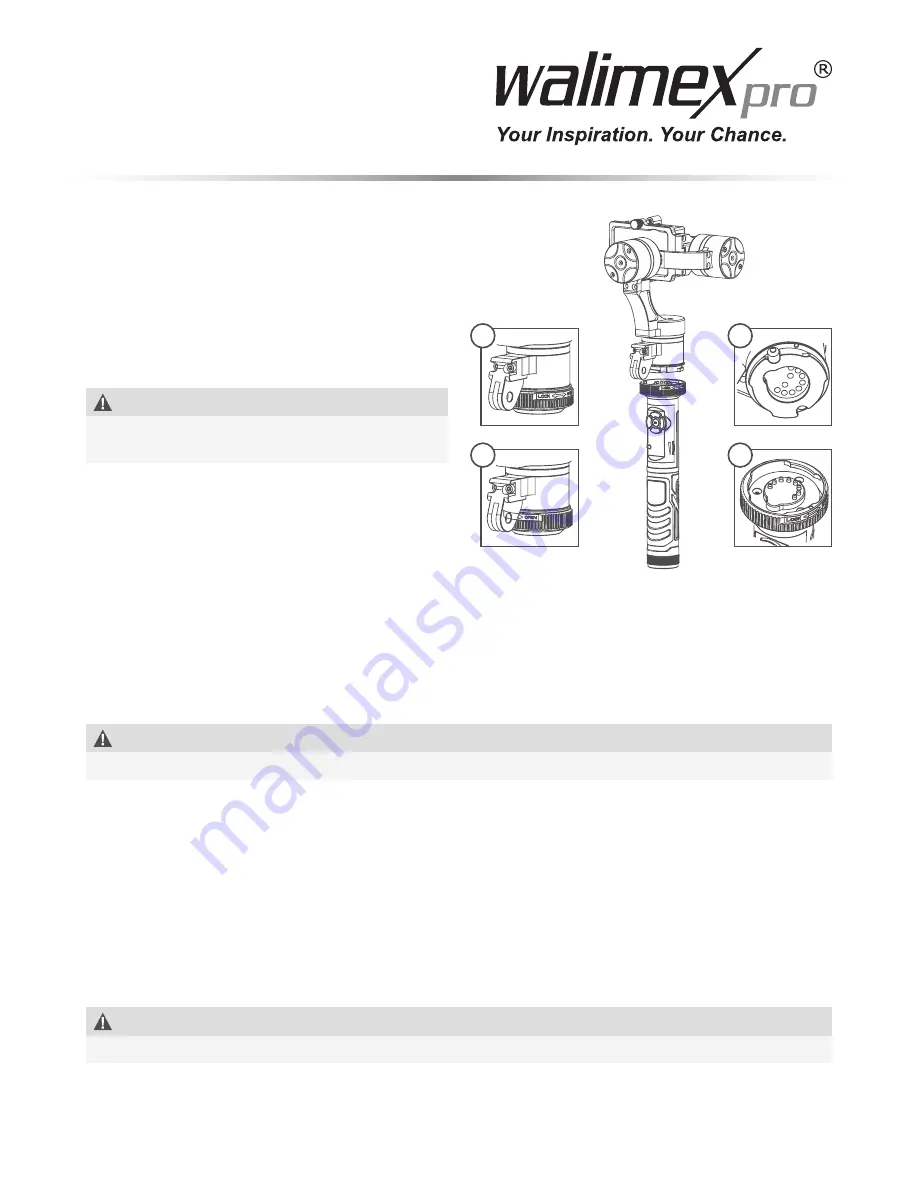
5.6 Mounting the platform
1. To open, turn anticlockwise
2. When connecting, ensure the three white points
are pointing in the right direction.
3. To close, turn clockwise
4. Proceed in the same way for connecting the
control cable (ensure that the pins are touching
before the security lock is set)
NOTE
There are sensitive, electrical parts inside the
mechanism. Please proceed with great caution.
6. Accessories
6.1 Control cable
Remove the handle as described. Then fi x the control cable between the platform and handle, ensuring
the pole is in the right direction. You can now take control once more via the handle.
6.2 1/4 inch thread
There is a 1/4 inch thread on the cable platform. Using this, it is now possible to attach all products with a
1/4 inch screw (e.g. tripod, suction cup etc.).
6.3 Battery
NOTE
Only used the batteries provided to avoid damaging the device.
6.4 Battery charger
The battery status display lights up green as soon as the battery is fully charged.
Possible connections:
• Charging dock
• via PC with a USB connector
• via a charger for smartphones
7. Compatibility
GoPro 3/4; GoPro Session, SJCAM, XIAOMI, Sony HD-AS20, Sony AS200V, Sony AS30V, Sony AS100V,
Sony HDR-AZ1, Sony FDR-X1000V, etc.
NOTE
Other accessories may have to be bought for some cameras.
1
2
4
3


