


13
14
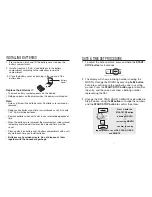
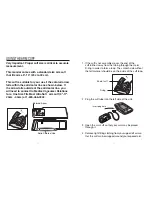
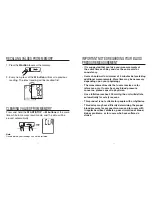
1. If the cuff is not assembled, pass the end of the
cuff furthest away from the tubing through the metal
D-ring in order to form a loop. The smooth side without
the felt material should be on the inside of the cuff loop.
2. Plug the cuff tube into the left side of the unit.
3. Open the arm cuff so that your arm may be placed
through it.
4. Remove tight fitting clothing from your upper left arm so
that the cuff can be wrapped around your exposed arm.
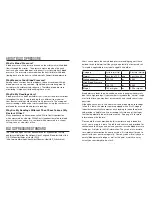
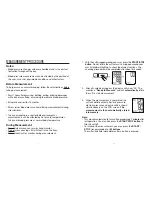
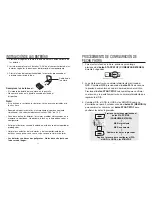
USING THE ARM CUFF
Very Important: Proper cuff size is critical to accurate
measurement.
This monitor comes with a standard size arm cuff
that fits arms 9”-13” (23 cm-33 cm).
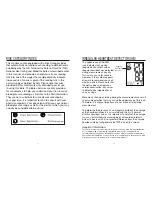
This cuff is suitable for your use if the colored arrow
falls within the solid color line as shown below. If
the arrow falls outside of the solid color line, you
will need to contact HoMedics Consumer Relations
for a One Size Fits Most UltraSoft™arm cuff (9”-17”,
23cm - 43cm) at 1-800-466-3342.
AR
RO
W
M
US
T F
ALL
WITHI
N
BL
UE
BAN
D
ARROW MUST F
ALL
WITHIN BL
UE BAN
D
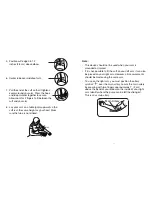
Center tube over
middle of arm
Position cuff
edge 0.8˝–1.2˝
(2–3 cm) above elbow.
Center tube over
middle of arm.
Fit cuff securely. Allow room for
two fingers to fit between the cuff
and your arm.
Solid Colored Line
Colored Arrow
AR
RO
W
M
US
T F
ALL
WITHI
N
BL
UE
BAN
D
D-ring
End of cuff
2~
3 c
m
(0.8
”~
1.2
”)
Pos
itio
n cu
ff e
dge
0.8
–1.2
inch
es (2
–3cm
)
abo
ve e
lbo
w.
Fit c
uff
secu
rely
.
Allo
w ro
om
for
2 f
ing
ers
to f
it b
etw
een
the
cu
ff
and
yo
ur a
rm
.
Cen
ter t
ube
ove
r
mid
dle
of a
rm
.
Insert plug here


