Re-tubing the VTL TL 6.5 requires removal of some or all of the covers, which can
expose potentially lethal voltages. Be sure to only touch the tubes themselves, and do
not allow any part of your body or hanging jewelry to come into contact with any part
of the circuit inside the unit.
Before working on the inside of either of the preamplifier chassis it is strongly
recommended that the power supplies be properly discharged, as they can hold a
charge for a long time after power down, and can cause damage to the circuit if
discharged improperly.
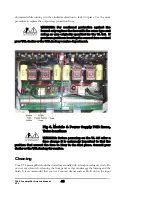
When you look down from the top, you will see a printed circuit board mounted inside the
preamplifier.
WARNING
:
DO NOT TOUCH ANYTHING INSIDE THE
PREAMPLIFIER WITH YOUR FINGERS OR WITH ANY METALLIC
OBJECT, UNTIL AFTER THE UNIT HAS BEEN SAFELY DISCHARGED
.
VTL preamplifiers can store energy in the power supplies long after they have been turned
off, and incorrectly discharging the unit can damage the circuits, which will NOT be
covered under the warranty. Be sure to understand these constraints before going any
further. If at this stage you feel that you would rather not attempt this procedure yourself
you should send the unit to VTL to have the work done.
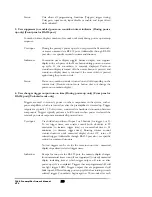
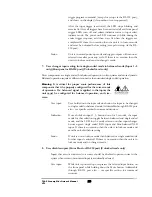
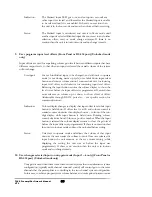
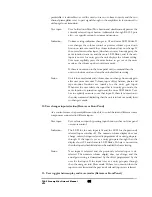
Locate the tubes, which are plugged into sockets on the PC board. There are a total of two
tubes, both 12AU7. The following figure indicates the location of the tube type with
respect to the sockets, looking from above and in front of the chassis.
1. Diagnose the tubes:
If you are not undergoing a complete re-tube for
the entire TL 6.5, then you must first decide how many tubes and which
tubes should be changed. Checking the tubes to determine whether they
are within the acceptable range is strongly recommended – contact the
factory for measurement points and ideal operating ranges.
2. Power off the TL 6.5:
To change tubes in this TL 6.5 you should first
power the unit down, unplug the unit from the wall outlet and disconnect
the TL 6.5 from the rest of the system. Let the TL 6.5 stay powered off for
at least 15 minutes before working with it. Make sure the tubes are cool
before you touch them.
Using a Philips #2 point screwdriver for the top screws and a hex driver
for the side panels, remove the protective cover from the chassis by
loosening the screws from the sides and top of the TL 6.5. Carefully
remove the sides, cover and the screws and store them in a safe place.
3. Removing Tubes:
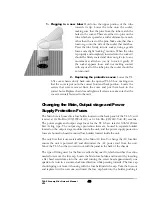
Locate the tube you need to remove and hold onto
the upper portion of the tube towards its tip. Being careful not to bend the
tube pins, gently and in small amounts rotate and rock the tube with your
fingers to loosen it from its socket until its pins are completely disengaged
from the socket. Take the tube out of the unit.
TL6.5 Preamplifier Owner’s Manual
VTL
42

