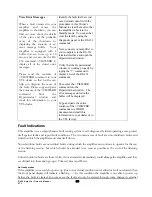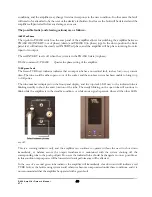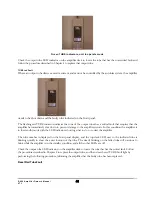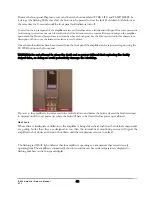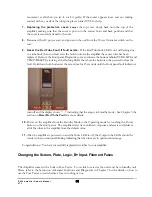
movement at all when you try to rock it gently. If the socket appears loose and not making
contact with any or all of the tube pins, please contact VTL for help.
7. Replacing the protective cover:
Lower
the top cover slowly back onto the top of the
amplifier, making sure that the cover is put on in the correct front and back position and that
the cover is securely fastened to the unit.
8.
Reconnect the AC power cord, and power on the unit from the Power On rocker switch on the
rear.
9. Reset the Red Tube Fault if fault exists:
If the Red Tube fault LED is on and flashing due
to a tube fault, then you must reset the fault to inform the amplifier that a new tube has been
replaced. Remove the front panel Diagnostic cover and locate the buttons labeled TUBE LIFE and
TEMP/RESET by looking at the flashing LEDs that show the buttons to be pressed to clear the
fault. Hold down both buttons at the same time for 15 seconds until the front panel fault indicators
turn off and the display shows “----“ indicating that the amp is in Standby mode . See Chapter 3 the
section on
Reset Red Tube Fault
for more details.
10.
Power on the amplifier from the Standby Mode to the Operating mode by touching the Power
button on the front panel. The amplifier starts its countdown sequence and resets and rebiases
all of the tubes in the amplifier from the default value.
11.
After the amplifier is powered on and the Mute LED is off, the Output tube LEDs should be
steady with just occasional blinking indicating that the tubes are in optimum bias range.
Congratulations! You have successfully replaced new tubes in your amplifier.
Changing the Screen, Plate, Logic, B+ Input, Filament Fuses
The Amplifier comes with a built in Fuse Tester. To use this fuse tester, the unit must be in Standby only.
Please refer to the Section on Advanced Functions and Diagnostics in Chapter 3 for the details on how to
use the Fuse Tester to test whether a fuse is working or not.
S-400 Amplifier Owner’s Manual
VTL
51


