13
• Press up on the
D-Pad to access Camera Settings. From here, you
can enable or disable time-lapse and self-timer modes. Press the
OK
Button to confirm any changes.
Self-Timer
• Press up on the
D-Pad to access Camera Settings. From here, you
can enable or disable the self-timer. Press the
OK Button to confirm
any changes.
• When the self-timer is enabled, there will be an eight second
countdown before a photo is taken.
Time-Lapse
• Press up on the
D-Pad to access the Camera Settings. From here,
you can enable or disable time-lapse mode. Press left or right on the
D-Pad to select the length of time between photos. Press the OK
Button to confirm any changes.
• Once the time-lapse function is set, a Countdown icon
will appear
on the screen. Press the
OK Button or Camera Button to start the
time-lapse photo recording. The first photo will be taken immediately,
then the Countdown icon
will count down to the next photo.
Press the
OK Button or Camera Button to stop recording, otherwise
recording will continue until the maximum number of time-lapse photos
is reached or battery is empty.
Note: VTech
®
recommends setting the screen to auto-off when
the camera is mounted for sports, such as on a bicycle, scooter or
skateboard. Please refer to the Settings section of this manual to enable
the camera screen auto-off function.
Video Mode
Press the
Video Button or select the Video icon
from the Home
Menu to enter Video Mode.
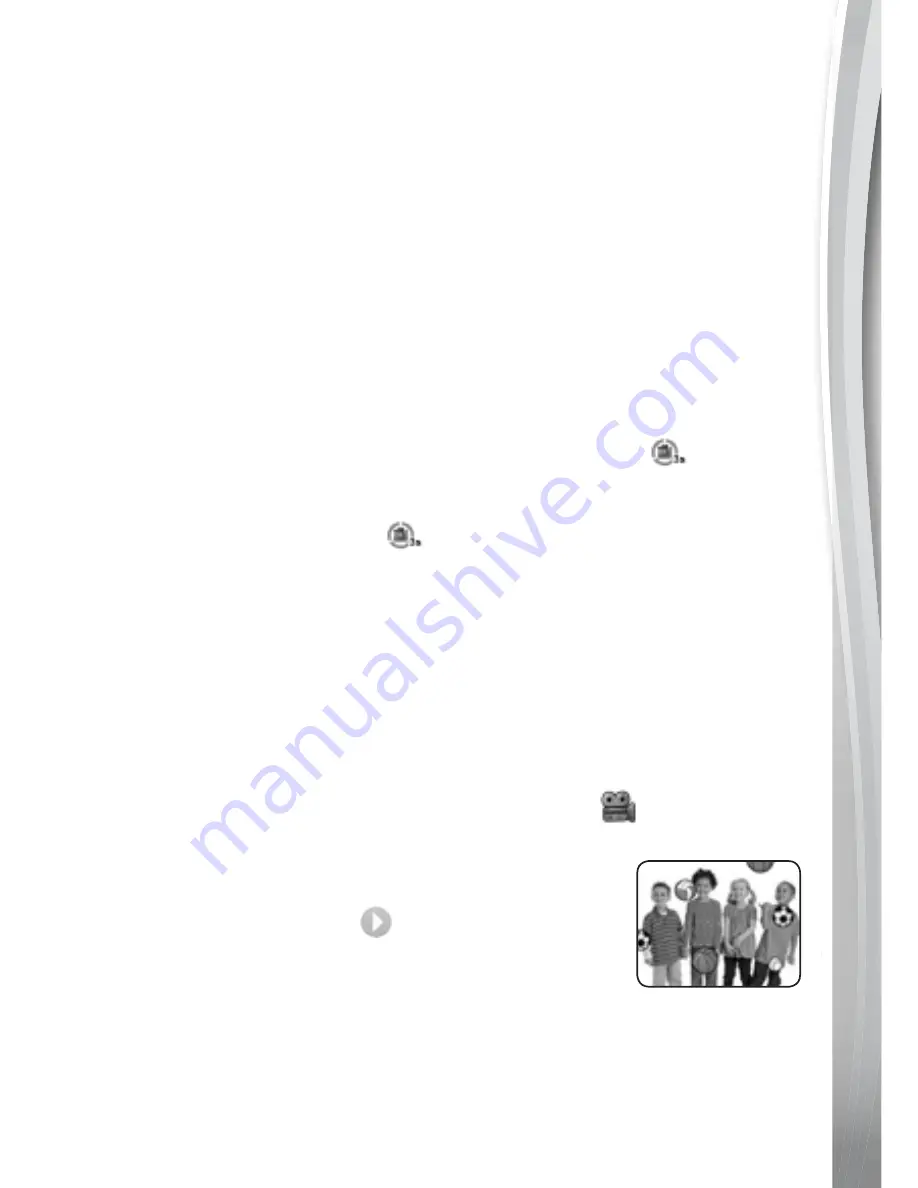
• Press the
Video Button or the OK Button to start
recording. Press either button once again to stop
recording. A Play icon
will appear after the
recording is done, press the
OK Button to watch
the video you just recorded. While the video is
playing, press the
OK Button or Video Button to
skip the video and return to the preview screen.
• Press left or right on the
D-Pad to cycle through different video themes
and effects.
• To view videos you have captured, press down on the
D-Pad once to
enter Playback mode.


