4/8/16DVR Quick Start Guide
VOOK
premium DVR
10
To making remote access, the DVR should be connecting to LAN or Internet.
There are three kind of method for remote accessing.
5.1 Using DHCP to get IP address automatically
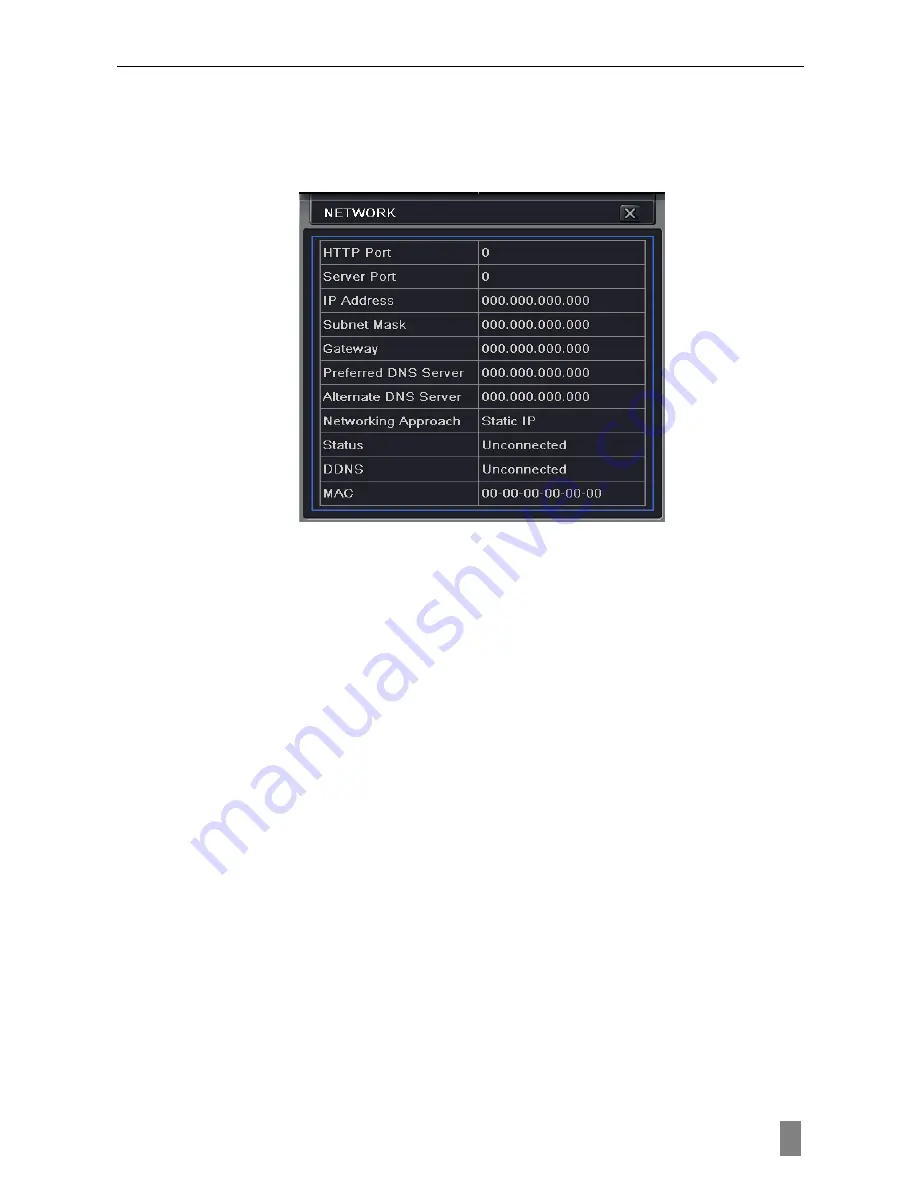
Click the Menu button, enter into System—Network configuration (refer to Fig
5-1), enable DHCP in the both the DVR and the router.
Fig 5-1 Network configuration
Enter Video to set network video parameters like resolution, frame rate etc.
Open an IE browser on computer on the same LAN. Input the IP address of
the DVR in IE address blank and enter.
IE will download ActiveX automatically. Then a window pops up and asks for
user name and password.
Input name and password correctly (the default user name is admin and the
password is 123456), and enter. It will show the remote picture.
Note
:
If the ActiveX cannot be downloaded or installed, please refer to
Appendix A Q7 in the user manual.
5.2 Access DVR on WAN
Input IP address, Subnet, Gateway. If using DHCP, please enable DHCP in
both the DVR and router.
Enter Video to set network video parameters like resolution, frame rate etc.
Forward IP address and port number in Virtual Server setup of the router or
virtual server. Close firewall.
If users want to utilize dynamic domain name, need apply for a domain name
in a DNS server supported by the DVR or router. Then add to the DVR or
router.
Open IE browser, input IP address, or dynamic domain name and enter. If
HTTP port is not 80, add the port number after IP address or domain name.
IE will download ActiveX automatically. Then a window pops up and asks for


