


G-201 Quick User Manual Document: G-201101
------------------------------------------------------------------------------------------------------------------------------------------------
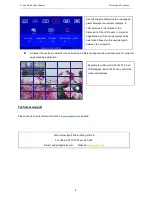
4
If viewer still can’t verify “R” & “L” characters in both eyes, please check below again:
1. Is the screen for 3D display?
2. Are the Glasses and polarizers the same types and paired for the RH & LH eyes?
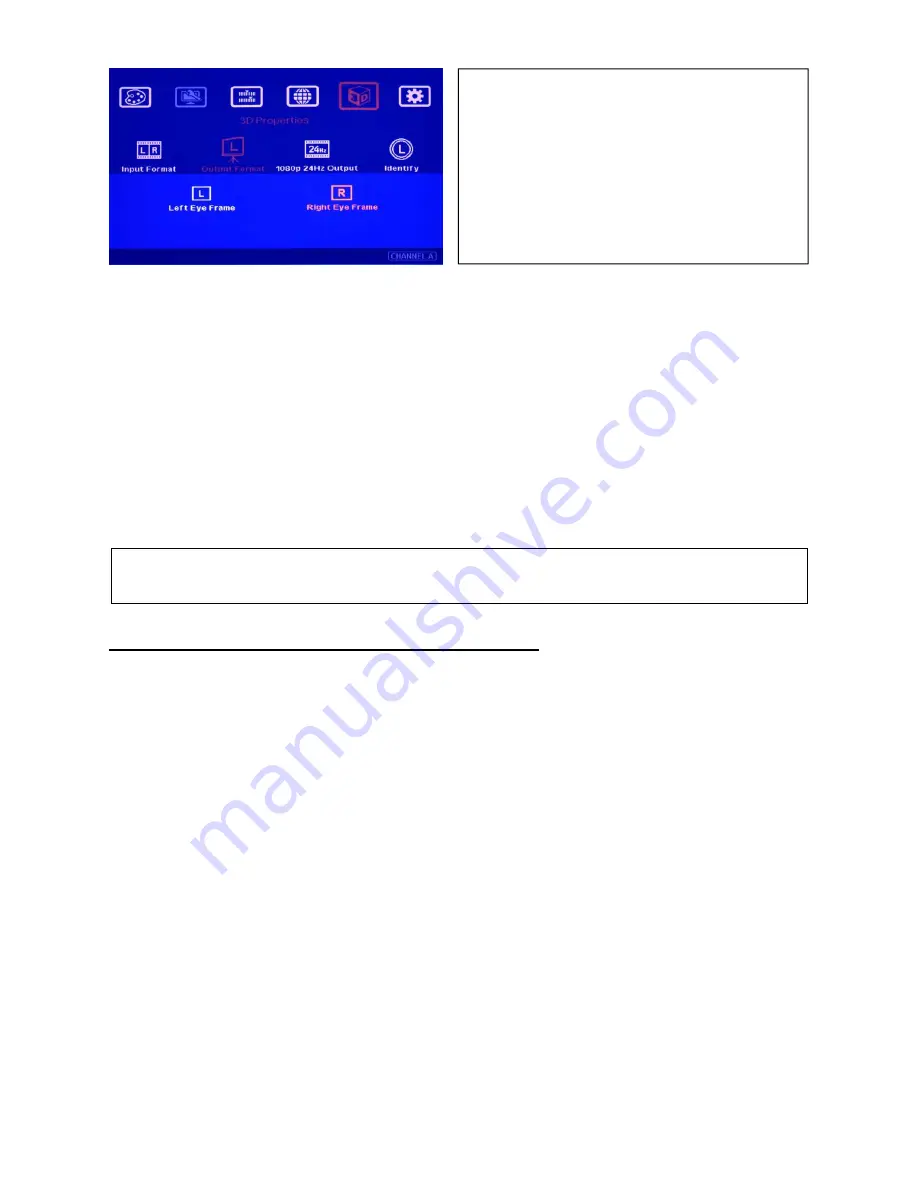
3. The default output setting of CH-A is for RH eye and CH-B is for LH eye. Please check from [Output Format]
menu as above OSD and make sure [Right Eye Frame] is set in CH-A and [Left Eye Frame] is set in CH-B.
4. Is the Blue Ray player set to [Auto 3D] or [1080p frame packing] mode to deliver 3D signal out?
5. If Side by Side or Top-Bottom 3D formats are used, please check the aspect ratio in video source output to
make sure GeoBox will receive full screen image.
6. Is there any HDMI or signal source compatibility issue and only one projector shows image?
After above procedures, apply 3D signal source and wear 3D glasses, user will enjoy the most
comfortable and healthy 3D system. It is the best solution for children with minimum harm to the eyes
Projector installation and setting guide for 3D display
1. G-201 doesn’t have geometry adjustment function, user needs to use keystone correction or lens shift
function in the projector to align the images. If the projectors don’t have lens shift or the lens shift range is
not enough, then the two projectors should be installed at top-bottom position for easy alignment. A side by
side position will be not possible to align two projector images together unless the projectors have lens shift,
both horizontal and vertical key stone correction or 4 corner position adjustment functions. A mounting rack
with flexible projection angle adjustments is recommended to install two projectors at Top-Bottom position.
2. The images from two projectors should be overlapped together. Good alignment will get clear image while in
2D mode and will also reduce eye fatigue for long term watching while in 3D mode.
3. GeoBox with geometry adjustment is available in G-301 & G-501 models so that user can easily get precise
image alignment between two projectors even the projectors are installed side by side.
4. Please make sure ventilation hot air will not affect each other.
5. The output brightness of the projector will differ in different Display Modes. User needs to select one with
higher brightness and enriched color. “Presentation” mode will give higher brightness but the color will differ
from original. sRGB will yield better color but the output brightness is usually comparative low. Two
projectors should have the same color settings to get the best 3D performance.
6. During the installation, the distance between the polarizer and the projector should be over 5cm to avoid
thermal damage due to high temperature from the projector. Higher lumens projector will create more heat
1. If it is not the result, then to set [Output Format] in
OSD menu is required.
2. Please swap [Left Eye Frame] and [Right Eye
Frame] in both RH/LH output channels to see the
right “R” & “L” characters in both eyes.
3. Complete system check is required if the problem
still existing.


