5
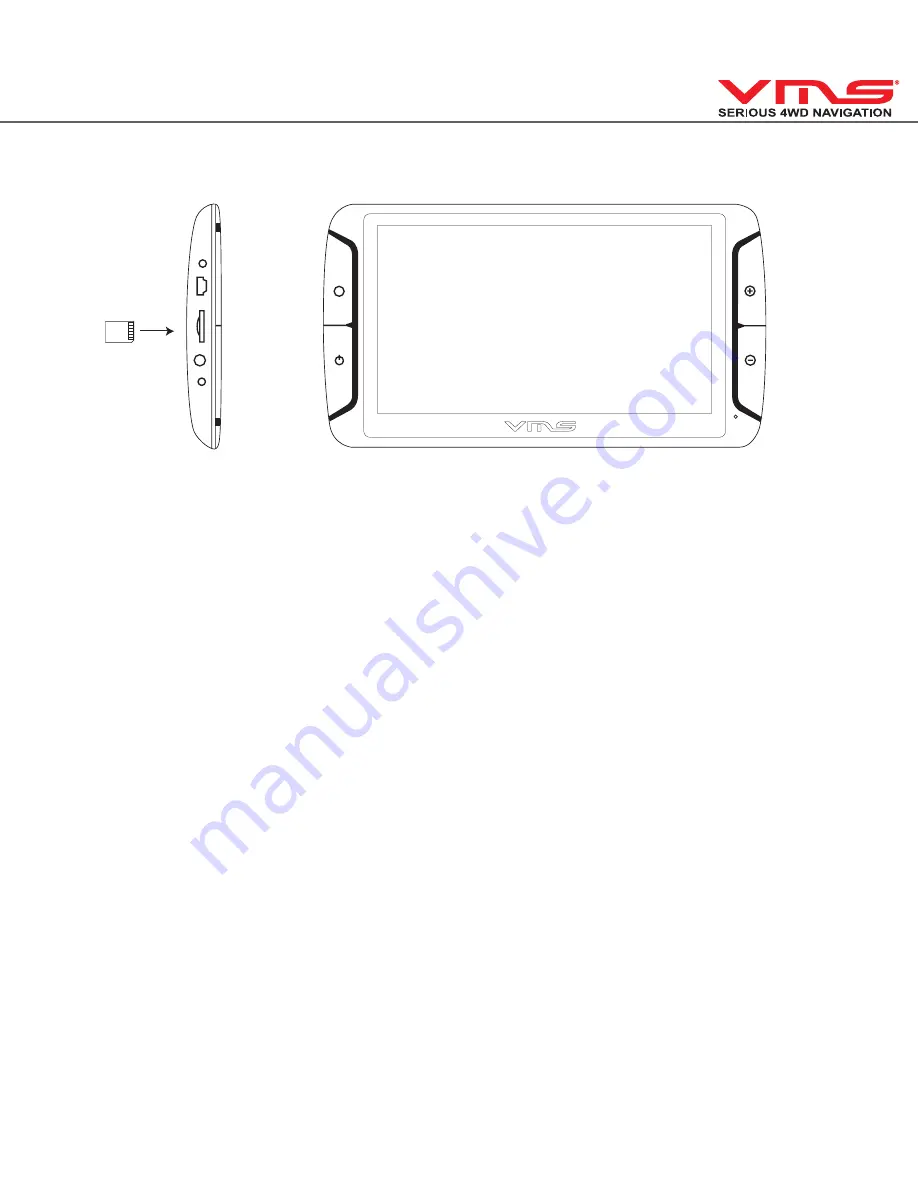
3.1 INSERTING SD MEMORY CARD
Step 1: Remove SD card from its plastic holder.
Step 2: Locate the SD card slot on the right side of the DEVICE.
Step 3: Ensure orientation of the SD card is correct.
Step 4: Insert the SD card by sliding it gently into the slot completely. The card will click indicating
correct installation.
3.2 MOUNTING THE DEVICE
1. Select a suitable location to mount the GPS on your windscreen.
2. Clean & dry the suction cup and select the area of your windscreen.
3. Plug the Car Charger into the side of the GPS.
4. Attached the cradle to the suction cup mount.
5. Adjust the angle with the rotary clamp if necessary.
6. Place the suction cup on the windscreen and secure with rotary latch.
7. Place the bottom of the GPS on to the cradle and gently click the top of the GPS into the cradle.
8. Plug the car charger into a 12V DC power outlet in your vehicle.
3.3 POWER ON/OFF & SLEEP MODE
Power on:
press and hold the power button until the device turns on.
Power off / Sleep:
press the power button until the unit displays “POWER OFF”, or press the power
button for 1 sec then release, the message “SLEEP” will appear on the screen to indicate it’s gone
into sleep mode. During sleep mode, the device is not completely switched off and therefore the bat-
tery will continue to consume power.
M


