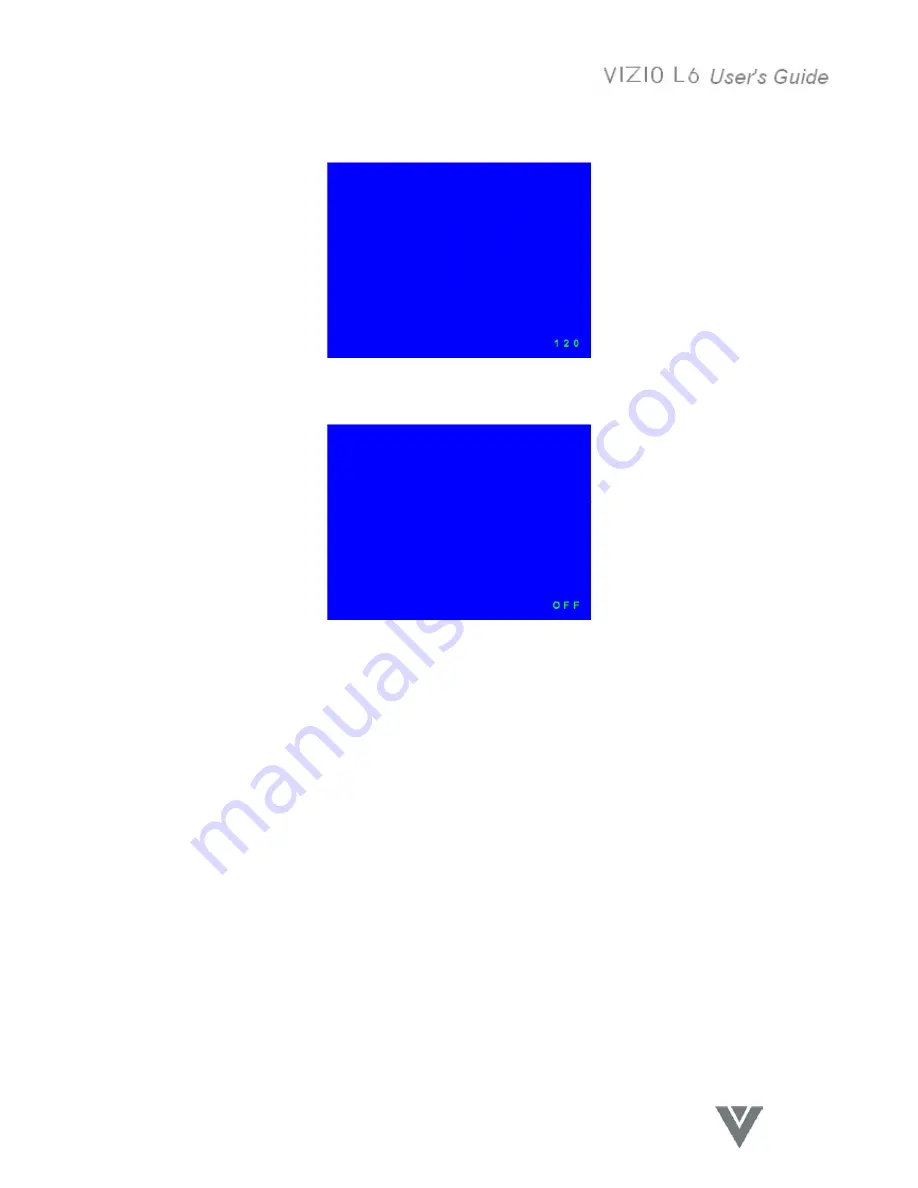
Vizio L6 User Manual Download Page 34


33 

VINC.COM


Sleep Timer message 


Figure 27 Sleep Timer message OSD 


Figure 28 Sleep Timer message OSD 

 
The Sleep button on the Remote Control can be used to directly access and set the Sleep Timer.  The 
message displayed on the screen is shown in Figure 27. 

1.  Press the Sleep button on the Remote Control to display the Sleep Time message. 
2.  Repeated pressing of the Sleep button will increase the time to sleep mode in thirty (30) minute 

intervals.  Once one hundred and twenty (120) minutes is reached, press the Sleep button again 
will return to zero (00) minutes which is the off (disabled) state.  See Figure 28. 


Summary of Contents for L6

Page 1: ......

Page 2: ...e Adjust menu 12 Input Setup menu 15 PIP Setup menu 16 TV Tuner Setup menu TV only 18 Audio Adjust menu 20 Parental Controls menu 22 Access Code Edit menu 24 TV Rating menu 25 MOVIE Rating menu 26 Special Features menu 27 System Information menu 28 Volume OSD 29 Channel Number OSD 30 Source Message OSD 32 Sleep Timer message 33 Channel Scanning message 34 Warning message 35 Other Information 36 Sp...

Page 3: ...ages resulting from furnishing this material or the performance or use of this product In the interest of continuing product improvement V Inc Corporation reserves the right to change product specifications without notice Information in this document may change without notice No part of this document may be copied reproduced or transmitted by any means for any purpose without prior written permiss...

Page 4: ...fire or electric shock Never spill liquids on the monitor The monitor should be operated only from the type of power source indicated on the label If you are not sure of the type of power supplied to your home consult your dealer or local power company The power cable must be replaced when using different voltage from that specified in the User Manual For more information contact your dealer The m...

Page 5: ... cover Your LCD TV contains high voltage parts You may be seriously injured if you touch them Avoid exposing your LCD TV to direct sunlight or another heat source Orient your LCD TV away from direct sunlight to reduce glare Always handle your LCD TV with care when moving it Place your LCD TV in a well ventilated area Do not place anything on your LCD TV that prevents heat dissipation Ensure the ar...

Page 6: ...stall the INF file A copy of this file can be downloaded from the www vinc com website 5 Audio Installation Connect the audio cable Blue color to the AUDIO OUT port of your computer s sound card then to the LCD display s AUDIO IN Blue color port see illustration below 6 Windows users Set the timing mode resolution and refresh rate Example 640 x 480 60 Hz For instructions on changing the resolution...

Page 7: ...a wall mounted display do the following Four screw holes for wall mount 1 Disconnect Power 2 Lay the LCD TV face down on a towel or blanket to protect the screen from damage 3 Remove the 6 screws from the hinge of stand and remove the stand 4 Attach the mounting bracket from the VESA compatible wall mounting kit 100 mm x 100mm size 5 Attach the LCD TV to the wall following the instructions with th...

Page 8: ...Properties Select the Settings tab and set the resolution 2 Set the refresh rate See your graphic card s user guide for instructions WARNING Do not set the graphics card in your computer to exceed the maximum refresh rate of 85Hz doing so may result in permanent damage to your Display Switching Sources DVI Component AV S Video TV Modes 1 Turn on the power of the connected video equipment 2 Press t...

Page 9: ...ols on page 12 Shortcuts Shortcuts allow quick access to commonly used functions without navigating through the OSD The following shortcuts are available Button Function Source Input Select Jumps directly to next Input Right When OSD Not Active Volume Up Left When OSD Not Active Volume Down Up When OSD Not Active Channel Up Down When OSD Not Active Channel Down Main Menu with OSD controls Top Keyp...

Page 10: ...WAP Switch PIP Main Sub source 11 PIP SIZE Adjust PIP Sub picture size 12 PIP SOURCE Select PIP Sub picture source 13 AUDIO Adjust Audio function 14 POP Display Multi Window 15 SLEEP Set the sleep timer 16 MENU EXIT Press to call the OSD EXIT the OSD 17 Cursor Control Select a desired item on the screen 18 OK Execute a command 19 VOLUME Set the volume 20 CHANNEL Set the channel 21 LAST Return to t...

Page 11: ...y after about 30 seconds 2 After a page is selected press the button A control screen like the one shown below appears 3 To save the adjustments and exit the marker press the EXIT button The following tips may help you optimize your display Adjust your computer s graphic card so that it outputs a video signal of 640 x 480 60 Hz Look for instructions on changing the refresh rate in your graphic car...

Page 12: ...D menu is displayed when either of these buttons is pressed the selected item for adjustment is changed VOL Button and VOL Button These buttons function only during Normal status The buttons are used to increase or decrease the sound volume While the OSD menu is displayed when either of these buttons is pressed the value of the selected item for adjustment is decreased or increased In some submenu...

Page 13: ...he Top Keypad to enter this menu 3 Press the button button to go back on the Remote Control or the CH CH button on the Top Keypad to change the selected function 4 Press the or button on the Remote Control or the VOL or VOL button on the Top Keypad to adjust the feature 5 Press the Exit button on the Remote Control or the Menu button on the Top Keypad to return to the main menu and then press the ...

Page 14: ... function 4 Press the or button on the Remote Control or the VOL or VOL button on the Top Keypad to adjust the feature 5 Press the Exit button on the Remote Control or the Menu button on the Top Keypad to return to the main menu and then press the button again to exit the OSD or wait for the time out to exit Function Name Explanation BRIGHTNESS Adjust the brightness of the TV CONTRAST Adjust the c...

Page 15: ...s menu 3 Press the button button to go back on the Remote Control or the CH CH button on the Top Keypad to change the selected function 4 Press the or button on the Remote Control or the VOL or VOL button on the Top Keypad to adjust the feature 5 Press the Exit button on the Remote Control or the Menu button on the Top Keypad to return to the main menu and then press the button again to exit the O...

Page 16: ...back on the Remote Control or the CH CH button on the Top Keypad to change the selected function 4 Press the OK button on the Remote Control or the VOL button on the Top Keypad to select the input 5 Press the Exit button on the Remote Control or the Menu button on the Top Keypad to return to the main menu and then press the button again to exit the OSD or wait for the time out to exit Function Nam...

Page 17: ...16 VINC COM PIP Setup menu Figure 5 PIP Setup menu Figure 6 PIP menu Figure 7 POP menu ...

Page 18: ... on the Remote Control or the CH on the Top Keypad to select the Swap function and then press the button on the Remote Control or the VOL button on the Top Keypad to swap the main and sub screen inputs 9 If the PIP mode was selected then additional menu choices for PIP Size PIP H POS and PIP V POS will appended to the menu list If desired press the button on the Remote Control or the CH on the Top...

Page 19: ...d to enter this menu 3 Press the button button to go back on the Remote Control or the CH CH button on the Top Keypad to change the selected function 4 Press the or button on the Remote Control or the VOL or VOL button on the Top Keypad to choose or adjust the feature 5 Press the OK button on the Remote Control or the TV Video button on the Top Keypad to select choice 6 Press the Exit button on th...

Page 20: ...BLE Select input Cable TV CHANNEL SEARCH Auto scan channel Press Right key to execute SET CHANNEL Change channel ADD DELETE ADD or DELETE the Channel This works as a switch Press left key to add channel and ADD is shown Press right key to delete channel and DEL is shown Please refer to Figure 9 ...

Page 21: ...utton on the Remote Control or the VOL button on the Top Keypad to select the Audio Adjustment menu 3 Press the button on the Remote Control or the CH on the Top Keypad to select the function 4 Press the or button on the Remote Control or the VOL or VOL button on the Top Keypad to adjust the feature 5 Press the Exit button on the Remote Control or the Menu button on the Top Keypad to return to the...

Page 22: ...Bass level TREBLE Adjust the Treble level BALANCE Adjust the Left and Right speaker balance LOUDNESS The low pitch and high pitch of sound will be enhanced simultaneously if this setting is on MUTE Audio mute switch on or off If switch is on means that the audio is muted as in Figure 11 ...

Page 23: ...22 VINC COM Parental Controls menu Figure 12 Parental Controls menu Figure 13 Access code menu Figure 14 Access code incorrect warning message ...

Page 24: ...the Top Keypad 4 Press the button button to go back on the Remote Control or the CH CH button on the Top Keypad to change the selected function 5 Press the button on the Remote Control or the VOL button on the Top Keypad to open the sub menu 6 Press the Exit button on the Remote Control or the Menu button on the Top Keypad to return to the main menu and then press the button again to exit the OSD ...

Page 25: ...there will be a warning message as shown in Figure 14 1 Key in the old password 2 Key in the new password 3 Key in the new password again for confirmation 4 Press the OK button on the Remote Control or the TV Video button on the Top Keypad to select choice 5 Press the Exit button on the Remote Control or the Menu button on the Top Keypad to return to the main menu and then press the button again t...

Page 26: ...mote Control or the CH CH button on the Top Keypad to change the selected function 2 Press the OK button on the Remote Control or the TV Video button on the Top Keypad to select choice 3 Press the Exit button on the Remote Control or the Menu button on the Top Keypad to return to the main menu and then press the button again to exit the OSD or wait for the time out to exit ...

Page 27: ...Remote Control or the CH CH button on the Top Keypad to change the selected function 2 Press the OK button on the Remote Control or the TV Video button on the Top Keypad to select choice 3 Press the Exit button on the Remote Control or the Menu button on the Top Keypad to return to the main menu and then press the button again to exit the OSD or wait for the time out to exit ...

Page 28: ...Top Keypad to return to the main menu and then press the button again to exit the OSD or wait for the time out to exit Function Name Explanation OSD H POS Adjust horizontal position of the OSD OSD V POS Adjust vertical position of the OSD OSD TIMEOUT Adjust the time the OSD is on the screen before it automatically disappears LANGUAGE Choose the OSD language from the selection of English Spain Fren...

Page 29: ...on the Top Keypad to return to the main menu and then press the button again to exit the OSD or wait for the time out to exit Function Name Explanation MODEL NUMBER Display the model number MAIN INPUT Display the input currently used for the main screen WIDE FORMAT MAIN Display the format selected for the main screen PIP INPUT Display the input currently used for the sub screen SOFTWARE VERSION Di...

Page 30: ... 3 Press the Exit button on the Remote Control or the Menu button on the Top Keypad to return to exit the OSD or wait for the time out to exit Figure 21 Volume OSD When Mute button on the Remote Control is pressed the Mute OSD will be displayed on the bottom of the screen Figure 21 1 Press the Mute button on the Remote Control to turn off the sound 2 Press the Mute button again or press the Volume...

Page 31: ... the screen Figure 22 1 Press the Audio button on the Remote Control to display the OSD 2 Press the button button to go back to select the function 3 Press the or button to adjust the function 4 Press the Exit button the Display button or wait for the time out to exit Channel Number OSD Figure23 Channel number OSD Channel has not changed ...

Page 32: ...sing the Number buttons on the Remote Control 2 Before the channel is changed the current channel number is shown and the CA prefix color is yellow as shown in Figure 23 3 After changing to the new channel the display changes to the new channel number and the CA prefix color changes to green as shown in Figure 24 4 If the Display function is disabled the channel number will be displayed for approx...

Page 33: ...f the inputs for the main screen The input source name will be displayed in the top left corner of the screen as shown in Figure 26 1 Press the Source button on the Remote Control to change the input source for the main screen 2 The new input choice will be shown in the top left corner of the screen for approximately three 3 seconds ...

Page 34: ... message displayed on the screen is shown in Figure 27 1 Press the Sleep button on the Remote Control to display the Sleep Time message 2 Repeated pressing of the Sleep button will increase the time to sleep mode in thirty 30 minute intervals Once one hundred and twenty 120 minutes is reached press the Sleep button again will return to zero 00 minutes which is the off disabled state See Figure 28 ...

Page 35: ... the TV Tuner setup sub menu the Channel Scanning message will be displayed in the top left corner of the screen Figure 29 The system scans the channels automatically and when it finds channels with a signal it adds them to the channel list If no signal is present on the current scanned channel the color of the channel number is red Figure 30 and this channel is deleted from the channel list ...

Page 36: ...ly five 5 seconds Figure 32 Out of range message When the main screen input source is DVI mode and timing or resolution exceed the specification of the display an Out Of Range message will be shown on the screen as in Figure 32 1 The main input source is DVI mode 2 The timing of the DVI signal is more than 69kHz or less than 30kHz for the horizontal frequency and or greater than 85Hz or less than ...

Page 37: ...d Macintosh1 Power Macintosh up to 1024 x 768 Resolution Supported 1024 x 768 60 75 85 Hz 800 x 600 60 75 85 Hz 640 x 480 60 75 85 Hz 720 x 400 70 Hz Recommended 640 x 480 60 75 85 Hz Power Voltage 100 240 VAC 50 60 Hz auto switch 1 5A Operating conditions Temperature 32 F to 95 F 0 C to 35 C Humidity 20 to 90 no condensation Altitude To 3 000 feet Storage conditions Temperature 4 F to 140 F 20 C ...

Page 38: ...LCD TV If the other end of the video cable is not attached permanently to the Display tightly secure it to the LCD TV Adjust brightness and contrast Wrong or abnormal colors If any colors red green or blue are missing check the video cable to make sure it is securely connected Loose or broken pins in the cable connector could cause an improper connection No sound Make sure the volume is not set to...

Page 39: ...ontact our Support Department at the number below Quality service and consistent technical support are integral parts of V s commitment to service excellence V s service representatives are dedicated to assist you with the utmost in customer satisfaction To better assist you please contact via email or phone Email techsupp vinc us or Tel 714 593 8037 6am 3pm PST Corporate Contact Information V Inc...

Page 40: ...an soft lint free cloth and wipe the screen To clean the case 1 Use a soft dry cloth 2 If still not clean apply a small amount of a non ammonia non alcohol based mild non abrasive detergent onto a clean soft lint free cloth then wipe the surface Disclaimer Vinc does not recommend the use of any ammonia or alcohol based cleaners on the Display screen or case Some chemical cleaners have been reporte...

Page 41: ... AWG 10 Amps 12 Amps 12 Amps SVT 18 AWG 17 AWG 10 Amps 12 Amps For European Countries In Europe you must use a cord set which is appropriate for the receptacles in your country The cord set is HARCertified and a special mark that will appear on the outer sheath or on the insulation of one of the inner conductors AC PLUG CORD PRECAUTIONS FOR THE UNITED KINGDOM FOR YOUR SAFETY PLEASE READ THE FOLLOW...

Page 42: ...erence by one or more of the following measures Reorient or relocate the receiving antenna Increase the separation between the equipment and receiver Connect the equipment into an outlet on a circuit different from that to which the receiver is connected Consult the dealer or an experienced radio TV technician for help FCC Warning To assure continued FCC compliance the user must use grounded power...

Page 43: ...tion alteration improper servicing tampering or normal wear and tear or TVs on which the serial number has been removed or defaced Image Sticking caused by operating at excessive brightness levels for extended periods or mishandling are not covered by this warranty ANY IMPLIED WARRANTIES INCLUDING ANY IMPLIED WARRANTY OF MERCHANTABILITY AND FITNESS FOR A PARTICULAR PURPOSE SHALL BE LIMITED IN DURA...

Page 44: ......

Reviews: