5
32
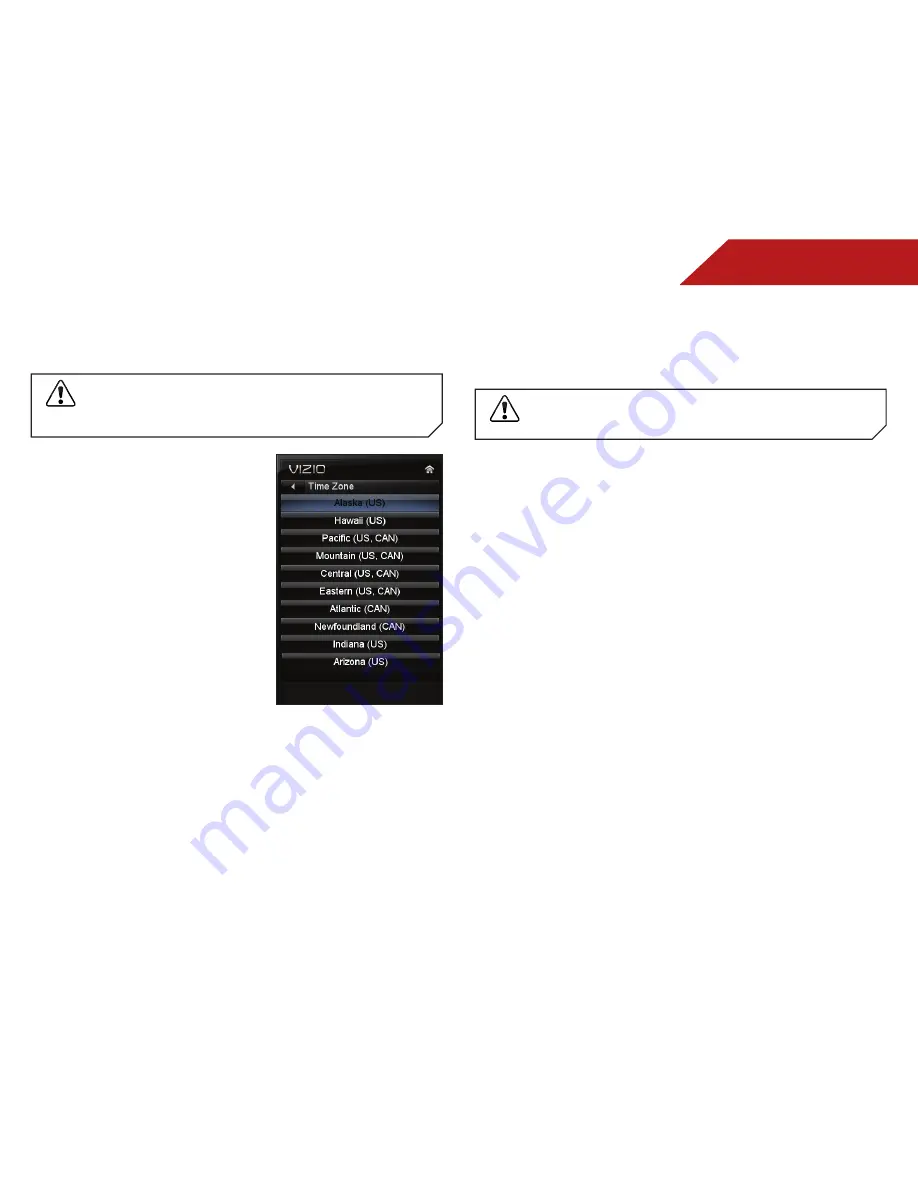
Setting the Time Zone
To ensure the correct time is displayed when you press the INFO
button, set the TV’s time zone:
To have the TV display the correct time, you must be
connected to the internet via an Ethernet cable or a
wireless network.
1. Press the
MENU
button on the
remote. The on-screen menu is
displayed.
2. Use the
Arrow
buttons on the
remote to highlight the
Settings
icon and press
OK
. The Settings
menu is displayed.
3. Use the
Arrow
buttons on the
remote to highlight
Time &
Local Settings
and press
OK
.
The Time & Local Settings menu
is displayed.
4. Highlight
Time Zone
and press
OK
. The Time Zone menu is
displayed.
5. Highlight your time zone and
press
OK
.
6. Highlight
Daylight Savings
and press
OK
. The Daylight
Savings menu is displayed. Choose
On
if daylight savings is
in effect, or
Off
if it is not.
7. Highlight
Postal Code
. Enter your ZIP code using the keypad
on the remote, then press
OK
. The ZIP code information
is often used by VIA Apps to give you the most accurate
location-based information, such as weather or news.
8. Press the
EXIT
button on the remote.
Adjusting the CEC Settings
The CEC function on your TV enables you to control
HDMI-connected devices with the included remote without any
additional programming.
Not all HDMI devices support CEC. See your device’s
user manual for details.
To enable, disable, or adjust CEC settings:
1. Press the
MENU
button on the remote. The on-screen menu is
displayed.
2. Use the
Arrow
buttons on the remote to highlight the
Settings
icon and press
OK
. The Settings menu is displayed.
3. Use the
Arrow
buttons on the remote to highlight
CEC
Settings
and press
OK
. The CEC Settings menu is displayed.
4. Use the
Arrow
and
OK
buttons to adjust each setting:
• CEC Function
- To use CEC, you must select
Enable
.
• System Audio Control
- When system audio control is on,
you can control your device’s audio using the TV’s remote
control.
• Device Discovery
- Use this function to determine if your
device is connected and supports CEC.
5. Press the
EXIT
button on the remote.


