VIVOTEK
User's Manual - 69
Noise reduction
■ Enable noise reduction: Check to enable noise reduction in order to reduce noises and flickers
in image. This applies to the onboard 3D Noise Reduction feature. Use the slide bar to adjust
the reduction strength. Note that applying this function to the video channel will consume system
computing power.
3D Noise Reduction is mostly applied in low-light conditions. When enabled in a low-light
condition with fast moving objects, trails of after-images may occur. You may then select a lower
strength level or disable the function.
Enable digital image stabilizer
If you experience problems such as vibration occurs when on a pole mount, try enable the image
stabilizer.
Highlight mask
■
Strong light sources will be masked from the scene, and the image contrast will be strengthened.
This function is useful to prevent the spot-light effects in a high dynamic scene.
False color may be observed around the edges of strong light sources.
Scene mode:
Auto Mode:
1. Installed on the train/bus compartments
2. Provides a general live view for transportation security
Signal light:
3. Installed on the front of train/bus
4.
Reduces night glare from traffic signal lights to provide improved visibility, provides a
live preview for signal light for a driver
Rail track:
5. Installed on the sides of a vehicle
6. Enables better clarity of other moving obje
cts.
Note that the
Preview
button has been cancelled, all changes made to image settings is directly
shown on screen. You can click
Restore
to recall the original settings without incorporating the
changes. When completed with the settings on this page, click
Save
to enable the setting. You
can also click on
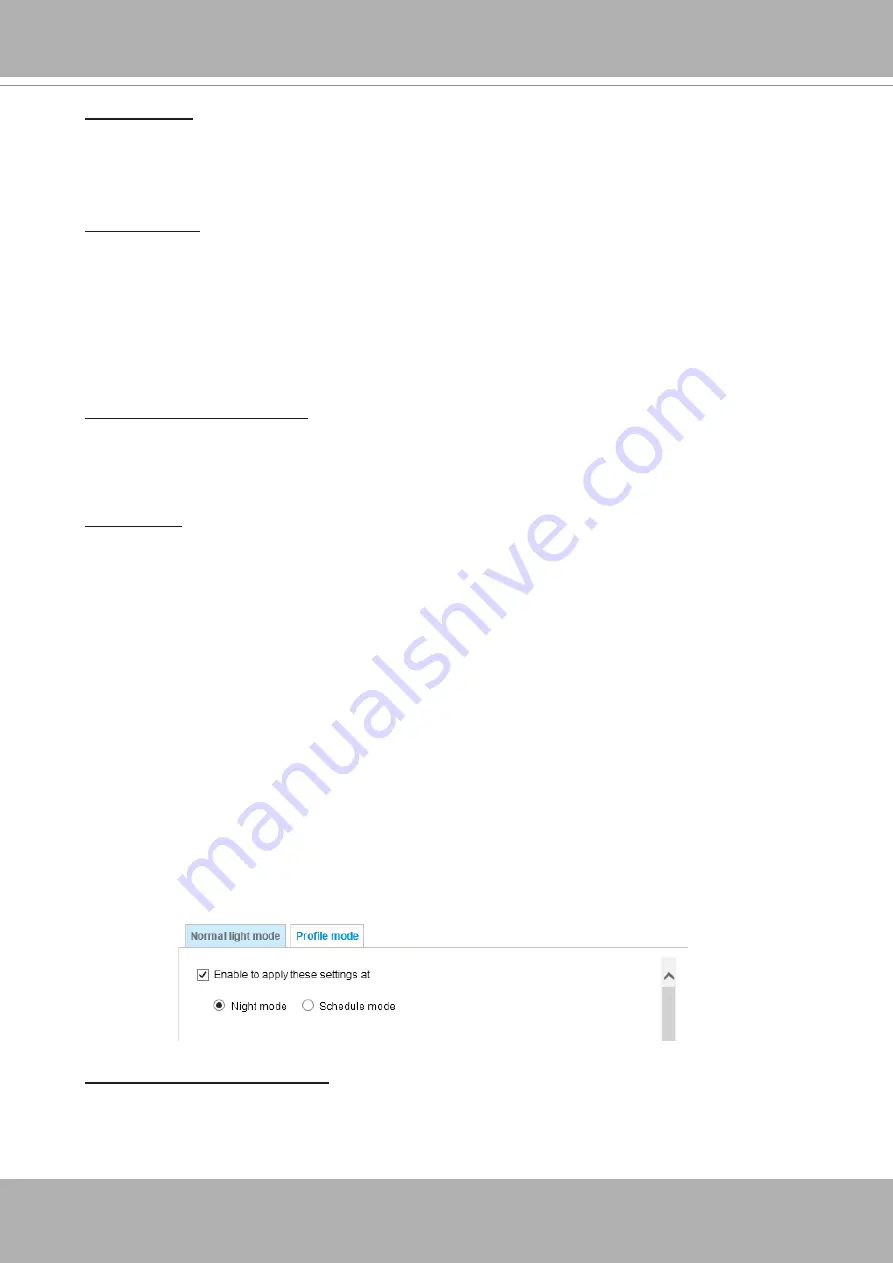
Profile mode
to adjust all settings above in a tabbed window for special lighting
conditions.
Enable to apply these settings at
: Select the mode this profile to apply to: Day mode, Night mode,
or Schedule mode. Please manually enter a range of time if you choose the Schedule mode. Then
check
Save
to take effect.


