Adjusting camera settings using the camera keys
Using the digital zoom
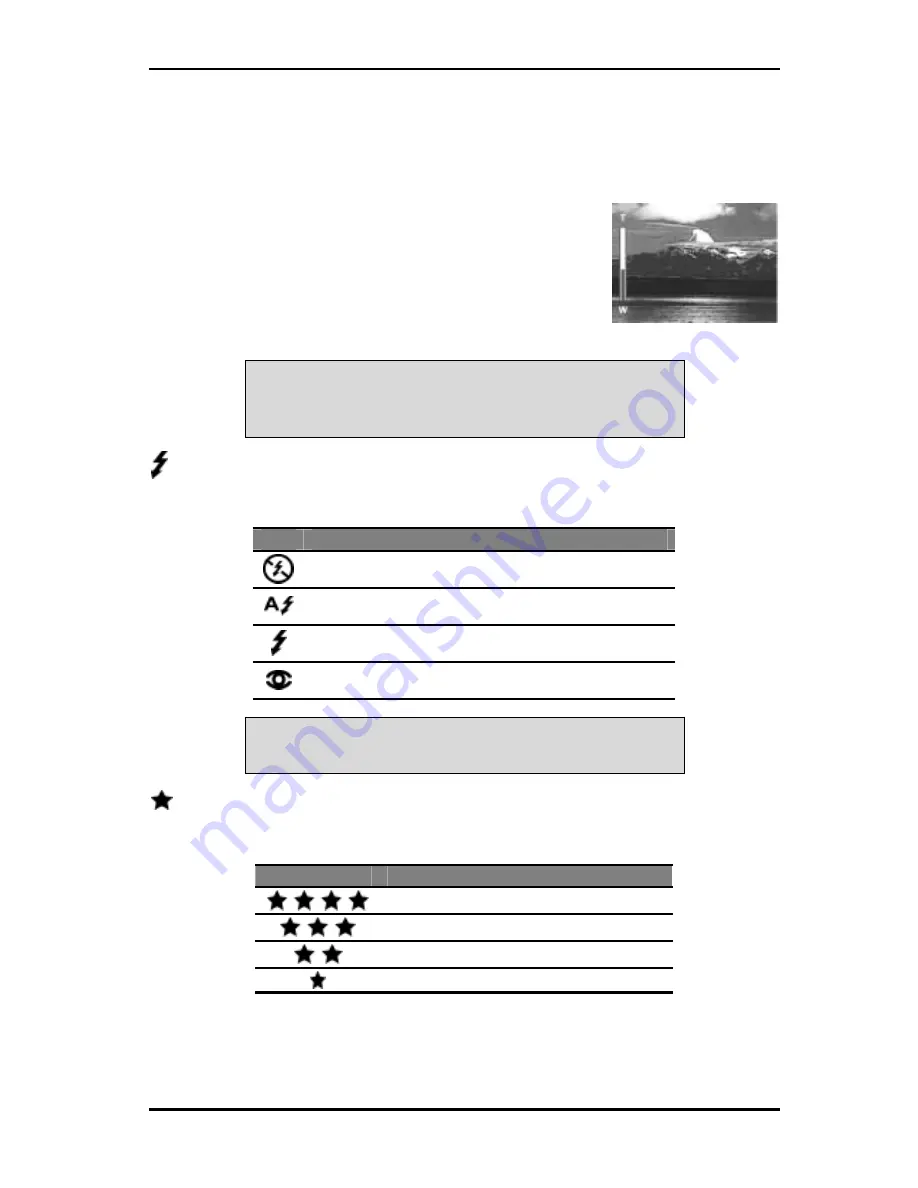
Your digital camera is equipped with a 4x digital zoom. The zoom level can be varied from
1x to 4x by using the zoom in and zoom out buttons as follows:
1.
Turn on the camera.
2.
Use the LCD screen to frame your shot while pointing
the lens at the subject.
3.
Press the zoom in button to take a close-up of the
subject for more details and a narrow field of view.
Alternatively, press the zoom out button to take a
wider shot with fewer details.
4.
Proceed to capture the image as described in Taking photographs on page 16.
NOTE: The zoom setting is preserved even after the image is captured. Use the
zoom out button to zoom out completely before using the flash, self-timer, or
preset scene modes.
Using the flash
The built-in flash of your digital camera can be adjusted for various light conditions. Press
the
►
button repeatedly to select the desired flash setting as shown below:
Icon
Description
Forced off
– In this mode, the flash is disabled.
Auto
– The camera senses whether the flash is needed by
detecting the amount of ambient light.
Forced on
– The flash is enabled, regardless of the ambient
light.
Red-eye reduction
– The flash fires twice to reduce the red-
eye effect.
NOTE: The image may be overexposed when you shoot bright scenes by using
forced flash.
Setting the resolution
The resolution setting changes the resolution and quality of the still images captured by
the camera. Press the
▲
button repeatedly to select the desired resolution:
Icon
Description
4 star
– 2272 x 1704
3 star
– 2272 x 1704
2 star
– 1600 x 1200
1 star
– 640 x 480
The higher the quality, the clearer your picture will be. However, at the same time the
image file size will be larger, taking more time to send via email, and fewer pictures can
be stored in memory. Choose the setting that best matches the intended use for your life.
17


