


23
Using PhotoFantasy
NOTE
: The graphics shown are based on the user interface in Windows
98SE.
1.
Search through
Start>Programs (
"
All Programs
"
for Windows
XP) > Vivicam 3555 Digital Camera Suite
and click
PhotoFantasy
2000
icon
2.
Click the
Get Fantasy
icon on the main screen to select a template
for your photo to put on. You need to put the supplied program
CD to the CD-ROM drive to view the sample photos.
3.
Click
Get photo
icon on the main screen to select a photo. To
select a photo from your digital camera, click
Acquire
icon on the
get photo
window. If you want to select a photo already on your
hard disk or other storage medium, click Add icon on
get photo
window.
NOTE
: Refer to "
Downloading photos by using PhotoStudio
"
section for more details.
4.
You may modify your images with the available functions
NOTE
: If you want to know more about PhotoFantasy, consult its on-
line help which is accessible by clicking the "
?
" sign on the
windows’ upper right corner.
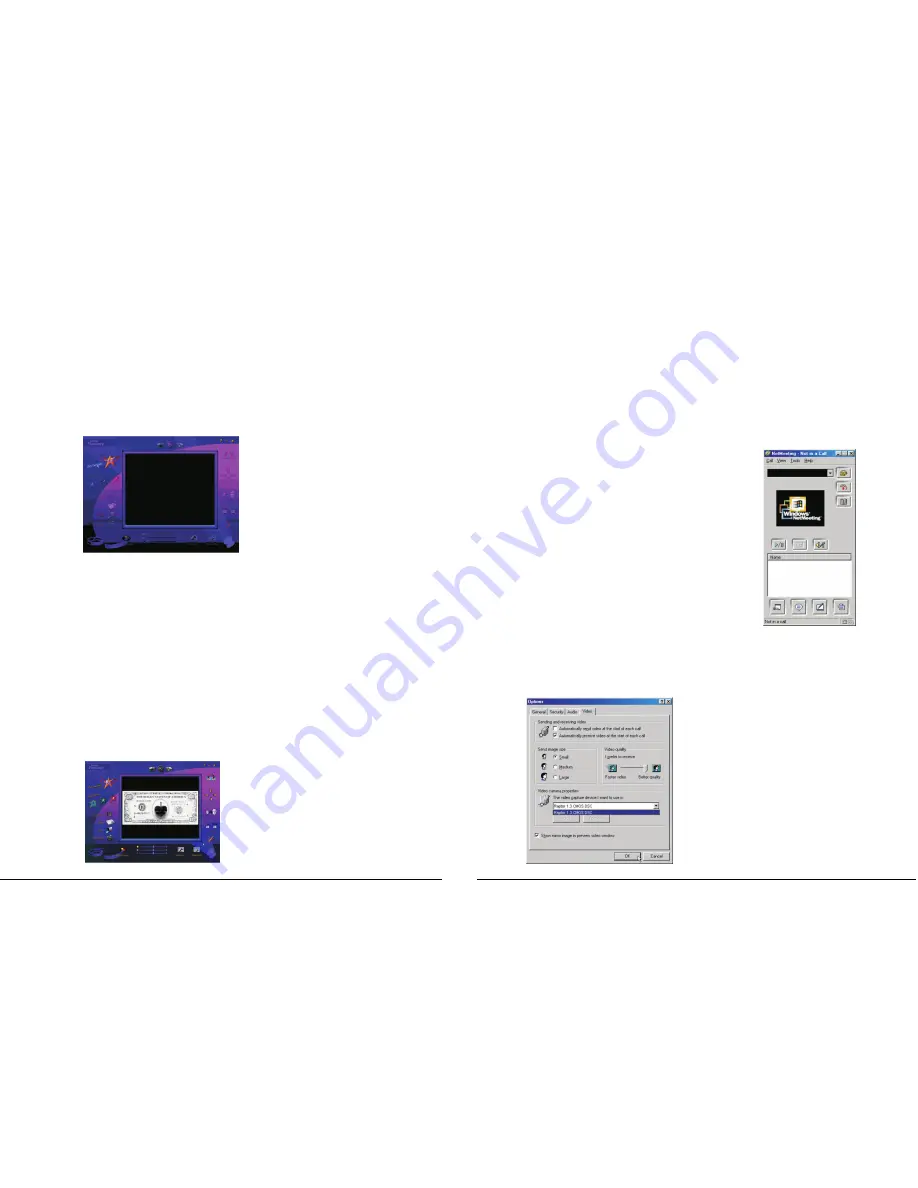
Using your Digital Camera as a PC camera
1.
Set up an account with Windows NetMeeting (or other similar
program)
4.
Click
Tools>Options
from the pull-down menu
5.
Click
Video
tab, select your installed camera from
Video Camera
Properties
drop-down box and click
OK
button
2.
Power up your camera and connect it
to the computer. Press
MENU
,
DOWN
,
ENTER
buttons to select
Silent Video
mode.
NOTE
: Make sure
Light Frequency
has been set (from
RECORD MENU
)
according to the AC frequency of the
country in which you are using the
camera. For example, the AC
frequency for the USA is 60Hz and
Europe is 50Hz.
3.
Start Windows Net Meeting (or similar
program)
Summary of Contents for Vivicam 3555
Page 1: ......


