16
on
Playback
LCD monitor
Download to the Computer
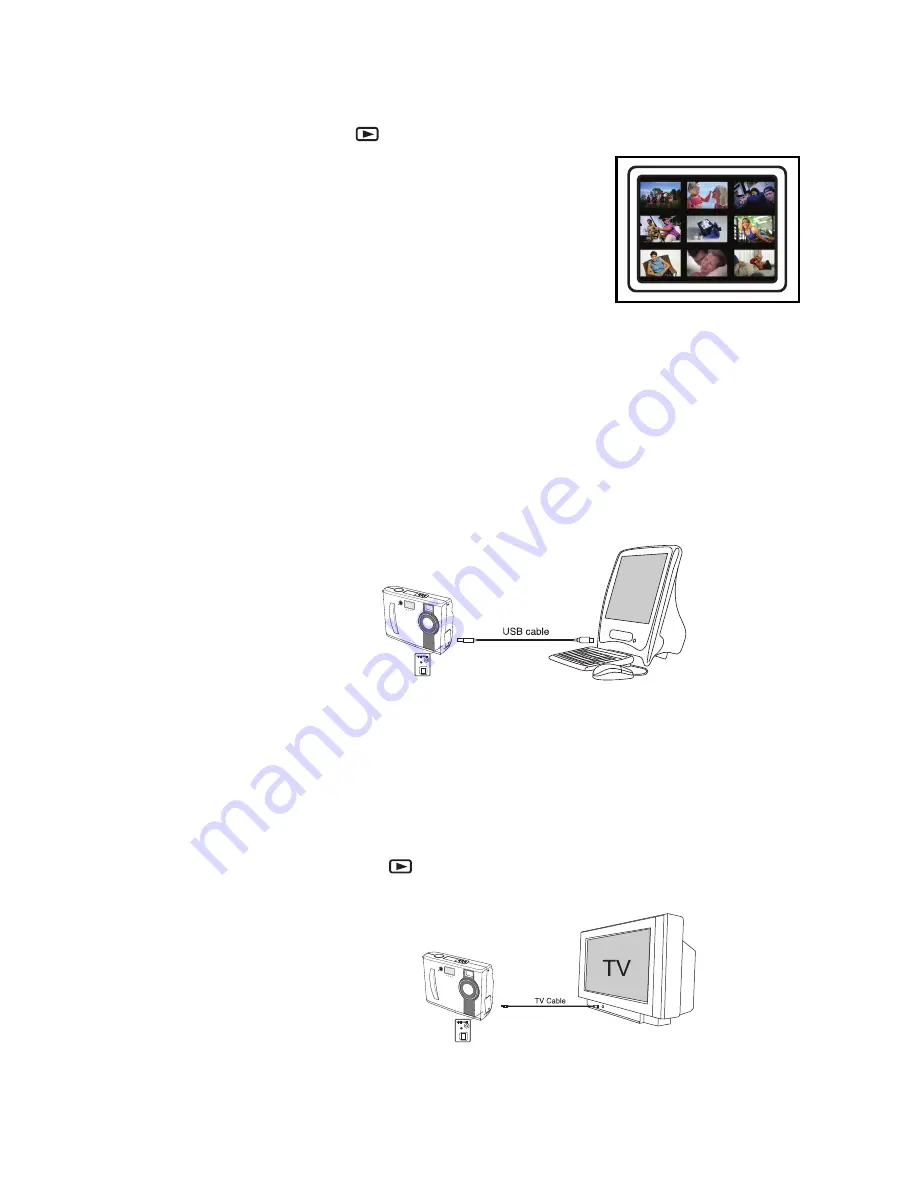
View the photos on TV
1.Connect the camera to the TV with the TV cable provided.
2.Power on the camera.
3.Turn the Mode Dial to Play mode .
4.The last image file is shown on the TV screen.
5.Press the “UP” or “DOWN” button to view other images.
• Turn Mode Dial to Play mode ,the last photo is display.
• Press “UP” or “DOWN” button to review the photos.
• Press MENU button to set up the followings:
- LCD Brightness, Video Mode, Slide Show, Folder, Protect
Files
- Video Mode (select NTSC/PAL TV system)
- Slide Show (to set up slide show and select the time interval
from 1 to 10 seconds)
- Folder (select the folder you want to review)
- Protect files (to protect the photos from being erased)
• Press“DISP”once to display the photo’s information.
• Press “DISP”twice to display 9 thumbnails together .
* Make sure you have installed the camera driver and taken some photos and saved in
the CF card. For details of driver installation, please refer to the camera driver installation
section in the later part of this Manual.
1. Turn on the camera unit.
2. Turn to “PC” mode.
3.Connect the camera and computer with the USB cable.
4.Open Windows Explorer.
5. Look for the “Removable Disk” folder.
6.Expand on it until you see the folder “100cnxnt” under “Dcim”.
7.Click on “100cnxnt” folder and you will see the image files.
8. Copy them to your hard drive
Summary of Contents for Vivicam 3550
Page 1: ......
Page 39: ...Rev AAAAA01...


