9
SETTING THE CAMERA DATE AND TIME
To set the camera’s date and time you will need to connect your camera to a Windows computer
and download a file to your computer
that sets the camera’s date and time as per your
computer
’s settings. To set the camera’s date and time please follow the steps below:
1. DOWNLOAD THE DSC CLOCK PROGRAM:
- On a Windows computer, open an Internet browser.
- Copy the link below and paste into in your browser or click on the link below to
automatically download the DSC_Clock.zip file.
http://www.vivitar.com/downloads/DSC_Clock.zip
- After the DSC_Clock.zip file has been downloaded, extract/unzip the DSC_Clock.exe
file.
2. LAUNCH THE DSC CLOCK PROGRAM:
- Double click the DSC_Clock.exe file to launch the program.
- A
n ‘Open File’ Window appears. Click on ‘Run’ to launch the DSC Clock program.
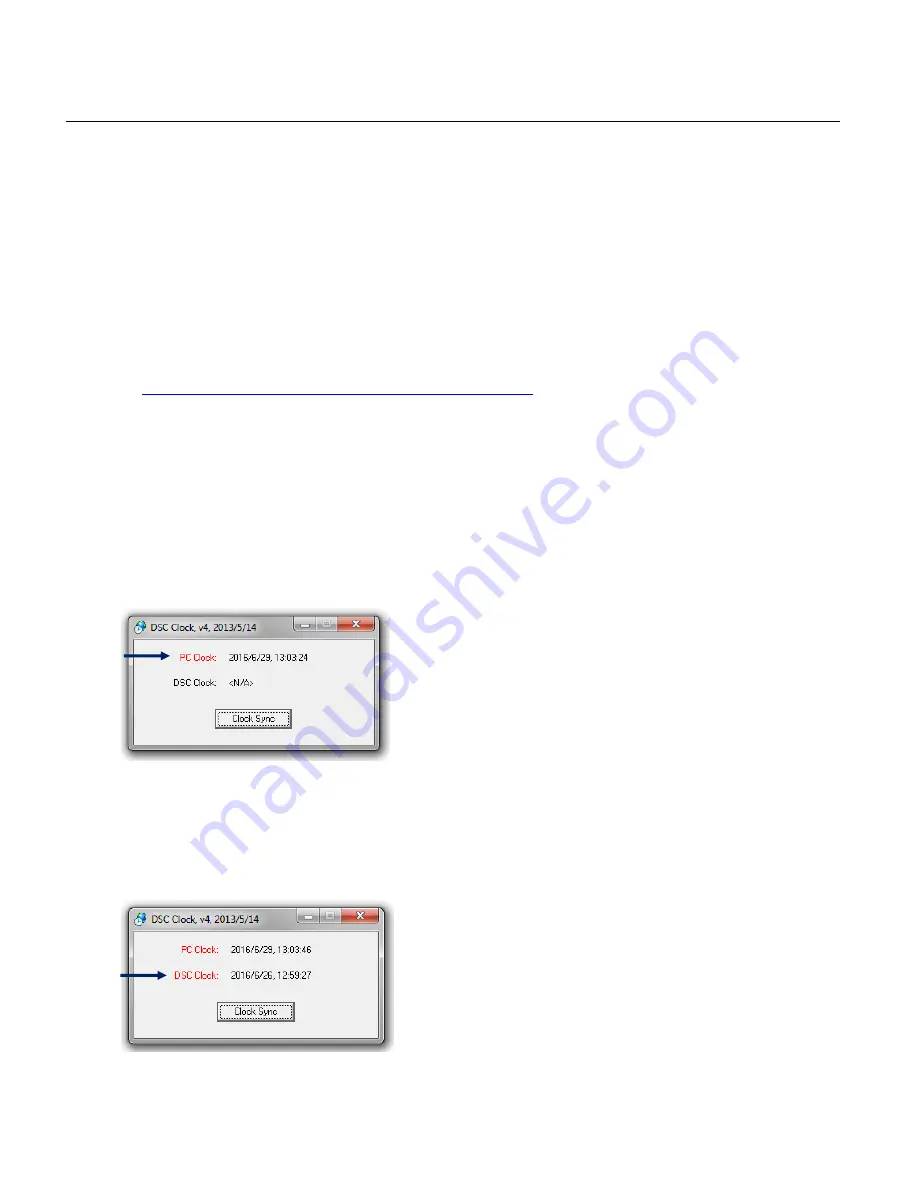
- The DSC Clock window appears, displaying the current date and time on your computer.
3. SYCHRONIZE YOUR CAMERA TO THE COMPUTER
’S DATE/TIME:
- Connect your camera with the USB cable (included) to your Windows computer.
- Power on your camera.
‘PCU’ appears on the camera’s screen.
- The cameras current time appears in the DSC Clock window.


