background image


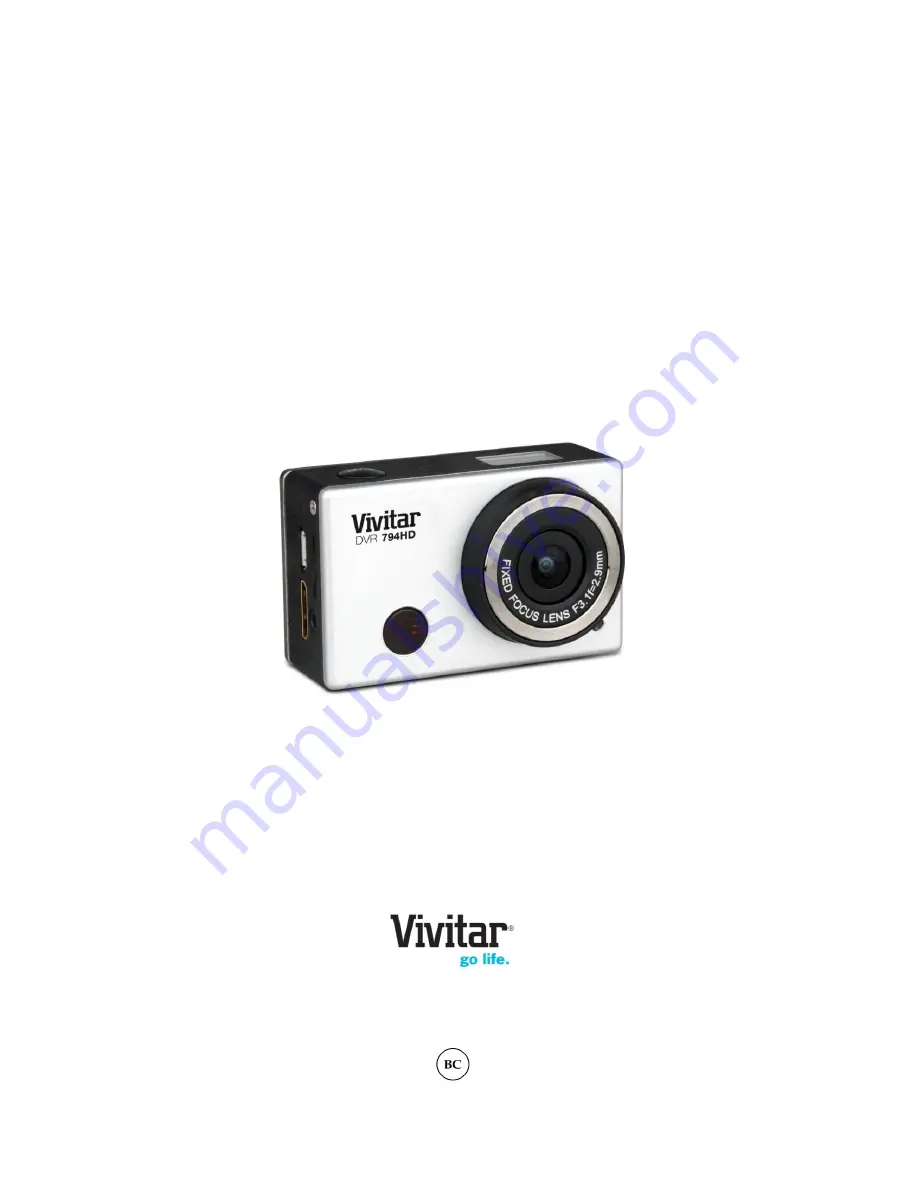
DVR 794HD 

Wi-Fi Action Camcorder 


User Manual 


© 2009-2014 Sakar International, Inc. All rights reserved. 

Windows and the Windows logo are registered trademarks of Microsoft Corporation. 

All other trademarks are the property of their respective companies. 


Summary of Contents for DVR 794HD

Page 1: ... Camcorder User Manual 2009 2014 Sakar International Inc All rights reserved Windows and the Windows logo are registered trademarks of Microsoft Corporation All other trademarks are the property of their respective companies ...

Page 2: ...de 14 Video Capture Mode 16 Photo Capture Mode 17 Playback Mode 18 Remote Control 22 Mobile Device Application 23 Computer System Requirements 27 Installing the Software 28 Connecting the Camcorder to the Computer 29 Getting Videos from the Camcorder to the Computer 30 Getting Started 31 Transferring Images Manually from the Camcorder to the Computer 31 Camcorder Maintenance 33 Sakar Warranty Card...

Page 3: ...e most out of your digital camcorder NOTE Your digital action camcorder supports a Class 4 or higher Micro SD card with a capacity expansion up to 32GB In order to use your digital action camcorder normally please insert the Micro SD Memory card before use Please format the Micro SD Memory Card before first use Micro SD Memory cards are not included and need to be purchased separately This camcord...

Page 4: ...uded 1 Wi Fi Action Camcorder 6 Remote Control 2 USB Cable 7 Bicycle Mount 3 AC Adapter 8 Helmet Mount Strap 4 Vivitar Experience Installation CD 9 Lithium Battery 5 Waterproof Casing NOTE Micro SD Card not included ...

Page 5: ...Micro USB Port 2 Microphone 9 Mini HDMI Port 3 LCD Display 10 Micro SD Card Slot 4 Lens 11 AV Out 5 Wi Fi Button and Status Indicator Red 12 Battery Cover Release lever 6 Power Mode Button 13 LED Indicator Light 7 Infrared Signal Reception Light ...

Page 6: ...igure 3 4 Close the battery cover See Figure 4 To charge the lithium battery 1 Power off the camcorder 2 Connect the included USB cable to the camcorder and connect the other end of the cable to a power source such as a computer or included AC Adapter 3 During the time the camcorder is charging the LED status indicator light blue is on When the battery is fully charged the LED status indicator lig...

Page 7: ...Y CARD Make sure a High Speed Class 4 or higher Micro SD Memory card has been properly inserted into your camcorder A Micro SD Card must be inserted before use Micro SD Memory card not included Installing the Memory Card To properly insert the Micro SD Card follow the instructions below 1 Power off the camcorder 2 Insert the Micro SD Card into the Micro SD Card slot in the direction as shown above...

Page 8: ...sure there is room on the Micro SD Memory Card for additional images If the Micro SD Memory Card is full additional images will not be added to the memory card POWERING ON OFF ENERGY SAVE To power on the camcorder 1 Press and hold the Power button for about 3 seconds 2 The LCD displays ON and a beep can be heard from the camcorder s buzzer To power off the camcorder 1 Press and hold the Power butt...

Page 9: ...8 Energy Save In order to save the camcorder s battery power the camcorder automatically powers off after sitting idle for 5 minutes USING THE CAMCORDER ...

Page 10: ...de If the photo icon is not displayed on the LCD screen press the Power Mode button repeatedly until it appears Press the Shutter button to capture your photo The picture is automatically saved to your camcorder s memory card To select the photo resolution press the Mode button LO indicates 5M 2592 x 1944 resolution and HI indicates 8M 3264 x 2448 resolution Playback Photos Videos Use this mode to...

Page 11: ...Fixed Focus F3 1 f 2 9mm White Balance via App Auto Daylight Cloudy Florescent Incandescent only via the App on your mobile device Frequency via App 50Hz 60Hz Continuous Shot via App Yes 3 continuous photos only via the App on your mobile device Self Timer via App Off 2 seconds 10 seconds only via the App on your mobile device Auto Power Off 5 minutes Language English Interface USB 2 0 System Requ...

Page 12: ... the case Insert a finger at the half circle of the latch by prying the latch up away from the case 2 Insert the camera lens forward into the case 3 Before sealing the waterproof case make sure the camera housing s rubber seal clean Close the door and secure the latch 4 While the camcorder is in the waterproof casing press the POWER MODE button to select either Video or Photo Capture Mode Press th...

Page 13: ...n salt water you will need to rinse the outside of the housing with non salt water and dry Not doing this can eventually cause corrosion of the hinge pin and salt buildup in the seal which can cause failure To clean the seal rinse in fresh water and shake dry drying with a cloth may cause lint to compromise the seal Re install the seal into the grooves of the housing Powering On Your Camcorder TUR...

Page 14: ...080 30fps LO stands for 720P 1280 x 720 30fps HILO only displays in video recording mode standing for 720P 1280 x 720 60fps In Photo Capture Mode Camera Mode HI stands for 8 Mega Pixels 3264 x 2448 LO stands for 5 Mega Pixels 2592 x 1944 6 MUTE MODE ICON Icon displays when enabled Disabled by default no icon 7 COUNTER Displays amount of photos that can be captured as per the selected resolution Di...

Page 15: ...r or television to use this mode to view your captured photos and videos SWITCHING MODES After turning on the camcorder you can press the POWER MODE button to switch between the following modes in turn In Video Capture Mode press the Shutter button to start recording and press it again to stop In Photo Capture Camera Mode press the Shutter button to take photo Camera mode 8MP Camera mode 5MP Video...

Page 16: ...itch between the Video Capture Mode resolution sizes from HI FHD 1920x1080 30fps to LO 720P 1280x720 30fps to HILO 720P 1280x720 60fps Photo Capture Mode After powering on your camcorder press the MODE button three times to enter Photo Capture Mode at LO resolution size 5 Mega Pixels 2592x1944 Press the MODE button again to switch the Photo Capture Mode resolution size from LO to HI 8 Mega Pixels ...

Page 17: ...mory card size and selected resolution size appears on the LCD screen 3 Capture Your Video Press the Shutter button to start the video capture Press the Shutter button again to stop the video capture During the recording of your video the video icon on the LCD display blinks the LED light indicator on the front of the camera flashes and the elapsed time appears on the LCD ATTENTION Due to limited ...

Page 18: ... on the camcorder 2 Enter Photo Capture Mode Press the MODE button three times to enter Photo Capture Mode LO low resolution 3 Select Photo Resolution HI 8MP 3264x2448 pixels LO 5MP 2592x1944 pixels To change the photo resolution from LO to HI press the MODE button again NOTE The amount of photos available as per your memory card size and selected resolution size appear on the LCD screen 4 Capture...

Page 19: ...you need to transfer the image and audio to an HDTV for playback insert the Com end of the HDMI cable to the DV and the other end output to the HD input of the HDTV as shown in the following figure NOTE Before connecting or removing the HDMI cable first stop video recording playback and disconnect Wi Fi 2 Power on your camcorder and the HDTV 3 When HDTV is connected the camcorder enters the Playba...

Page 20: ...d videos When there are several photos or videos press the Wi Fi button to select a specific photo or video PLAY VIDEO When a video file is selected press the Shutter button to play it and press the Shutter button again to stop playing the video 2 Delete File Format Memory Card In Playback Mode press and hold the Shutter button to open the prompt for deleting the current file or formatting the mem...

Page 21: ...y enter this catalogue to copy files onto hard disk of your computer or view directly from the memory card MACINTOSH OS The camera s device icon appears on the desktop Click on this device icon and open the DCIM folder NOTE Do not disconnect the USB cable during file transfer This may cause data loss After connecting the camcorder to your computer and entering U disk mode two removable disks are d...

Page 22: ...s while Connected to the Television After connecting to HDTV the camcorder enters the Playback Mode mode 1 In Playback Mode on the HDTV long press the Shutter button to enter File Deletion Mode 2 Press the Wi Fi button to switch between deleting or formatting Press the Power button to select Yes or No Press the Shutter button to confirm and exit Deleting Image Files while Connected to the Computer...

Page 23: ... the images you wish to your computer Remote Control You can use the remote control to record videos take photos and shut down the DV When using the remote control aim the signal emission to the port to the infrared signal reception light of the camcorder and then press the Video button Photo Snap button or POWER OFF button Signal emission port Power off button Video button Photo button Infrared s...

Page 24: ...splay the app icon 2 Make sure you have installed the TF card and turn on the camcorder Then press the Wi Fi button to enable the WiFi connection The Wi Fi icon appears on the LCD 3 Enable Wi Fi on your smartphone or tablet and search for and select the wireless AP signal SY5000WIFI Then connect it to the camcorder until the system displays Connected successfully NOTE The first time connecting to ...

Page 25: ...t 3 SETUP Tap to enter Settings Menu The options include Continuous Shooting Off On White Balance Auto Daylight Cloudy Fluorescent Incandescent Frequency 50Hz 60Hz Format Camera Yes No Formats SD Memory Card About 4 PLAYBACK MODE Tap to enter Playback Mode 5 SHUTTER BUTTON Tap to capture your Photo or record your Video 6 PHOTO MODE Tap to enter Photo Capture Mode 7 VIDEO MODE Tap to enter Video Ca...

Page 26: ...connect it to until the system displays Connected successfully NOTE The first time connecting to camcorder you need to enter the following password 1234567890 4 Tap the App icon in the App list of the iOS phone or tablet to open it Now you can preview the image sent by the camcorder on the smartphone or tablet and start using the mobile device to control the camcorder settings and capture your ima...

Page 27: ...YBACK MODE Tap to enter Playback Mode 6 SHUTTER BUTTON Tap to capture your Photo or record your Video 7 PHOTO MODE Tap to enter Photo Capture Mode 8 VIDEO MODE Tap to enter Video Capture Mode NOTE In Photo Mode the Self Timer icon appears to the right of the Battery icon Tap the Self Timer icon to view the options Off 2s 10s Tap an option to select it A TF card must be inserted if you need to take...

Page 28: ...e hard disk space 16 bit Color monitor 1024 X 768 recommended screen resolution CD ROM Drive QuickTime 6 or higher MICROSOFT Internet Explorer 7 or higher Windows Media Player 10 or higher DirectX 9 or higher Internet connection required MACINTOSH OS Intel processor running MACINTOSH OS X v10 5 x or later 1 GB RAM 250 MB available hard disk space Display 1024 x 768 or higher resolution monitor Qui...

Page 29: ...p exe to launch the installer 3 On MACINTOSH OS Click the icon that appears on the desktop to install the Vivitar Experience Image Manager 4 If you do not have internet access at the time of inserting the CD ROM connect to the internet and then click the Install Vivitar Experience Image Manager button to begin the installation NOTE If you do not have internet access you can still download media fr...

Page 30: ...process on your computer On MACINTOSH OS If needed please follow instructions to install the Adobe Flash Player This requires Internet connection 12 On WINDOWS OS Click the Close button when the installation is complete Click the Launch Vivitar Experience Image Manager to open the application On MACINTOSH OS Click the Quit button when the installation is complete Click the Launch Vivitar Experienc...

Page 31: ... device connected then it will be selected automatically 5 Select a location on the computer where to place the new video files 6 Add the new video files to albums if desired 7 Select to remove the media files from the selected device removable disk after the import 8 Click the Get Media button to transfer the videos from your camera to your computer 9 A media download progress bar appears on the ...

Page 32: ...reen Transferring Images Manually from the Camcorder to the Computer WINDOWS OS 1 Use the supplied USB cable to connect your camcorder to your computer s USB port 2 Power on the camcorder 3 A window appears on your computer with a list of options select Open folder to view files and click OK 4 Open the DCIM folder and the folder inside to view the media files 5 Select the media and copy the files ...

Page 33: ...atibility with the iPad Apple iPad Camera Connection For models that are compatible with the iPad photos and videos can be imported from your digital camcorder to your iPad by following either one of the options below 1 Connecting your digital camcorder to your iPad using an iPad Camera Connector Plug the Camera Connector into the dock connector port on your iPad then attach your digital camcorder...

Page 34: ...at the memory card will get hot after long term use This is normal It is recommended to backup the important data from your memory card to other media such as soft disk hard disk or CD To ensure image quality minimum Class 4 High Speed card is needed The following situations may cause loss or damage of the data on your memory card 1 Improper use of the memory card 2 The memory card has been bent d...

Page 35: ...particles blow them away gently Do not use cloth to wipe arbitrarily Otherwise it may scratch the surface of video camera or its lens Do not touch the lens surface with fingers If it is required to clean the camera surface first blow away the sand dust accumulated on the surface and then wipe the camera gently with a rag or tissue appropriate for optical equipment Please use a cleaning agent speci...

Page 36: ...use including but limited to repair by unauthorized parties tampering modification or accident What to Do When Service Is Required When returning your defective product postage pre paid for service your package should include 1 Copy of original bill of sale 2 A detailed written description of the problem 3 Your return address and telephone number Daytime MAIL TO ADDRESS BELOW Sakar US Sakar Intern...

Page 37: ...uter What do I do First ensure that you have in fact taken photos Press the Shutter button to take some sample photos or videos and then try downloading them again If the photos are saved to the SD memory card then all the photos should appear Q How do I make sure I don t lose important pictures This camcorder requires a Micro SD card for normal use If the camera powers off nothing will happen to ...

Reviews: