4
1
st
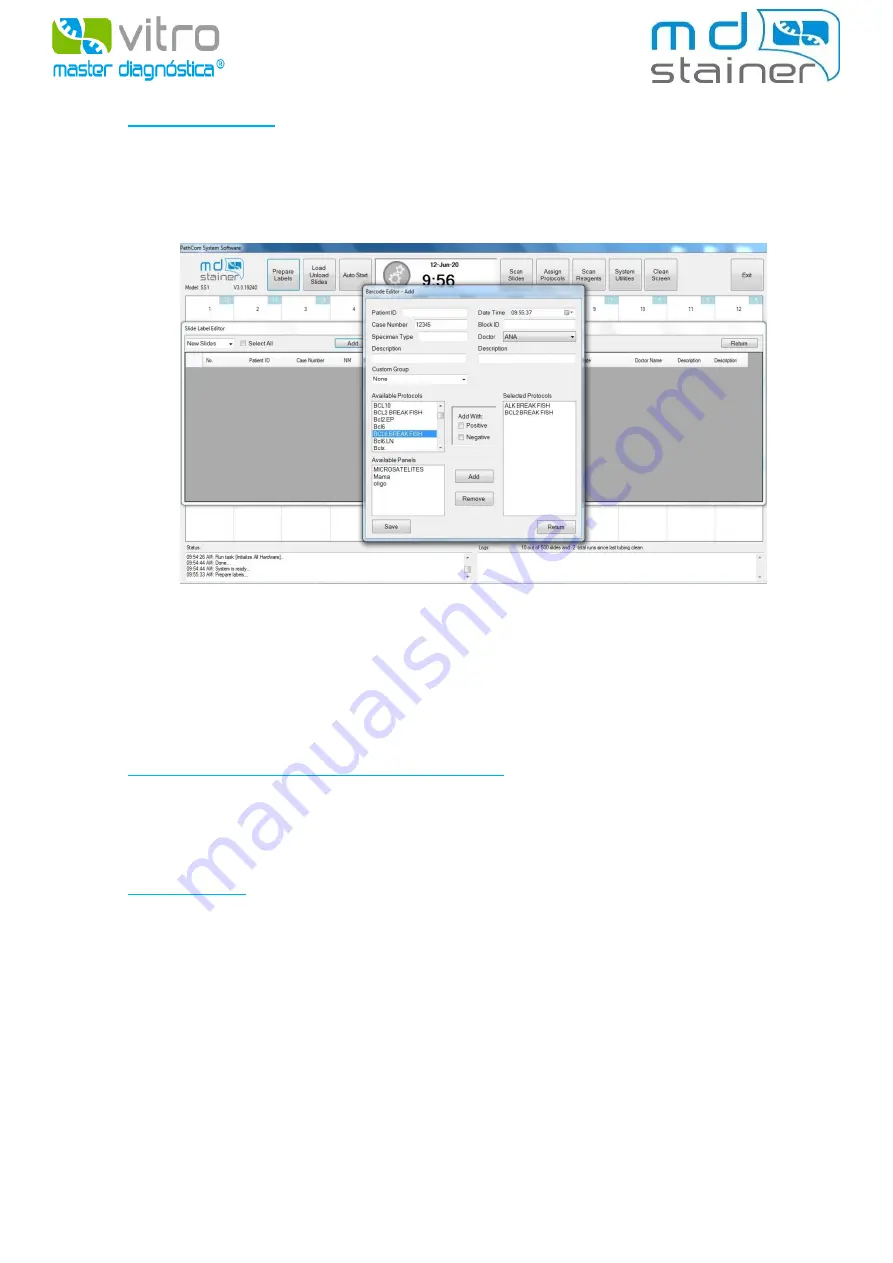
PREPARE LABELS
In order to prepare the labels, click on
“Prepare Labels”
and select the option create. The
fields available will be filled in, which display the information of each sample. Then, assign the
techniques and click on “
Save”
. Once all the labels have been created for the necessary
techniques, print them and place them in the corresponding preparations.
In
Automatic FISH
, the user must create the labels as described above. All the probes available
in automatic FISH end in the word FISH (Example: MYC BREAK FISH).
In
Semi-automatic FISH
, the user does not need to create labels, because he must assign the
protocol manually as described below. This is due to the fact that there is not a protocol for
each probe, but instead a pretreatment protocol(s) according to the type of processing that
each sample requires and that the user requests.
2
nd
PLACE THE PREPARATIONS IN THE EQUIPMENT
The preparations must be placed in the equipment as the incubation modules are arranged,
that is, horizontally, with the label outwards the equipment, by pressing them slightly so that
they remain stuck in the support points of each module.
3
rd
SCAN SLIDES
Its allows the scanning of the preparations previously labelled and placed in the equipment.
-
If we choose this option without selecting any of the positions manually, the equipment will
scan the 36 positions automatically.
-
If the desired positions are previously selected with the left button of the mouse in the slide
map (they can be clicked and dragged), the platform will scan the selected positions only.
If you do not have any labels or the determinations to perform do not require them, the system
allows the placing of the preparations and the assignment of the respective protocols
manually
by means of the option “
Assign Protocols”.
To do this, select one position of the corresponding
slide (or more than one) with the left button of the mouse, click on
“Assign Protocols”
and a


