DO'S
1. Check the mains voltage stated on the iron.
2. Unwind and straighten the power cord before use.
3. Switch on the iron by turning the Temperature Dial in clockwise
direction; pilot light glows.
4. Turn the Temperature Dial to the middle point of 1 dot, 2 dots, 3
dots or maximum setting.
5. Switch off the iron by turning the Temperature Dial in anti&clock&
wise direction when it is not in use, even for a short period of time.
Turn the Temperature Dial to 'Min' position.
6. Disconnect the iron from mains supply outlet when filling or emp&
tying water.
7. Remove the water remained in the water tank when the iron is not
in use.
8. Use the Self&Cleaning function at least once a month.
9. Switch off the steam function by moving the steam control knob to
position when it is not in use, even for a short period of time.
10. If the supply cord is damaged, it must be replaced by the manu&
facturer or its service agent or similarly qualified person in order to
avoid a hazard.
DO NOT'S
1. Do not allow children touch the iron or the power cord when ironing.
2. Do not leave the iron unattended when it is connected to a mains
supply outlet.
3. Do not use an extension power cord set unless competent author&
ity has approved it.
4. Do not add perfumed, vinegar or other chemical liquids into the
water tank; they can damage the iron seriously.
5. Do not immerse the iron in water or any other liquid.
6. Do not use the iron when it is damaged or it works improperly.
7. Do not roll the power cord around the iron for storage until it has
cooled down completely.
2
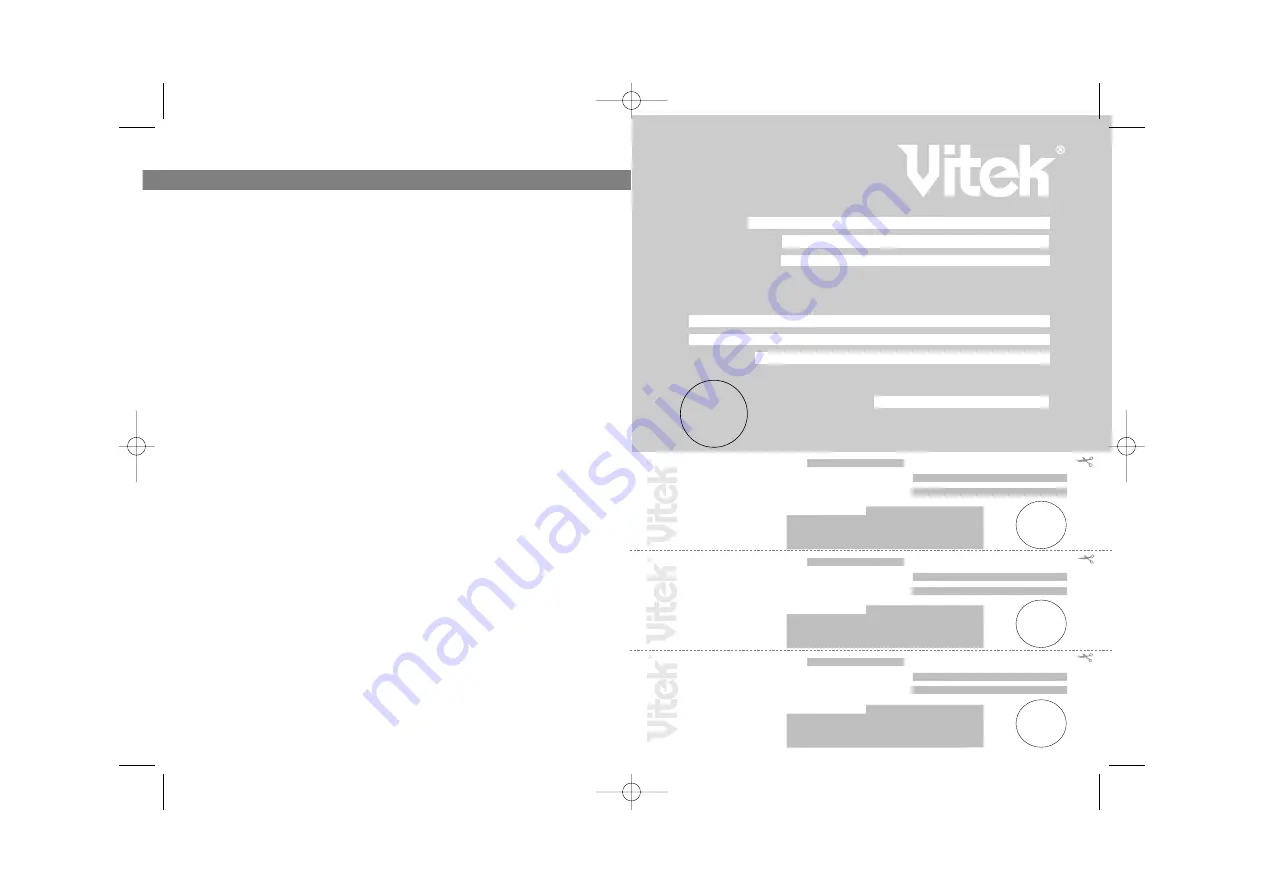
Гарантийный талон
Сведения о покупке
Модель:
Серийный №:
Дата покупки:
Сведения о продавце
Название и адрес продающей организации
Подтверждаю получение исправного изделия, с условиями гарантии ознакомлен
Подпись покупателя
Телефон:
К
упон
№3
Модель:
Серийный №:
Дата поступления в ремонт:
Дата выполнения ремонта:
Вид ремонта:
М.П.
К
упон
№2
Модель:
Серийный №:
Дата поступления в ремонт:
Дата выполнения ремонта:
Вид ремонта:
М.П.
К
упон
№1
Модель:
Серийный №:
Дата поступления в ремонт:
Дата выполнения ремонта:
Вид ремонта:
М.П.
Внимание!
Гарантийный талон действителен только при наличии печати
продающей организации
М.П.
ENGLISH
IR 121500000
IR 121500000
IR 121500000
IR 121500000
1215.qxd 03.07.03 16:52 Page 4


