Camera View Area
The camera view dominates the area. At the far right is an right-arrow button
next to the PTZ controls. Click this to collapse (or reopen) the PTZ controls.
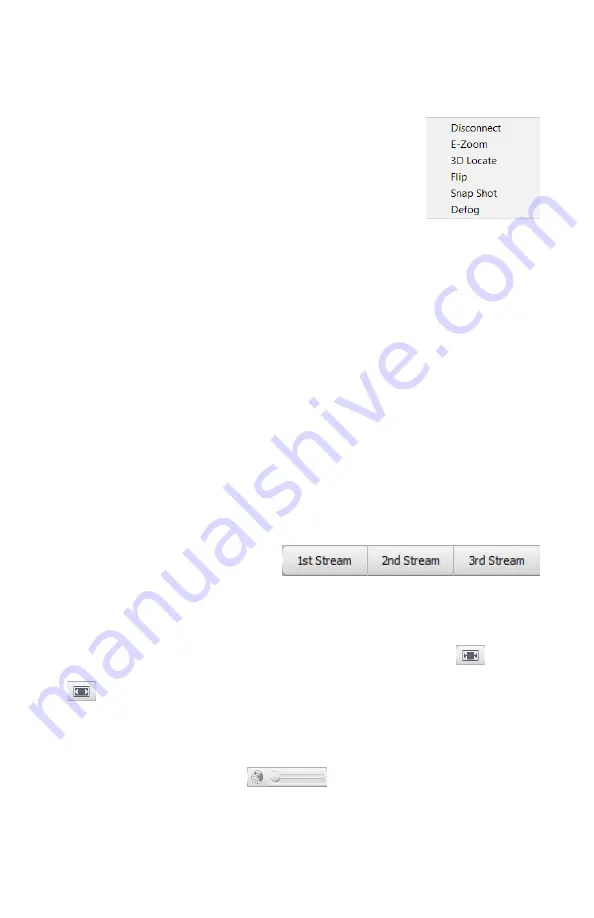
If you right-click in the camera view area, you get the
small pop-up menu with the following commands:
Disconnect:
Terminate the currently connected video
stream from the live view.
E-zoom:
Click and drag across the video screen to select
an area. The camera then creates a floating window that shows a digital
zoom of the selected area. Note that if the aspect ratio of this area differs
from that of the camera, the image will be distorted. You can close the
digital zoom window by clicking the X in the upper right corner. If you
need to preserve the aspect ratio, use the optical zoom buttons described in
the
PTZ and Preset Controls
.
3D locate:
Click and drag across the video screen to select an area. The camera
then pans and zooms to show that area in detail.
Flip:
Rotate the video image 180° (upside-down).
Snap Shot:
Copies the full screen of the live view window and saves it as an
image onto the camera’s SD card. This action has no effect if your camera
has no SD card installed.
Defog:
Starts the automatic defogging algorithm. When complete, the
function closes down; this is not a toggle switch.
Live View Parameters
In this area, you determine how to
handle the video stream.
The first group of buttons determines which of the three video streams you
wish to view. These streams are configured separately under Audio Video Set >
Stream Set (see “Stream Set” on page 13).
The second pair of buttons determines whether you want to
lock
the
viewing screen to its current resolution (which may distort the video feed), or
adapt
the screen to the video resolution.
Tool Bar
The tool bar allows you to interact with the camera and its accessories.
The manual tracking slider
lets you override the auto-tracking
feature (cameras with auto-tracking only). When activated, click anywhere on
the screen to track that object. The slider acts as a zoom control. The camera
must have the auto-tracking feature, and this will not work unless you have
configured Linkage Tracking and Intelligent Tracking under VCA.


