


APPENDIX A. PowerMaster 360 Configurator
D-305735 PowerMaster 360 Installer's Guide
57
APPENDIX A. PowerMaster 360 Configurator
The PowerMaster 360 Configurator is the interface with the installed PowerMaster 360 security system. Installers and
home/property owners configure the Communication settings with the Central Monitoring Station. Installers configure
the system through the Configurator’s Virtual Keypad.
A1. Working with the PowerMaster Configurator
1.
Connect the USB cable to the PowerMaster 360 and to the laptop.
Note:
In some cases Windows will require manual installation of the USB driver. To perform this, follow the detailed
instructions in section A2.
When the PowerMaster 360 is ready, the LEDs conditions are as follows:
Power
ON
GREEN
Arming Status
AWAY
HOME
DISARM
RED
RED BLINK
OFF
Troubles
OFF no troubles; ON active troubles
ORANGE
Connection
ON: connected to PowerManage; OFF:
Ethernet cable disconnected; Router turned
OFF/disconnected; not connected to
PowerManage
BLUE
WiFi
1
WiFi access point enabled
GREEN
Back LEDs
Initialization, enroll success / failure
RED, GREEN and ORANGE
2.
Download the PowerMaster 360 software from the CD.
3.
Run the Configurator.exe file. The PowerMaster 360 icon appears on your desktop.
Note:
A link to a USB driver is also added to your desktop.
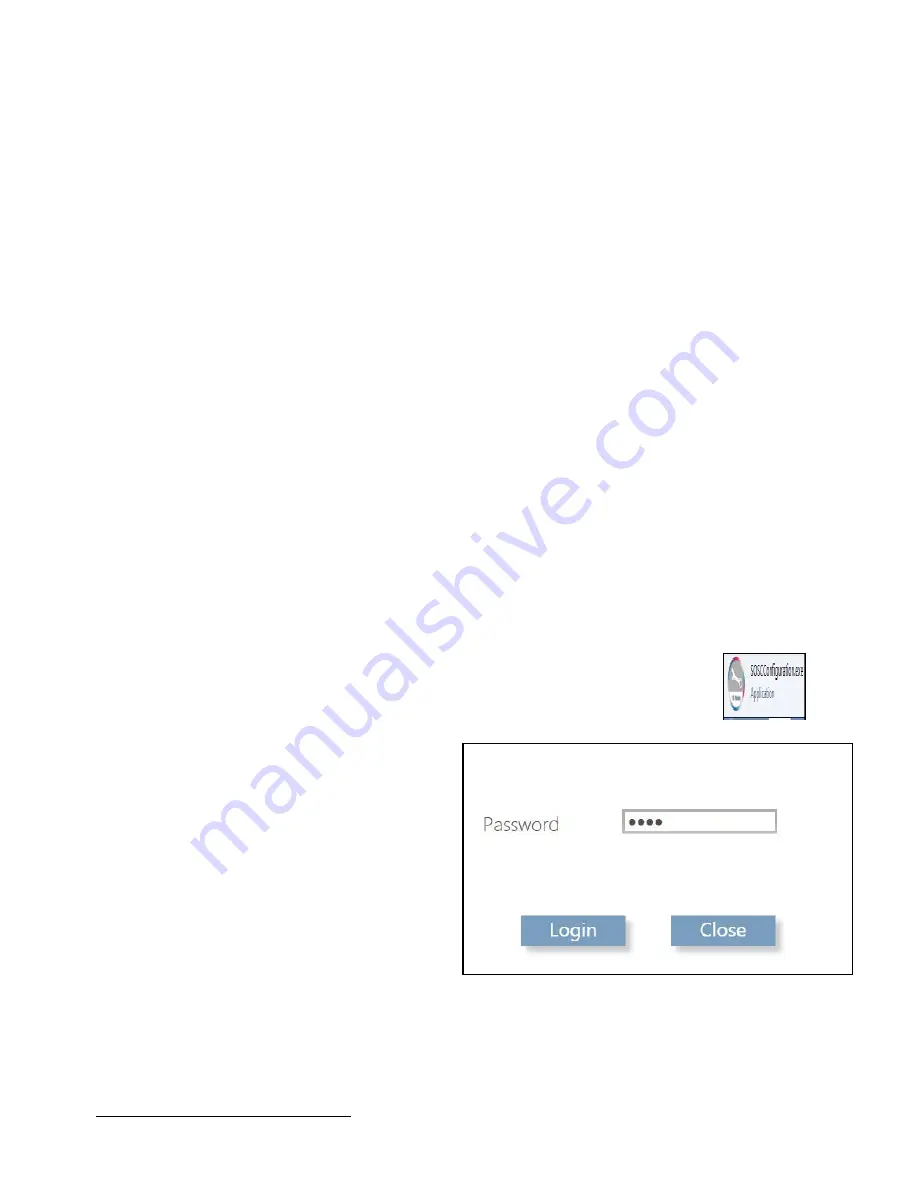
4.
Log in with the Password which is the download
code that is included with the PowerMaster 360
kit, and then click
Login
.
Note
: It is recommended to use the default
password that initially appears on the screen.
After several seconds, the Configurator screen appears.
Note:
If the Configurator does not allow login, or a USB driver error appears, use the USB driver link on your desktop to
install the USB driver. After performing the driver installation, try to login to the Configurator again.
1
Relevant when WiFi module is mounted


