


21
3-4. Manual recording
①
To start manual recording, press REC button. Then, “R” is displayed on the screen and the DVR starts
recording of every channels.
②
To stop manual recording, press REC button. Then, “R” disappears on the screen and the DVR stops
recording of every channel.
3-5. SCHEDULE recording
①
Set the basic record menu using ▲▼
▶◀
buttons before setting Schedule.
RESOLUTION
CHANNEL
FRAME RATE
QUALITY
Upon connecting cameras, the DVR records input video using schedule setting.
②
To select a channel for schedule recording, go to CHANNEL filed using ▲▼ button and select a channel
from CH1, CH2, CH3, and CH4 using
▶▶
button. And
③
Go to RECORDING filed using ▲▼button and select SCHEDULE using
▶◀
button.
Before setting Schedule, set the followings as necessary.
MOTION ZONE
MOTION SENSITIVITY
SENSOR TYPE
PRE RECORD
POST EVENT RECORD
④
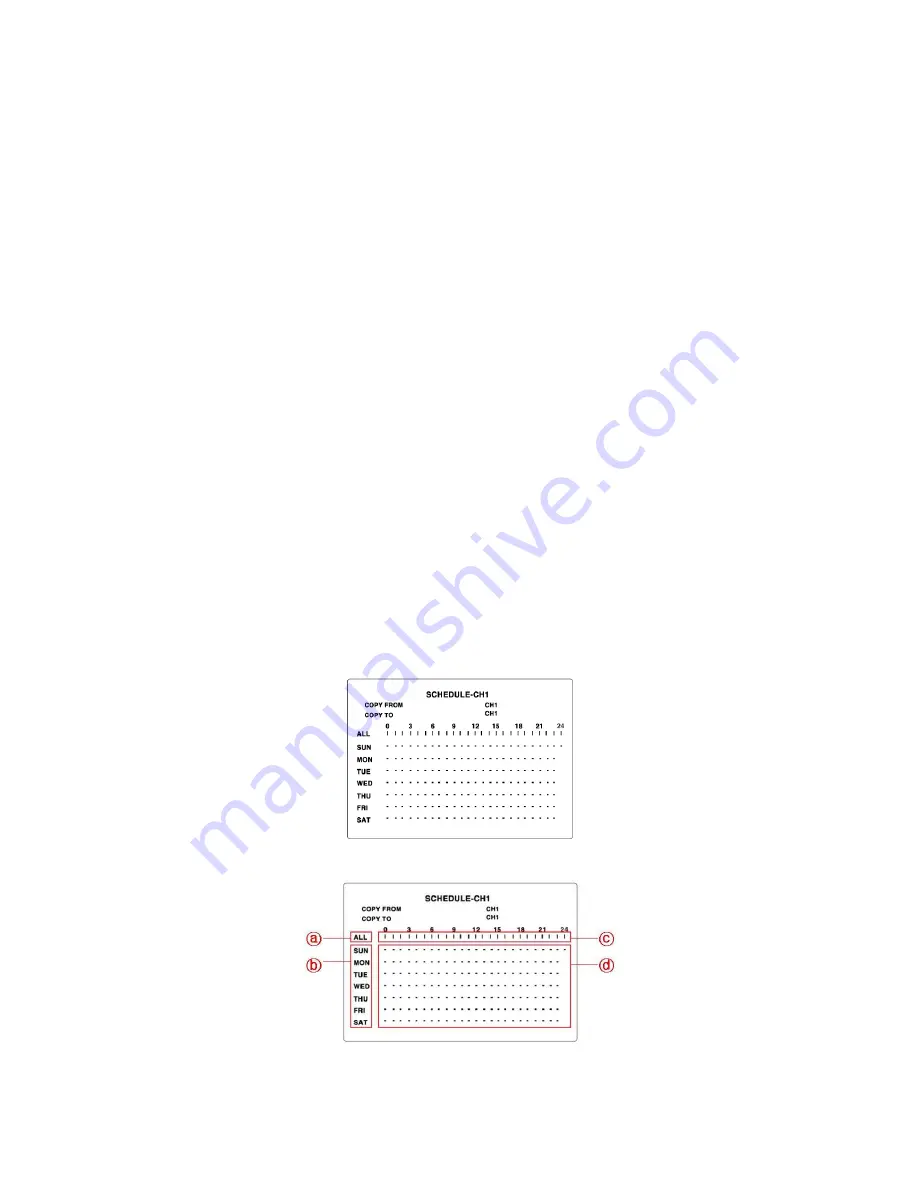
Go to SCHEDULE
using ▲▼ button and press SEL button. Then SCHEDULE setting screen is displayed.
(When the channel 1 is selected from CHANNEL field, “SCHEDULE – CH1” is displayed.)
⑤
Move the cursor to one of following fields and set a different mode using SEL button.
ⓐ
: Same recording mode setting apply to every day.
ⓑ
: Same recording mode setting apply to the whole day.


