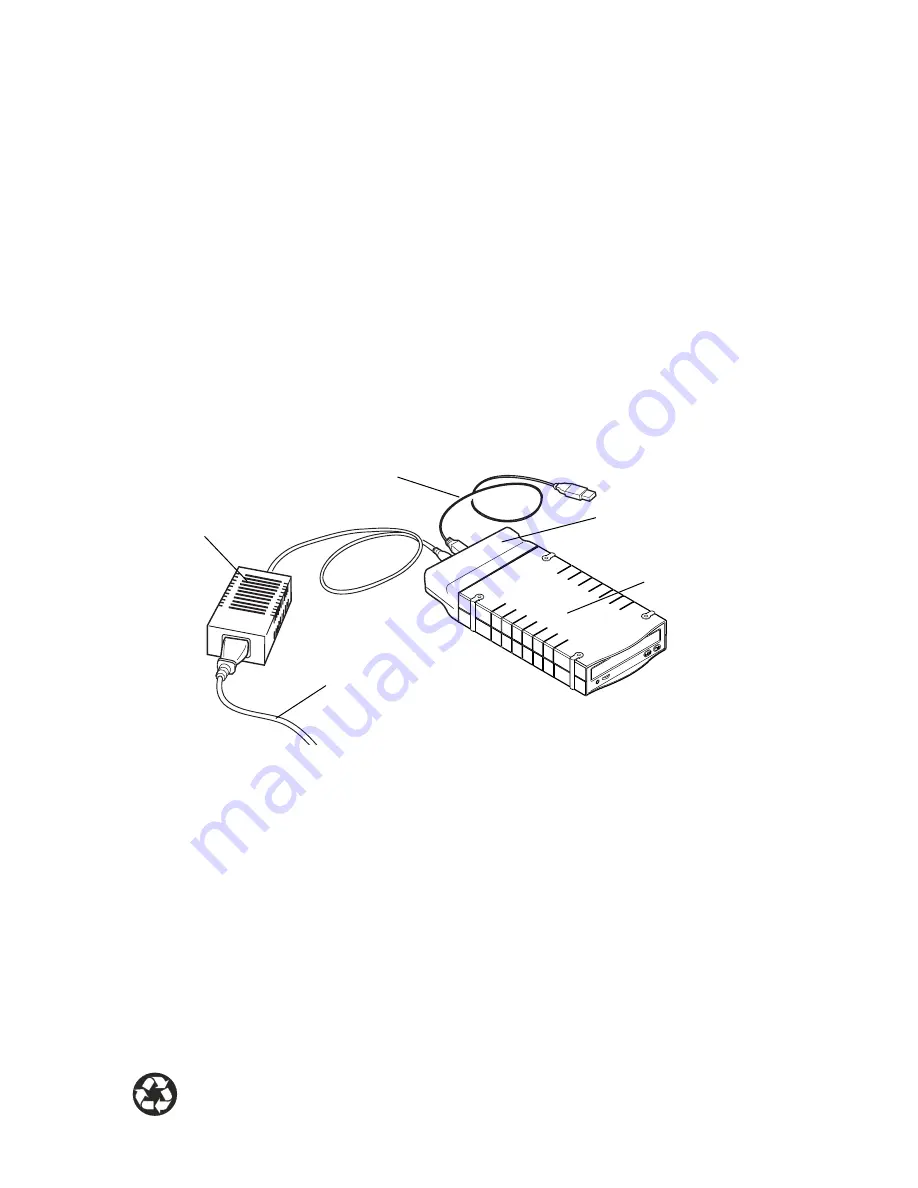
4. Set the Power Select Switch to an ON position:
a. When using the external power adapter, set the switch to the LEFT position.
(Note that the green LED on the Docking Unit should be lit, indicating power
ON.) This allows the device to warm up before connecting to the port.
b. When using the Docking Kit’s interface for power, set switch to the RIGHT
position. Note: it is recommended to use the +5V /+12V power adapter whenever
possible.
5. Connect the Docking Kit’s interface cable into the appropriate interface port on
your computer; plug the other end into the connector port on the Docking Unit.
6. Viewing the screen, note that the plug-and-play feature will recognize the new
device and assign it as a new drive.
The device is now ready to use.
3-1 Disconnecting the CD-ROM Box
1. Unplug the interface cable from the Docking Unit.
2. Turn off the power by sliding the Power Select Switch on the Docking Unit to
the MIDDLE OFF position. (Note that the drive icon will disappear from the
computer screen.)
3. You can now switch to another device. When connecting a new device, be sure to
follow the same sequence for setup as previously outlined in section 3.0.
Printed on recycled paper.
Connections with Docking Unit for Operation
Interface
Cable
Power Adapter
Power Cord
External
Power Adapter
CD-ROM Box
Docking Unit


