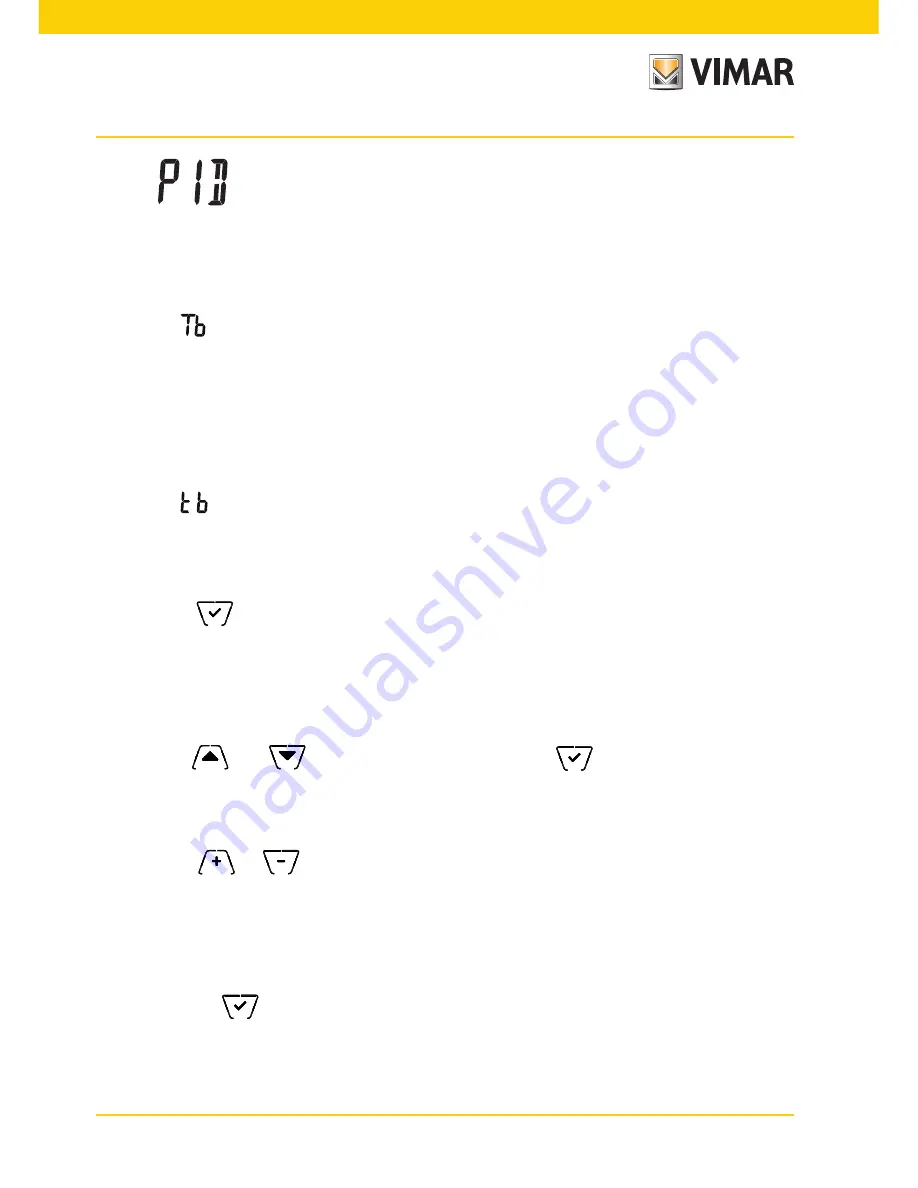
background image

22

•  


(P.I.D. control)

: this is an evolved algorithm that is able to keep the temperature in the envi-

ronment more stable, increasing comfort; this algorithm switches the system on and off appropriately so 
there will be a gradual increase or decrease in the thermal (or refrigerating) power of the system itself. 
To take full advantage of its performance it needs to be suitably calibrated according to the type of envi-
ronment and heating system; in the light of this, the following parameters must be set via the submenus 
that follow this selection:


 (breadth of adjustment range)

: starting from the set temperature, Tb is the temperature range 

in which the heating power goes from 0% to 100%.

For example: with the temperature (for heating) set to 20.0°C and Tb=4.0°C, the thermostat acti-
vates the heating system on 100% when T.ambient is <= 16.0°C; as this temperature increases, the 
system power is consequently lowered down to 0% when the ambient temperature reaches 20°C.

The value of Tb must be set consistently with the thermal capacity of the system; in general, it is 
recommended to use small values   of Tb for environments with a good level of thermal insulation 
and vice versa.

•  

 (system cycle time)

: this is the time in which a cycle of regulation is completed; the shorter this 

time, the better the regulation but the temperature control system is under greater stress.
This parameter setting is thus the result of a compromise between the accuracy of the regulator 
and the load on the system; in general, the rule is that Tb can be that much higher (and therefore 
put fewer demands on the system), the slower the system or the larger the environment to regulate.

Tap 

 to confirm your choice.

9.8  Buzzer setting

This menu lets you enable/disable the acoustic signals of the thermostat; if it is disabled there will no 
longer be any sound when you touch the buttons or in cases of confirmation/error. 
Whereas, in the event of an alarm, the sound signal will always be guaranteed. 

Using 

 and 

select “

ON

” or “

OFF

” and confirm with 

.

9.9  Standby brightness level setting

The menu lets you set the brightness level when the thermostat is in standby. 

Using  

 or 

  you can select one of the folloiwng levels with gradually increasing brightness: 

• OFF
•  1, 2, 3, 4, 5, 6, 7
While scrolling through the values, when the selection stops on a certain level, the brightness of the 
display will, for approximately 2 s, take on the brightness corresponding to the selected level in order to 
allow the user to check the visual effect. 

Finally, tap 

 to confirm your choice.

Summary of Contents for 2906

Page 1: ...Instructions manual 02906 GSM thermostat Installer Manual ...

Page 2: ......

Page 3: ...ttings menu 18 9 1 Operating mode setting 18 9 2 Heating air conditioning setting 19 9 3 Temperature set point setting 19 9 3 1 Comfort temperature 19 9 3 2 Away temperature 20 9 3 3 Antifreeze temperature 20 9 3 4 Nighttime reduction thermal delta 20 9 3 5 User settable thermal delta 20 9 3 6 Hysteresis of the device 20 9 4 Unit of measurement setting 20 9 5 Calibration setting 21 9 6 External pr...

Page 4: ...f the air conditioner air conditioning ensuring an ideal temperature The graphical user interface thanks to special views facilitates system management helping the user to oper ate while maintaining a state of energy saving The thermostat has a GSM communicator for remote control making it ideal for installation in second homes 3 Installation The appliance must be installed on a wall at a height o...

Page 5: ...Pb MADE IN ITALY 02906 T40 5 2 A 230V 230V 50 60Hz 1 C C N L NC NO 6 mm V I M A R SpA e2 Pb MADE IN ITALY 02906 T40 5 2 A 230V 230V 50 60Hz 1 C C N L NC NO 6 mm V I M A R SpA e2 Pb 3 4 5 6 7 V I M A R SpA e2 Pb MADE IN ITA LY 02906 T40 5 2 A 230V 230V 50 60Hz 1 C C N L NC NO 6 mm 2 click 1 ...

Page 6: ...SpA e2 Pb C NCNO N L Fig 1 Connections with circulation pumps burners and solenoid valves L N art 02965 N T C U1 V I M A R SpA e2 Pb C NCNO N L CHIUDE CLOSES FERMÉE SCHLIESSEN CERRAR ΚΛΕΙΣΙΜΟ APRE OPENS OUVERTE ÖFFNEN ABRIR ΑΝΟΙΓΜΑ Fig 2 Connections with motorized valves ...

Page 7: ...res in the 2 terminals without any particular order It is recommended to use the NTC 10k beta 3900 probe art 02965 20432 19432 14432 The typical wiring diagram is the following Fig 3 Connecting the external temperature probe 4 2 1 Installation examples 02695 used to display the outside temperature art 02965 N T C V I M A R Sp A e2 Pb C NCNO N L V I M A R Sp A e2 Pb C NCNO N L art 20432 art 19432 a...

Page 8: ...95 used for limiting the temperature of underfloor heating IMPORTANT During installation take care not to damage the insulation of the probe while laying the screed Perform the installation in such a way that the probe is accessible for any maintenance work ...

Page 9: ...uesting the current operating status of the thermostat for all the various types Notification of alarms for power supply voltage failure restoration only if configured and paired with users saved in the contacts list Notification of technical alarms for exceeding the temperature thresholds only if configured enabled and paired with users saved in the contacts list Receiving SMSs sent by the thermo...

Page 10: ...of the product Insert the SIM card into the SIM holder in the rear of the front panel you have just removed Fit the front panel back into its original position by hooking it onto the mounting tabs located on the upper side of the part on the wall and then closing the lower part Finally power up the thermostat The icon will show the correct installation and the quality of the GSM network blinking s...

Page 11: ...pears on the display where you can reset the device parameters Fig 5 Parameter reset screen By confirming with ALL the device parameters temperature setpoint heating air conditioning mode unit of measurement etc and ALL GSM function settings phone numbers SMS etc will be restored to the default values WARNING This operation is not undoable If you wish to reset only the GSM settings refer to paragr...

Page 12: ...ing buttons and icons I H G F E D C A B L Fig 6 Graphical interface and buttons A GSM network signal B Operating mode C Away D Confirm E F Menu navigation and setting parameters G Back H Nighttime reduction I Settings menu L Ring indicating consumption level and energy savings indicator ...

Page 13: ...e last of the elements that can be scrolled confirms the selected option activates the submenu if there is one or displays the next parameter digit After each confirmation the display shows the icon for approximately 1 s back or cancel exits the current screen menu and returns to the previous one without sav ing any changes In menus with changes to multiple digits it lets you go back to change the...

Page 14: ...ing compared to the conventional average consumption vice versa if the level exceeds half the expected consumption will be higher than the conventional average The energy saving indicator indicates whether the currently set setpoint will allow obtaining savings with respect to the conventional average consumption 7 4 Locking the interface via PIN The thermostat lets you set a password see par 9 12...

Page 15: ...or changing the manual adjust ment set point in the hours of nighttime operation Antifreeze used to set a minimum temperature level to avoid damage to pipework or prevent the temper ature from falling below a safety level The operating mode is selected via the SETTINGS menu see chap 9 8 1 Switched off OFF With this mode on the thermostat is turned off and you cannot make any adjustments in this ca...

Page 16: ...e changed via or In the course of setting the set point flashes and the circular ring fills up accordingly this gives an indica tion of the expected consumption as a function of the set point you are setting Fig 11 Manual set point setting The selection is confirmed by touching The and icons in the lower right corner indicate whether the system is operating in heating or air conditioning mode resp...

Page 17: ...ay temperature setpoint see para 9 3 1 The Away mode can only be activated in manual mode by touching The display will show the away temperature setpoint for approximately 2 seconds Fig 12 Input in away mode showing the away temperature Activation of this mode is identified by the icon above the temperature indicator Fig 13 Away Mode To exit and return to Manual mode touch the button again ...

Page 18: ...n air conditioning than the Manual mode by degrees see par 9 3 3 The Nighttime reduction function is done from Manual mode by touching The display will show the nighttime reduction setpoint for approximately 2 seconds Fig 14 Input in Nighttime Reduction mode showing the reduction set point Activation of this mode is identified by the icon above the temperature indicator Fig 15 Nighttime reduction ...

Page 19: ...ue setpoint to avoid damage to the pipework or to keep it from falling below a certain safety level when you are away for lengthy periods in the winter The antifreeze mode is activated directly from the Settings menu see par 9 1 Once activated antifreeze mode is identified by the icon above the temperature indicator Fig 16 Antifreeze mode ...

Page 20: ...urement setting 5 calibration setting 6 external temperature probe setting shown only when the probe is connected 7 OnOff PID temperature control algorithm setting 8 buzzer setting 9 brightness of the display on Standby setting 10 GSM function setting 11 device info 12 lock unlock PIN setting Touching opens the submenu and then the flashing highlights the parameters of the submenu 9 1 Operating mo...

Page 21: ...ith thermostat inhibited by PIN 5 temperature differential of the device only if in OnOff adjustment mode 6 and external probe alarm temperature if fitted and configured WARNING Depending on the mode the thermostat is in heating or air conditioning setting this setpoint acts only on the value associated with the current mode highlighted by the or icon After then changing the setpoints of the curre...

Page 22: ...the temperature when the menus are inhibited after setting a PIN In this condition the control temperature is fixed and therefore cannot be changed with instead the user can modify the temperature within a certain range 9 3 5 Hysteresis of the device This menu via and lets you set the temperature range of the heating air condi tioning system between ON and OFF This value can also be changed via th...

Page 23: ...and that of the external probe are shown alter nately on the display the external probe is only used to display the temperature in another environment On standby the display will alternate views of the internal temperature measured by the thermostat and external temperature measured by the probe and identifiable by the icon Limitation the icon flashes mode used for systems with underfloor heating ...

Page 24: ... vice versa system cycle time this is the time in which a cycle of regulation is completed the shorter this time the better the regulation but the temperature control system is under greater stress This parameter setting is thus the result of a compromise between the accuracy of the regulator and the load on the system in general the rule is that Tb can be that much higher and therefore put fewer ...

Page 25: ...all the phone numbers used by the thermostat to send messages no more messages will be sent 9 11 Info This menu lets you view information related to the thermostat and reset the device Using or è you can select displays the number of hours that the thermostat relay has been on the same as the number of hours of operation of the system The counter can be reset by a simple prolonged touch in the cen...

Page 26: ...T Differential 0 1 1 C 0 1 C 0 2 C Proportional band PID Band 0 5 5 C 0 1 C 1 C Adjustment period PID Period 10 30 minutes 1 min 20 min Unit of measurement tem perature Temperature unit C F C User thermal delta ΔTu Differential 0 2 C 0 1 C 0 C Temperature offset TE Offset temp 0 3 C 0 1 C 0 C PIN number PIN 000 999 1 000 Temperature set point T0 Away Heat TG 10 35 C 0 1 C 16 C T0 Away Aircon 10 35...

Page 27: ...Avoid using aggressive products Clean the display with a special cloth for cleaning lenses 12 Installation rules Installation should be carried out in compliance with the current regulations regarding the installation of electrical systems in the country where the products are installed 13 Standard compliance LV directive EMC directive Standards EN 60730 2 9 ...

Page 28: ...02906 installer 01 1407 VIMAR Marostica Italy Viale Vicenza 14 36063 Marostica VI Italy Tel 39 0424 488 600 Fax Italy 39 0424 488 188 Fax Export 39 0424 488 709 www vimar com ...

Reviews: