background image

S10

English

21

Recovery Solution (AMI Rescue) Guide

As an image-based OS recovery solution, it recovers to the initial status of shipment from factory 
when HDD of user cannot be booted from OS or it has problems.

Way to Use Recovery Solution (AMI Rescue)

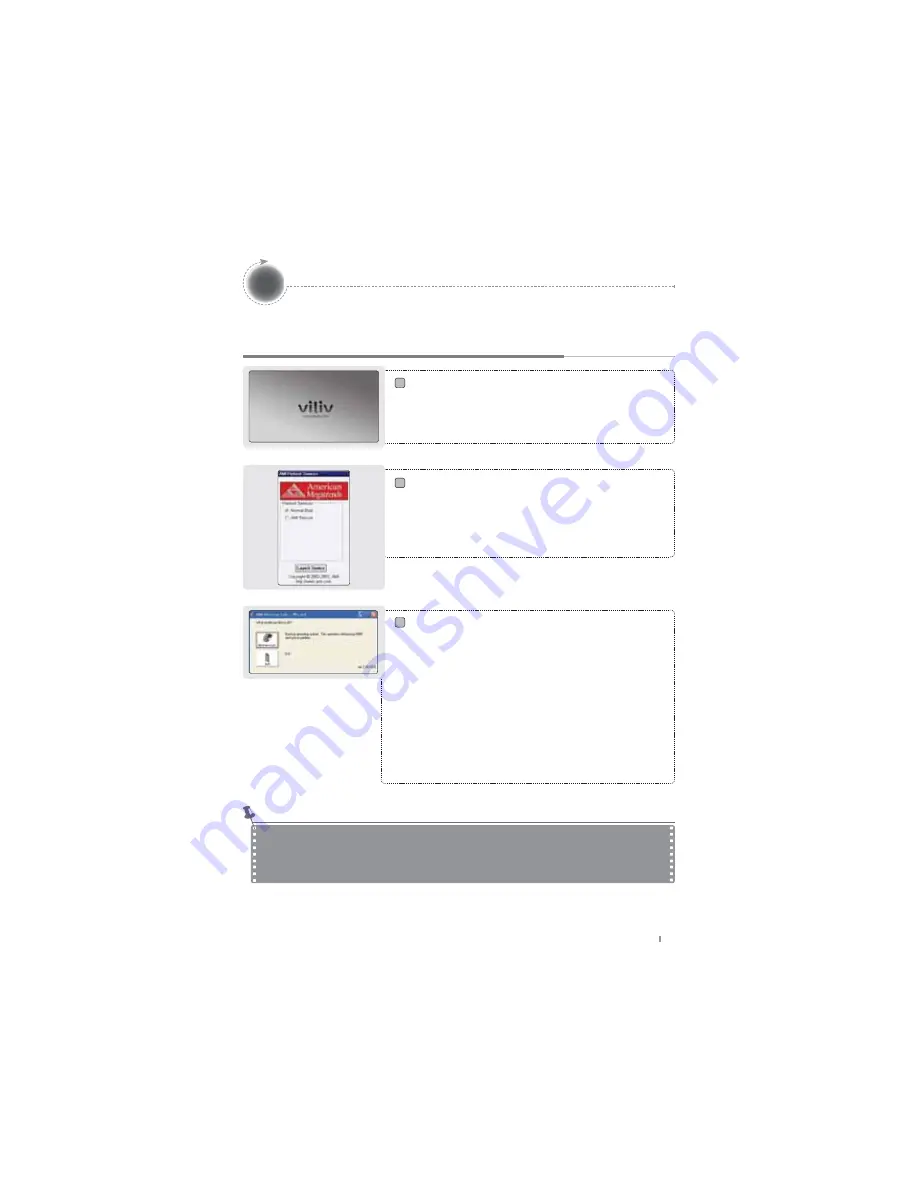
Execution of Recovery Solution (AMI Rescue)

If viliv logo appears when booting the system (BIOS 
POST), press the F10 key 1-2 times.

As the logo disappears, Pre-Boot Menu window appears.


Pre-Boot Menu

When selecting Normal Boot, booting proceeds to  
Windows. For recovering OS, select AMI Rescue and  
click Launch Service.

AMI Rescue Lite-Wizard appears.


AMI Rescue Lite-Wizard

When clicking 

Restore OS

 button, a message that  

confirms the recovery of OS is displayed. If you press  

Yes (Y)

, it starts the recovery of OS.

If the process of OS recovery is completed, a message 
that confirms the successful recovery is displayed. 
(Partition 0 on disk 0 was successfully restored.)

If you press 

OK

 button, the system is booted again 

automatically.

 Now, if you boot to Windows, OS will be in the initial status  


of shipment from factory.

When recovering OS, recover by connecting battery adaptor. 

Since data is deleted in case of recovery, make sure to back up the data beforehand. 
Please wait for 20 sec when black screen is showing to prepare boot up the Windows VISTA. 
It will take a time more for Windows VISTA Users.

Notice

Summary of Contents for S10 Blade

Page 1: ...User s Manual S10 This guide may be changed for product improvement without prior notice ...

Page 2: ...Thanks for purchasing viliv Please read the precautions throughly before using the product ...

Page 3: ...nsibilities for the infringement of copyright or intellectual property rights from the use of this device lie with the user Improper Use The manufacturer of this device is not liable for any damage or improper use and operation by using this device and infringement of copyright and portrait right by user when taking photos In addition the manufacturer is not liable for bodily injury or property da...

Page 4: ... 14 USB Data Link Connection 14 Power Connection Charging Adaptor 15 Inserting Extracting USIM Card 16 Rotating LCD Screen 17 Separating Attaching Battery 18 Separating Battery 18 Attaching Battery 18 Basic Operation 19 Turning the Power On Off 19 Touch Screen 19 Running Virtual Keyboard 20 Set Up for villv Manager 20 Recovery Solution AMI Rescue Guide 21 Way to Use Recovery Solution AMI Rescue 21...

Page 5: ...tion is subject to the following two conditions 1 This device may not cause harmful interference and 2 This device must accept any interference received Including interference that may cause undesired operation FCC Compliance Information Modifications not expressly approved by the party responsible for compliance could void the user s authority to operate the equipment Caution If the battery can be...

Page 6: ...sty place or a humid place such as a bathroom Keep the device away from credit cards bankbooks or a communication ticket Do not use accessories that are not provided with this device Do not touch the LCD screen with a sharp object Precautions for the Device Do not listen to music at a high volume for a long time Do not watch the video for too long a time Do not apply strong impacts on the LCD If t...

Page 7: ...ergy sources before using it If necessary you may ask for some assistance from your regular doctor This device satisfies Bluetooth standards 2 0 Some Bluetooth devices may not be fully compatible with this device For detailed information on compatibility contact the manufacturer of the relevant device or our Customer Service This wireless equipment may experience electromagnetic interference so it ...

Page 8: ...nce of the components below may differ from the actual components and some components are subject to change Basic Components Main Body AC DC Power Adapter USB Cable User s Manual Standard Removable Battery Stylus Pen embedded in the main body ...

Page 9: ...turned on while the device is in power savemode Disk Device Indicator This light is turned on while the disk drive is being accessed Battery Charging Status Indicator Indicates the battery charging status Wireless LAN indicator Indicates the operation status of the wireless LAN device Keyboard Status Indicators Indicates the status of Num Lock Caps Lock and Scroll Lock Touchpad Touchpad has the sa...

Page 10: ...Korean Shift Key This key is used when entering the character shown on the upper part of each key upper or lower case of English characters or hot keys Enter Key Enter key is used to indicate to the computer that one command input is completed and it is also used for making a new line Fn Key This key is used together with function keys Windows Key It is a Start Menu button provided by Microsoft Wi...

Page 11: ...S10 English 10 Names of Parts Top View Power Adapter Port For connecting power adapter or charging the battery D SUB It is used to connect an external screen such as monitor or projector ...

Page 12: ... to external devices with USB port Link Port For connecting to a computer Stylus Pen Stores a stylus pen Multi I O Port Used for external video output component video composite video and S video Earphone Microphone Combo Port Used for connecting the earphone and headset ...

Page 13: ...ear side of the main body without the battery Refer to Page 18 for Separating Attaching battery Separating Attaching Battery Push the battery downward to separate the battery as shown in the figure above Battery Charging Port Connection part of battery terminal Battery ...

Page 14: ...crophone combo port located on the right side of the device When using an external speaker connect the speaker with a standard 3 5ø stereo cable to the earphone microphone combo port When using a headset connect the headset with 3 5ø 4 pins to the earphone microphone combo port Notice Pin outs of the 4 pin headset connector LEFT GND RIGHT MIC ...

Page 15: ...d Cable Connection USB Data Link Connection Connect the USB cable to the USB LINK port located on the left side of the device USB Connection This is used for the connection of external devices such as digital camera external HDD etc ...

Page 16: ...nnection Power Connection Charging Adaptor Connect the charging adapter to the power supply adapter port located on the back of the device Battery charging status indicator While charging using AC adapter Red charging Blue fully charge Notice ...

Page 17: ... however you push the USIM card using too much force the card may be damaged How to Extract Since this device adopts a one touch method you may gently press on the end of the USIM card to extract it automatically Pull out the USIM card slightly protruded Extraction Direction Insertion Direction USIM card Front Side Rear Side Please turn the power of the station off before inserting or extracting t...

Page 18: ...nience of the user It can be rotated up to 180 degrees in a clockwise direction Take care not to use excessive force to rotate the screen more than the allowed 180 degrees otherwise it may result in a malfunction Take care not to rotate the screen while the LCD lies flat as it might cause a malfunction Notice ...

Page 19: ...e battery in the groove as shown in the picture and push the battery release lock button in the direction shown in the picture to install the battery Separate the charger after turning the power of the station off If not you may receive an electric shock by a short circuit in the battery power part Notice If the battery is misaligned with the groove and you attempt to mount the battery the device ...

Page 20: ...ion point It has the same effect as the drag function with a PC mouse Turning the power on Depress the power button for about two seconds to turn on the power The LCD screen turns on and the main screen is displayed Turning the power off Use the Shutdown menu in the Start Menu to turn off the device while Windows is running If the system locks up while using the device depress the power button on ...

Page 21: ...external microphone with 4 pins 3 5 ø connector 7 Setting Windows Start Program viliv Manager To activate the viliv Manager when the Windows is booted up 8 System Information To check the product information 1 Close To close the viliv Manager 2 Initialize Settings To read the initial setting values of viliv Manager Running Virtual Keyboard Running the Virtual Keyboard Press the vilivSoftKeyboad ic...

Page 22: ...cue Lite Wizard appears AMI Rescue Lite Wizard When clicking Restore OS button a message that confirms the recovery of OS is displayed If you press Yes Y it starts the recovery of OS If the process of OS recovery is completed a message that confirms the successful recovery is displayed Partition 0 on disk 0 was successfully restored If you press OK button the system is booted again automatically Now...

Page 23: ... type WXVGA 1366 x 768 Multi Touch Panel RAM 1GB Storage SSD 32GB LAN IEEE 802 11b g WWLAN Optional HSDPA Bluetooth Bluetooth Ver2 0 EDR Connector Earphone MIC Combo Port x1 USB x2 USB Link x1 Multi I O x1 SD SDHC Slot x1 VGA x1 Audio Stereo speakers Battery Lithium Polymer Removable Voltage 7 4V Capacity 5 550mAh Camera 0 3Mega Pixel Dimension 260 W x 185 H x 17 26 T mm OS MicroSoft Windows Opera...

Page 24: ...S10 English 23 Memo ...

Page 25: ...S10 English 24 Memo ...

Reviews: