


ViewSonic
VE150m/VE150mb 8
Main Menu Controls
The menu items shown below can be adjusted by using the up
V
and down
W
buttons on the front of the LCD display.
Control
Explanation
Auto Image Adjust
automatically sizes, centers, auto-contrasts
and fine tunes the video signal to eliminate waviness and
distortion.
Press the [2] button to obtain a sharper image.
NOTE:
Auto tune works with most video cards. If this function
does not work on your LCD display, then lower the video refresh
rate to 60 Hz and set the resolution to its preset value.
Contrast/Brightness
Contrast adjusts the difference between
the image background (black level) and the foreground (white
level).
Brightness
adjusts background black level of the screen
image. Press button [2] to toggle between Contrast and
Brightness.
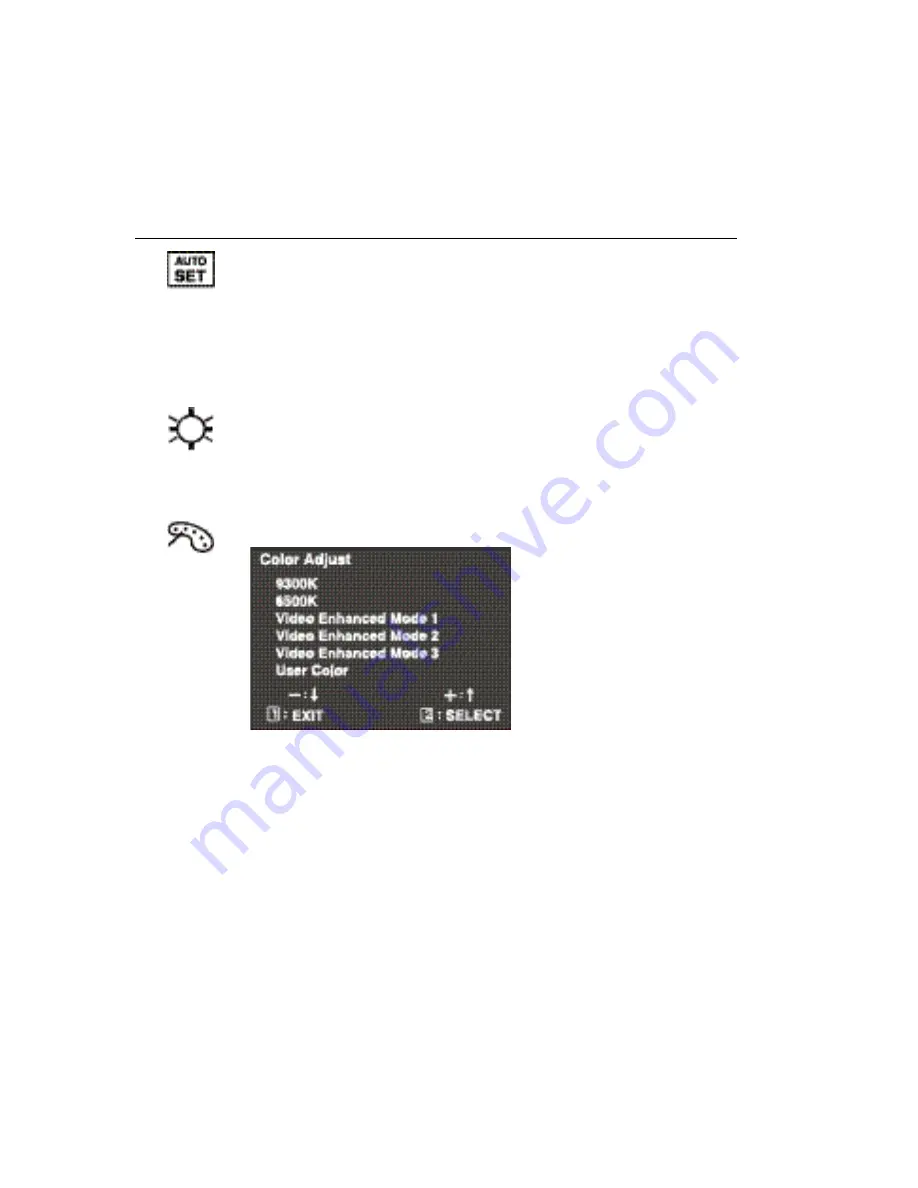
Color Adjust
displays the Color Adjust Menu explained below.
Color Adjust
provides four color adjustment modes.
Video Enhanced Mode
– improves colors including skin tones.
9300k
– for a cooler, more blue image.
6500k
– for a warmer, more red image.
User Color
– Individual adjustments for red, green, and blue.
1
To select color (R, G or B) press button [2].
2
To adjust selected color, press
V
or
W
.
To deactivate Video Enhanced Mode, press the up and down
arrows
V
W
simultaneous.
When you are finished making all color adjustments, press
button [1]
twice
.
Summary of Contents for VE150B
Page 19: ...ViewSonic Corporation...


