


10
Main Menu Controls
Adjust the menu items shown below by using the up
▲
and down
▼
buttons.
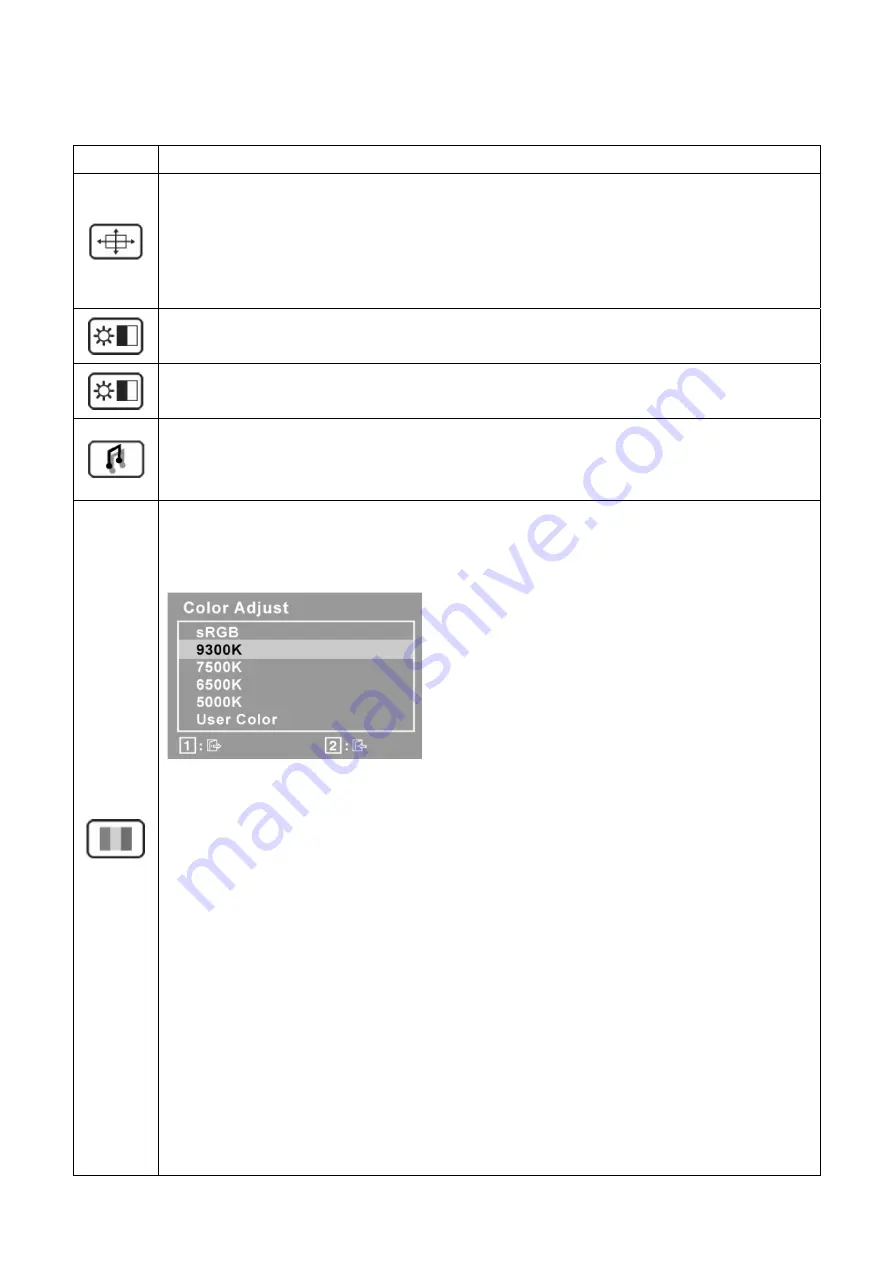
Control Explanation
Auto Image Adjust
automatically sizes, centers, and fine tunes the video signal to eliminate
waviness and distortion. Press the [2] button to obtain a sharper image.
NOTE:
Auto Image Adjust works with most common video cards. If this function does not work on
your LCD display, then lower the video refresh rate to 60 Hz and set the resolution to its pre-set
value.
Contrast
adjusts the difference between the image background (black level) and the foreground
(white level).
Brightness
adjusts background black level of the screen image.
Audio Adjust
Volume
increases the volume, decreases the volume, and mutes the audio.
Mute
temporarily silences audio output.
Color Adjust
provides several color adjustment modes, including preset color temperatures and
a User Color mode which allows independent adjustment of red (R), green (G), and blue (B). The
factory setting for this product is 6500K (6500 Kelvin).
sRGB-
This is quickly becoming the industry standard for color management, with support being
included in many of the latest applications. Enabling this setting allows the LCD display to more
accurately display colors the way they were originally intended. Enabling the sRGB setting will
cause the Contrast and Brightness adjustments to be disabled.
9300K-
Adds blue to the screen image for cooler white (used in most office settings with
fluorescent lighting).
7500K-
Adds blue to the screen image for cooler white (used in most office settings with
fluorescent lighting).
6500K-
Adds red to the screen image for warmer white and richer red.
5000K-
Adds red to the screen image for warmer white and richer red.
User Color
Individual adjustments for red (R), green (G), and blue (B).
1.
To select color (R, G or B) press button [2].
2.
To adjust selected color, press
▲
and
▼
.
Important:
If you select RECALL from the Main Menu when the product is set to a Preset Timing
Mode, colors return to the 6500K factory preset.
Summary of Contents for VA2013wm-4
Page 7: ...7 2 Specification...
Page 14: ...14 Pin Assignment...
Page 15: ...15...
Page 25: ...25 This tool can auto detect the right SCALAR programe speed the process as follow...
Page 26: ...26...
Page 32: ...32 d Unit appears the following Fig writer completed 12 codes for example...
Page 33: ...33 6 Troubleshooting Flow Chart...
Page 45: ...45 9 PCB Layout Diagrams 9 1 Main Board...
Page 46: ...46...
Page 47: ...47 9 2 Power Board...
Page 48: ...48...
Page 49: ...49 9 3 Key Board...
Page 50: ...50 10 Exploded Diagram and Spare Parts List 10 1 EPL...


