ViewSonic
N2652w
17
ENGLISH
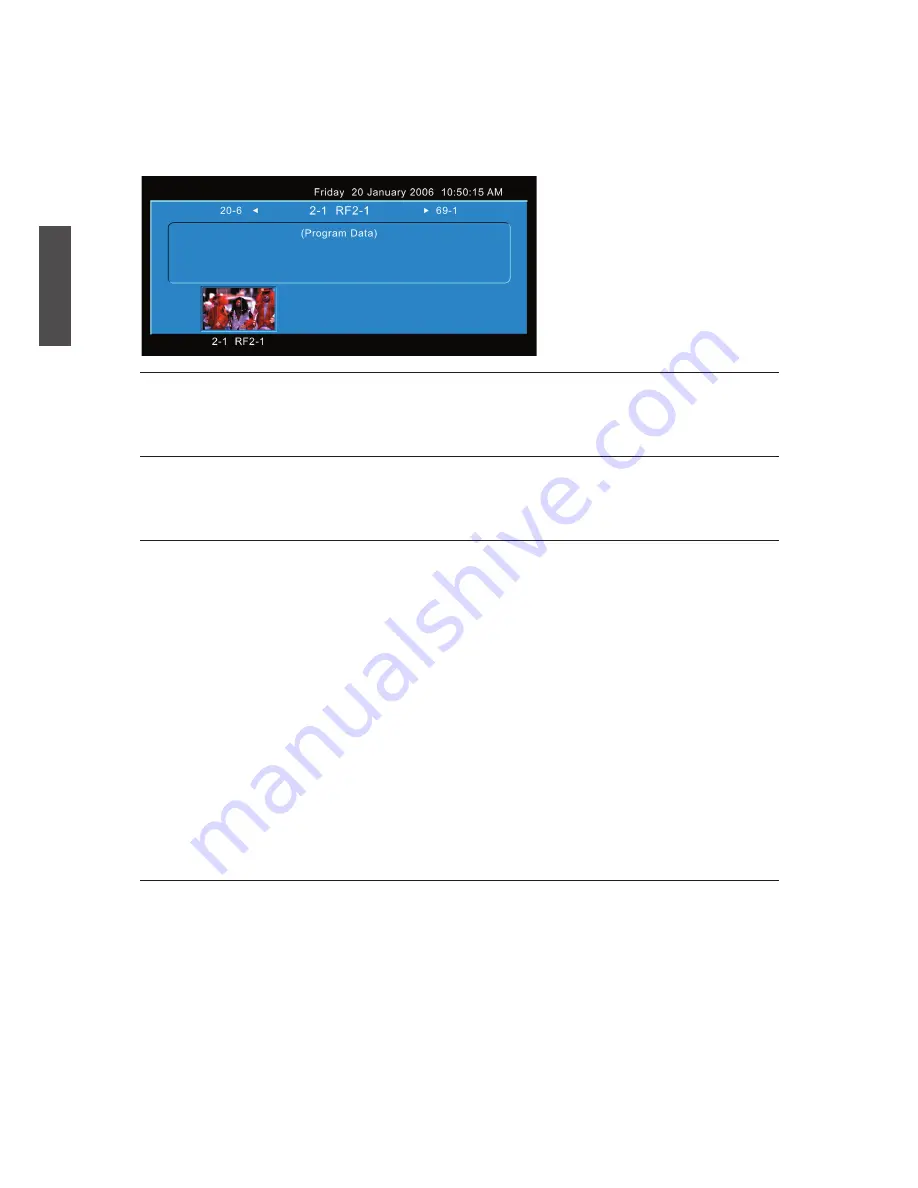
DTV Guide
To see the electronic program guide of the channel, press the
GUIDE
button on your
remote control. It will display the background information related to the channel program.
Picture
Press the
PICTURE
button on the remote control to switch between the
Smart Picture
modes of User, Cinema, Sport, Vivid, and Hi-Bright.
Sound
Press the
SOUND
button on the remote control to switch between the
Smart Sound
modes of User, Rock, POP, Live, Dance, Techno, Classic, and Soft.
Channel Select
Press number key or
CH
▲/▼ button to select your desired channel.
1. In TV mode
The
100/-
button functions as “100”.
If your desired channel is below 100, directly press number buttons. If your desired
channel is over 100, press
100/-
button first, and then press the other two number
buttons.
Ex: Your desired number is 8.
Press
0
→ press
8
, or press
8
only.
Ex: Your desired number is 110.
Press
100/-
→ press
1
→ press
0
.
*
Return to the previous channel, press
RETURN
button.
2. In DTV mode
The
100/-
button functions as “-”. Use
100/-
button to select the sub channel in DTV.
Ex: Your desired number is 80-3.
Press
8
→ press
0
→ press
100/-
→ press
3
.
Sleep Time Setting
Repeatedly press
SLEEP
button to set the off timer. The function is used to automatically
shut off the LCD TV after a preset period of time passed. There are several times for
choice – OFF, 30min, 60min, 90min, or 120min.
Summary of Contents for N2652W - 26" LCD TV
Page 11: ...ViewSonic N2652w 9 ENGLISH Remote Control ...
Page 36: ...ViewSonic ...