39
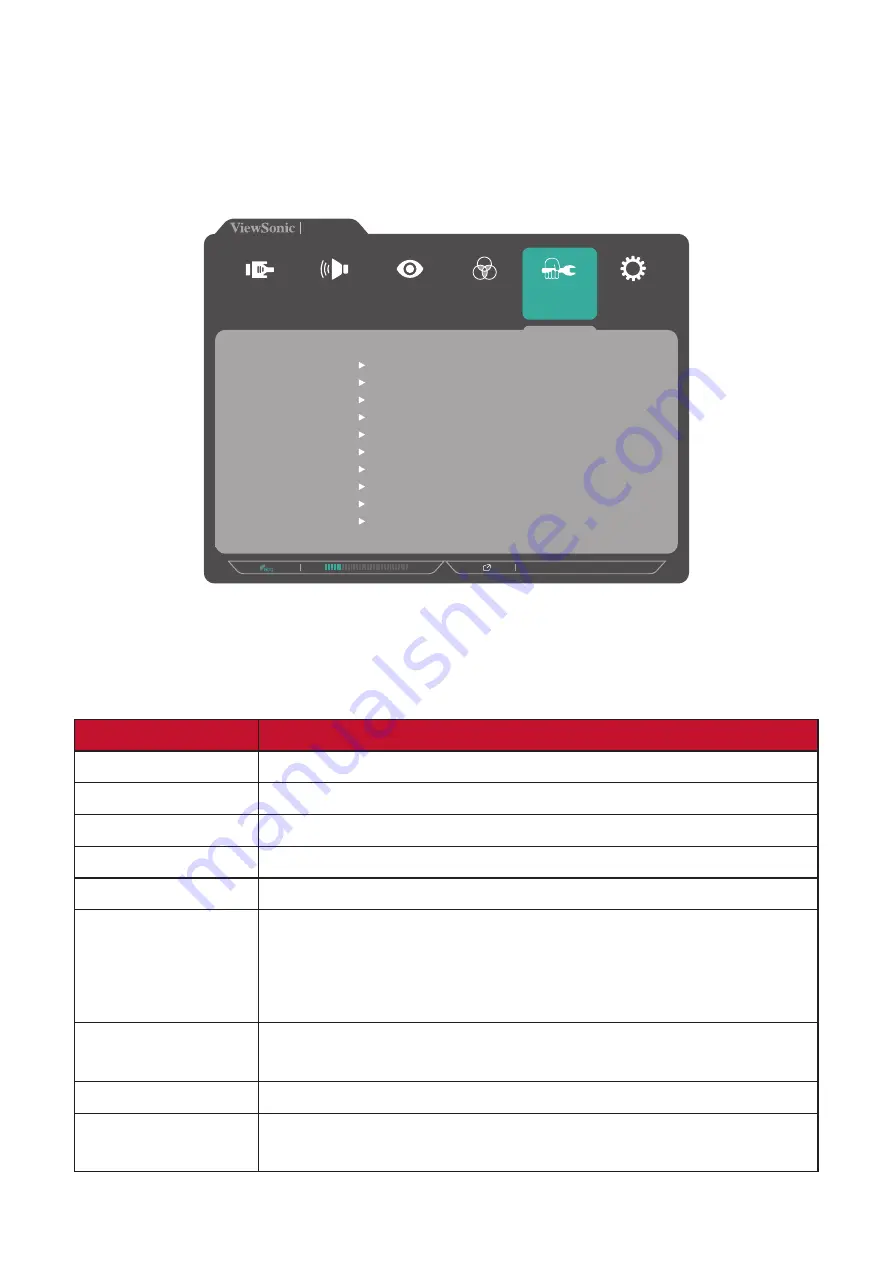
Manual Image Adjust Menu
1.
Press the
2/3/4/5
key to display the Quick Menu. Then press the
4
key to display
the OSD Menu.
2.
Press the
1(ViewMode)
or
2
key to select
Manual Image Adjust
. Then press the
3
key to enter the
Manual Image Adjust
menu.
1920 X 1080 @ 60Hz
Setup Menu
Color Adjust
ViewMode
Manual Image
Adjust
Input
Select
Audio Adjust
Auto Image Adjust
Horizontal Size
H./V. Position
Fine Tune
Sharpness
Advanced DCR
Response Time
Aspect Ratio
Overscan
Low Input Lag
Blue Light Filter
ID2456
3.
Press the
1(ViewMode)
or
2
key to select the menu option. Then press the
3
key
to enter its sub-menu.
4.
Press the
1(ViewMode)
or
2
key to adjust/select the setting. Then press the
3
key
to confirm (if applicable).
Menu Option
Description
Auto Image Adjust
Automatically adjust the screen image position.
Horizontal Size
Stretch or shorten the screen on its horizontal axis.
H./V. Position
Adjust the screen horizontally and/or vertically.
Fine Tune
Improve distorted image quality from an analog signal.
Sharpness
Adjust the picture quality.
Advanced DCR
Automatically detects the image signal and intelligently
controls the backlight brightness and color to improve on
the ability to make the black blacker in a dark scene, and
make the white whiter in a bright environment.
Response Time
Adjusts the response time, creating smooth images without
streaking, blurring, or ghosting.
Aspect Ratio
Select the aspect ratio of the monitor.
Overscan
Automatically enlarge the original picture horizontally and
vertically to an equal aspect ratio that fills the screen.


